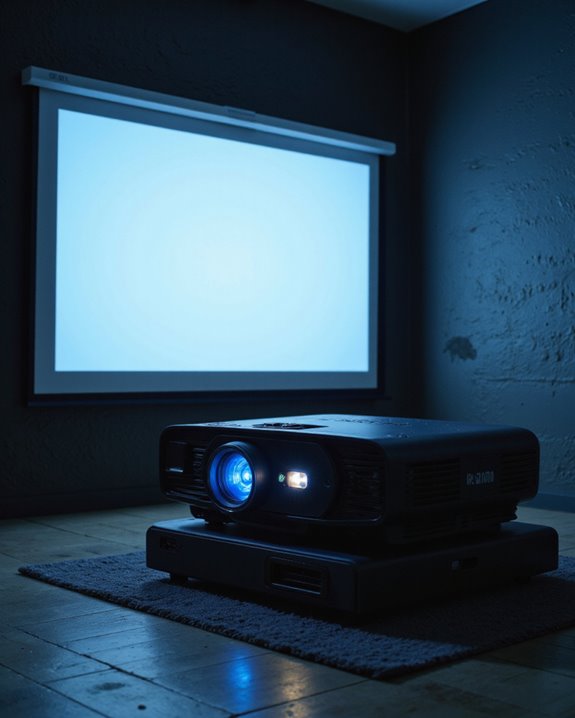
Optimal projector picture quality depends on several key technical adjustments. The process starts with selecting the correct resolution (720p to 4K) and ensuring proper focus alignment. Picture mode selection, like Cinema or Movie, provides a foundation for calibration. Brightness and contrast settings must match room conditions, while aspect ratio should align with content format. Color management and screen positioning further enhance image quality. Proper calibration techniques reveal the full potential of any projector setup.
Key Takeaways
- Select and calibrate appropriate picture modes like Cinema or Movie, then fine-tune brightness, contrast, and color settings for your environment.
- Position the projector at the correct distance and angle, ensuring proper screen size and aspect ratio for your room setup.
- Optimize focus settings and resolution compatibility between source content and projector capabilities for maximum image sharpness.
- Control ambient lighting and adjust black levels to enhance contrast while preventing image washout in viewing area.
- Use test patterns and basic calibration tools to achieve accurate colors and proper image depth across different content types.
Understanding Resolution and Focus Settings
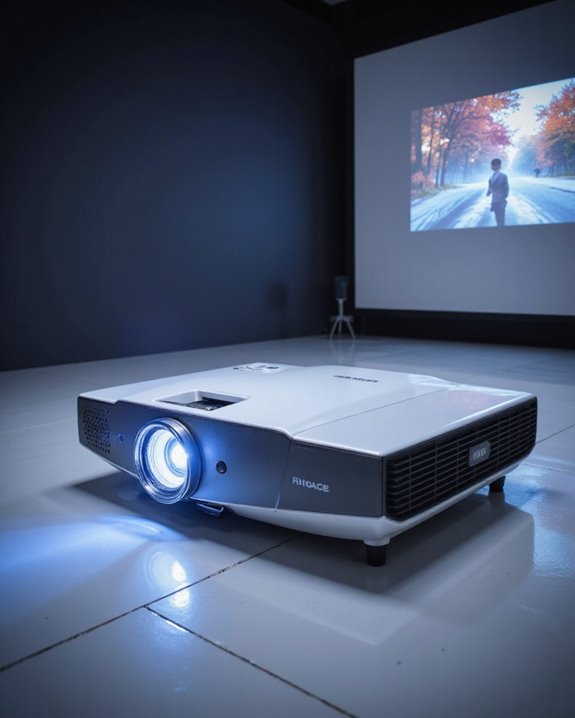
When setting up a projector, understanding resolution and focus settings serves as the foundation for achieving ideal picture quality. Resolution options range from entry-level 720p to premium 4K UHD, with each level offering distinct advantages for different uses. Proper lens alignment ensures sharp image reproduction, while ambient noise reduction helps maintain focus during operation. Screen size and distance significantly impact the resolution requirements for optimal viewing.
Focus settings play a vital role in image clarity, whether through digital or manual adjustments. A projector’s native resolution determines its inherent display capability, while proper focus optimization guarantees maximum sharpness across the entire screen. Higher resolutions, such as 1080p and 4K, demand precise focus adjustments to display their full detail potential. When combined with appropriate keystone correction, these settings help overcome common projection challenges like uneven surfaces and varying lighting conditions.
Selecting the Right Picture Mode and Calibration
While modern projectors come with various preset picture modes, selecting the right mode and performing proper calibration considerably impacts overall image quality. For best results, users should start with Cinema or Movie mode, which provides the highest out-of-the-box settings. When using remote control features, viewers can easily switch between warm and neutral modes based on ambient lighting conditions. Selecting User mode settings allows for precise calibration adjustments through the projector’s image menu. A calibration process should address brightness, contrast, and color accuracy to prevent eye strain and ensure natural-looking images. Proper calibration involves adjusting each setting individually while using test patterns or calibration tools. This methodical approach helps achieve professional-grade projection quality suitable for various content types, from movies to presentations.

Built for ceilings that standard mounts can’t reach – The MI-509XL’s 10-foot pole drops your TV 98 to 118 inches below the ceiling — purpose-built for warehouses, production floors, auditoriums, large event venues, hospitals, and any high-bay space where a standard mount leaves the screen too far from the audience.

【Expand to Multiple Screens for Any Scenario】 The Wireless HDMI Transmitter with 2 Receivers streams audio and video from one source to multiple displays simultaneously. Expandable up to 6 receivers, it's perfect for home theaters, business presentations, conference rooms, classrooms, digital signage, bars, restaurants, and sports viewing setups—making multi-screen sharing simple and efficient.

Why Choose TCL: TCL is a global leader in TVs and audio, combining innovative technology with reliable performance. Enjoy award-winning sound, durable design, and customer support that keeps your entertainment experience worry-free
Mastering Brightness and Contrast Controls
The mastery of brightness and contrast controls stands as a fundamental skill for achieving ideal projector performance. These settings work together to create a balanced image, with brightness determining how dark an image appears before turning completely black, while contrast controls the intensity of white areas. The key lies in proper black level management and ambient adjustment based on room conditions. Using reference pattern tests can ensure optimal calibration without requiring expensive equipment. Additionally, understanding the color accuracy of your projector can significantly improve overall picture quality, especially when combined with proper brightness and contrast adjustments. For excellent results, users should consider their viewing environment when making adjustments. Bright rooms require higher brightness settings, while darker spaces allow for lower levels. The process involves testing different scenes to ensure shadow details remain visible without washing out highlights. Professional calibration tools can help achieve precise settings, though many users can obtain good results by carefully adjusting these controls while viewing varied content types, from dark scenes to bright, detailed images.

SPECIFICATIONS: Video color target measuring 8 x 11.5 inch with vectorscope and waveform optimized layout including saturated and desaturated chromatic chips, skin tone row, large gray level steps, linear grayscale, illumination check chips, and reverse side spectrally neutral white balance target.

This compact ruler allows you to determine if your lens is auto-focusing accurately as it should. It is an essential tool that is particularly useful when shooting with a shallow depth of field, where focusing should ideally be "spot on".

This compact ruler allows you to determine if your lens is auto-focusing accurately as it should. It is an essential tool that is particularly useful when shooting with a shallow depth of field, where focusing should ideally be "spot on".
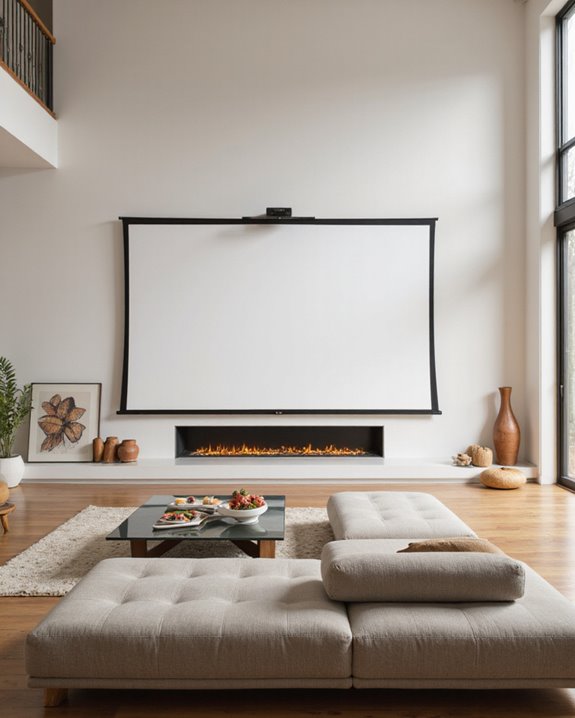
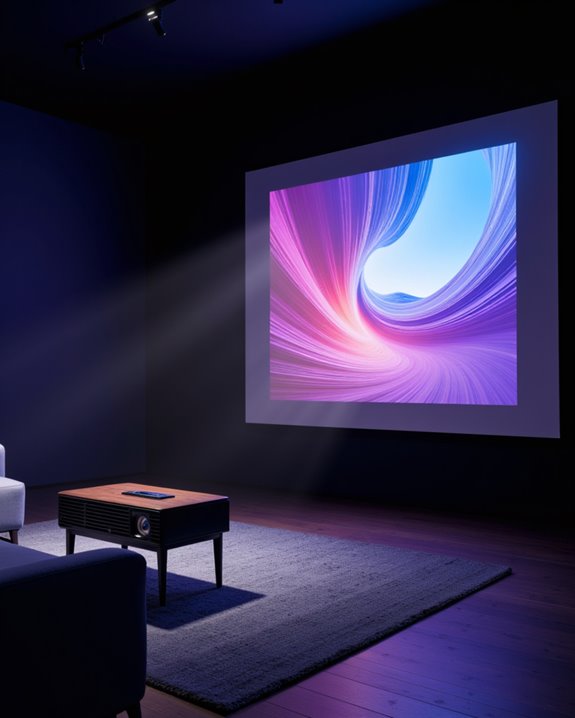
Perfecting Aspect Ratio and Screen Positioning
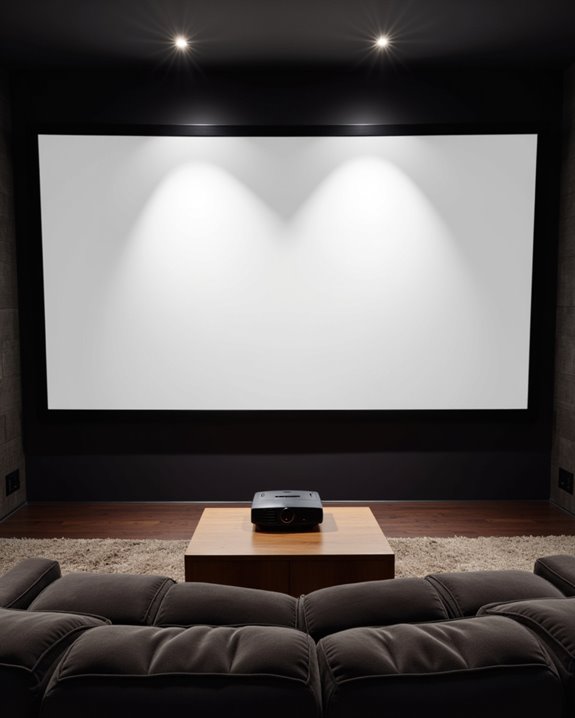
Perfect aspect ratio and screen positioning serve as critical elements for achieving ideal projector performance. The aspect ratio, which describes the relationship between width and height of the projected image, must match both the content being shown and the screen dimensions. Most modern content uses a 16:9 format, while some movies utilize a wider 2.35:1 ratio. Selecting an appropriate aspect ratio allows for proper content compatibility without unwanted distortions or black bars.
Screen positioning requires careful attention to viewing angles and distances. Following THX guidelines, viewers should sit approximately 12 feet away from a 120-inch screen for maximum viewing. The screen material and mounting location also play essential roles in picture quality. Proper positioning helps minimize ambient light interference while maintaining comfortable viewing angles. When selecting screen size, room dimensions must be considered alongside the projector’s capabilities and intended content format.

Wall Mounted Fixed Frame Projection Screen (Overall Size 63.625" Tall x 109.25" Wide) (Viewing Area 120" Diagonal x 58.875" Tall x 104.5" Wide) No option for Legs or Stands with this product. Recommended for projectors with Native 16:9 Resolution

Relieve Cervical Strain: The Ergonomic monitor riser to help you develop correct sitting habits. Proper sitting posture can effectively help you prevent back & neck pain daily.

High Speed: Twozoh 1.6FT NEWEST advanced technique high speed HDMI Extension Cable, 4K UHD@60Hz, including 10 Gbps, allows for unrestricted video in 4K 2160p(UHD) 1440p (QHD) and 1080p (HD).
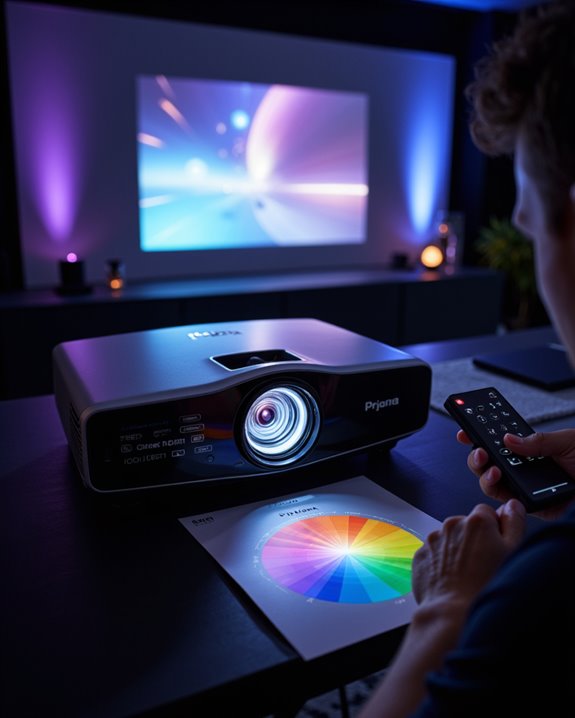
Fine-Tuning Color and Depth Parameters
Fine-tuning color and depth parameters represents a crucial step in achieving professional-quality projector performance. The process involves adjusting both primary colors (red, green, blue) and secondary colors (cyan, magenta, yellow) through the Color Management System (CMS), which controls hue, saturation, and brightness levels. Proper calibration ensures accurate color reproduction, enhancing the overall viewing experience. Color calibration begins with setting proper contrast and black levels using test patterns. Technicians adjust the peak white level to maximize contrast while preserving detail visibility in bright scenes. The black level gets tuned to match reference darkness in content. For depth enhancement, operators balance brightness and contrast ratios carefully, ensuring ideal image clarity. Many projectors perform best in Bright Cinema mode to achieve maximum light output for optimal viewing conditions. Utilizing calibration tools can further refine picture quality, especially in high-end models. Basic calibration can be performed using phone apps or specialized software that provide visual references, while professional tools offer more precise adjustments for ideal picture quality.

𝗖𝗢𝗟𝗢𝗥 𝗔𝗖𝗖𝗨𝗥𝗔𝗖𝗬, 𝗗𝗘𝗙𝗜𝗡𝗘𝗗 𝗗𝗘𝗧𝗔𝗜𝗟: Ensure accurate, consistent color from one shot to another, across different cameras, lenses, and lighting environments, plus capture every detail with optimal RAW process in- batch processing
SPECIFICATIONS: Portable ColorChecker Passport kit with 4 targets for exposure control, custom white balance, camera profiling, and enhancement patches, folding protective case with multiple positions, includes lanyard for quick access, Calibrite PROFILER calibration software supports DNG and ICC profiling workflows.

𝗔𝗗𝗩𝗔𝗡𝗖𝗘𝗗 𝗖𝗢𝗟𝗢𝗥 𝗔𝗖𝗖𝗨𝗥𝗔𝗖𝗬: An advanced color reference tool for video that works with vector scopes to help ensure color accuracy and consistency across a range of cameras and lens combinations from the start of shooting to simplify and facilitate post-production color correction.
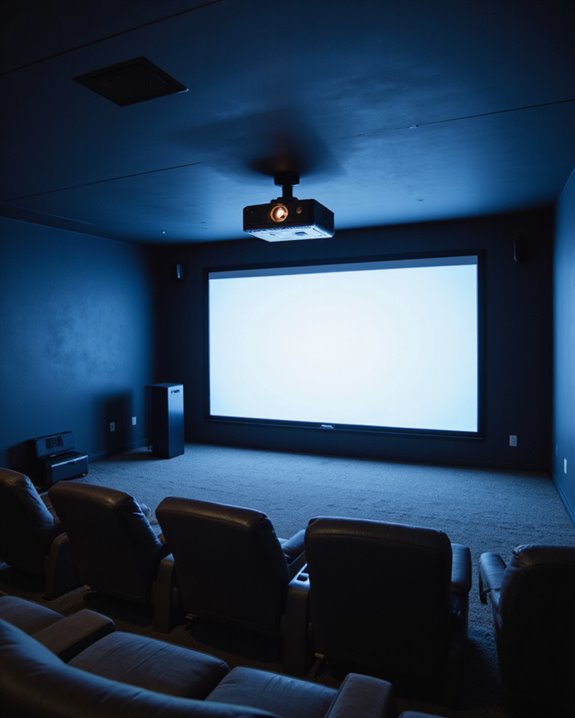
Optimizing Your Viewing Environment
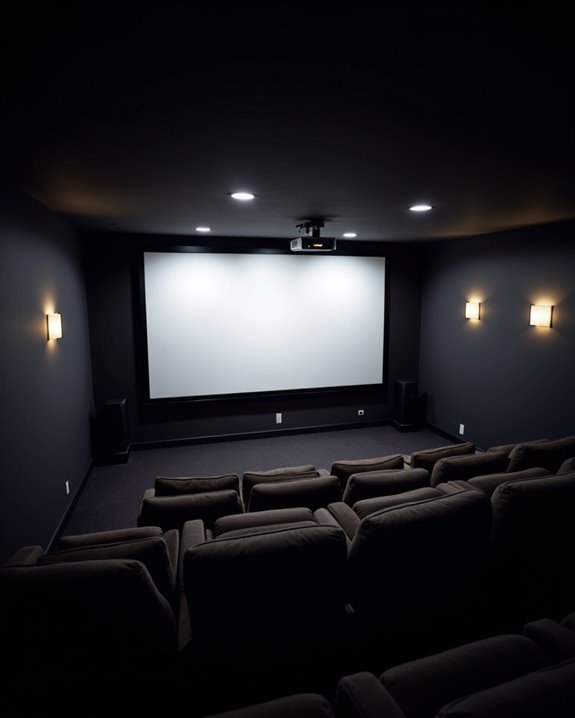
Creating an ideal viewing environment stands as a foundational element for achieving superior projector performance. Wall and ceiling color selection is critical, as dark-colored surfaces significantly enhance HDR contrast and minimize light reflections. Ambient light reduction plays a vital role, requiring the installation of blackout curtains or specialized blinds to eliminate unwanted external light. Strategic projector mounting, positioned directly in front of the screen at the correct distance, ensures maximum image alignment and minimal distortion.
Room layout demands careful consideration, with seating arranged to avoid direct light paths and glare zones. For enhanced viewing quality, ambient light rejecting (ALR) screens can greatly improve contrast in brighter environments. Sound integration also contributes to the overall experience, with speakers positioned at ear level and acoustic treatments applied to reduce echo. Regular maintenance of both the screen and projector helps maintain peak performance through proper cleaning and calibration.
Frequently Asked Questions
How Long Do Projector Bulbs Typically Last Before Needing Replacement?
Projector lamp lifespan varies substantially by type: traditional UHP/UHM bulbs last 2,000-4,000 hours before requiring bulb replacement, while LED and laser projectors can operate for 20,000-60,000 hours before needing replacement.
Can Projectors Damage Eyes When Viewed Directly for Extended Periods?
Direct exposure to projector light can cause severe eye damage. Extended viewing duration may lead to eye strain and temporary vision problems. Even brief direct contact with projector beams should be strictly avoided.
Which Screen Materials Work Best for Outdoor Movie Projection?
While many screen coatings promise durability, Block Out Vinyl emerges as the superior choice. Its weatherproof materials, UV resistance, and ideal balance of image quality and durability make it ideal for outdoor movie projection.
Do Projectors Consume More Electricity Than Traditional Televisions of Similar Size?
Generally, projectors consume more electricity than modern TVs of comparable size. While energy consumption varies by model, projectors typically use 50-800W compared to TVs’ 80-400W range, making them less power efficient overall.
How Does Humidity in a Room Affect Projector Performance?
High humidity creates lens condensation and screen damage, while low humidity causes static buildup. Both extremes impair projector performance through reduced image clarity, potential equipment damage, and shortened component lifespan.