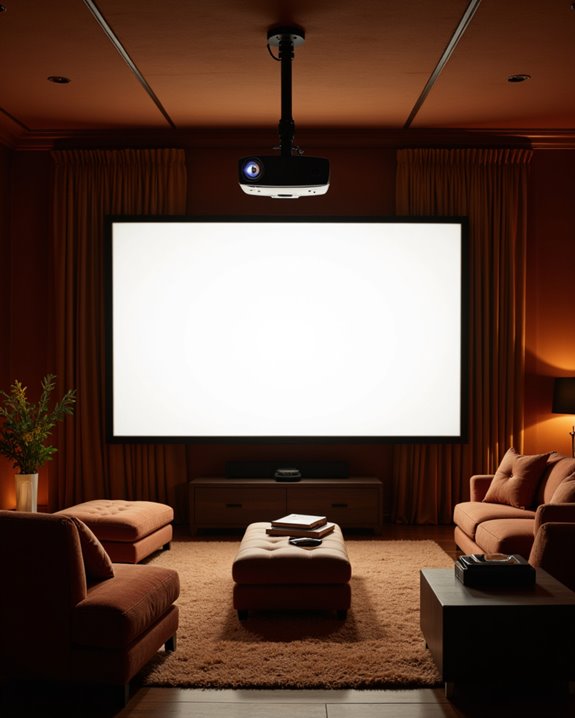
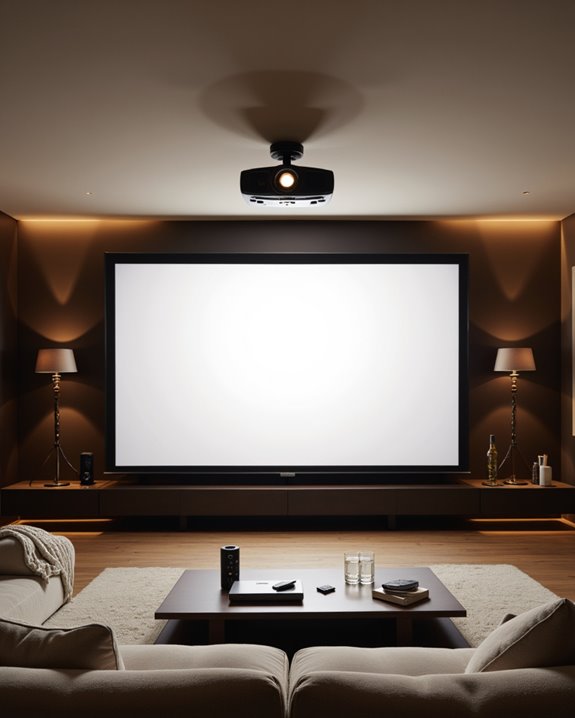
For maximum home theater projection, mount the projector according to its throw ratio (distance divided by screen width), typically 1.5 times the screen width. Position the screen 24-36 inches above floor level, with viewers’ eyes aligned to the lower third. The projector should be centered relative to the screen, mounted on ceiling joists, and placed at least 4 feet from walls to prevent sound distortion. Proper setup requires careful consideration of room layout, ambient light control, and regular maintenance to guarantee lasting performance.
Key Takeaways
- Calculate throw distance by multiplying desired screen width by the projector’s throw ratio for optimal placement from the screen.
- Mount the projector centered relative to the screen, 24-36 inches below ceiling height for proper image alignment.
- Position projector at least 4 feet from walls to prevent sound distortion and ensure proper ventilation.
- Install in a rectangular room for better sound distribution, with viewing distance at least twice the screen’s horizontal length.
- Ensure the projector is level and properly focused, avoiding locations near windows or direct light sources.
Understanding Optimal Screen Height and Viewing Angles
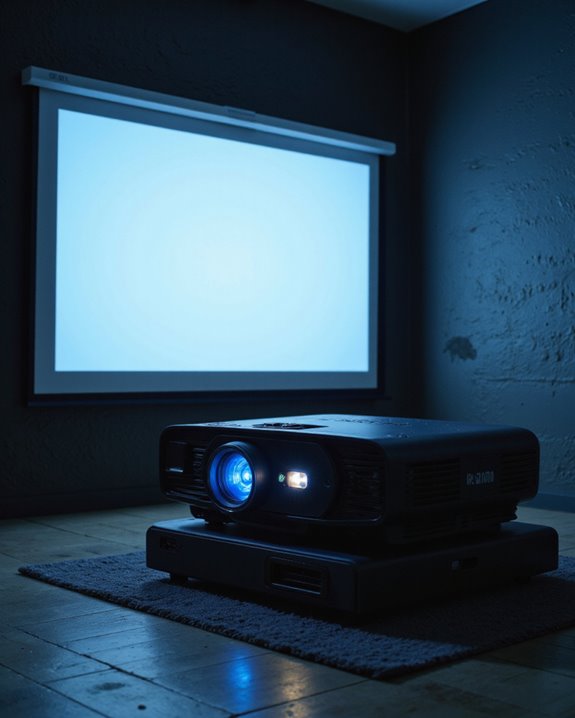
When setting up a home theater, proper screen height and viewing angles serve as the foundation for an ideal viewing experience. The screen’s bottom edge should be positioned 24-36 inches above the floor for standard setups, with wall mounting adjusted to align viewers’ eye level with the lower third of the screen height. Setting up your screen this way provides sensory satisfaction similar to savoring a fine wine. Additionally, considering the ambient lighting in your room can significantly impact image clarity and comfort during viewing sessions. For ideal comfort, viewers should maintain a vertical viewing angle within 15 degrees above or below eye level. Standard ceiling height of 8 feet influences screen placement options, while rooms with multiple seating rows may require higher mounting of 40-48 inches from the floor. The screen height should measure approximately one-third of the viewing distance for 16:9 HDTV content, ensuring comfortable viewing without neck strain. These measurements create an immersive experience while preserving image quality and reducing viewer fatigue.
Calculating the Perfect Throw Distance
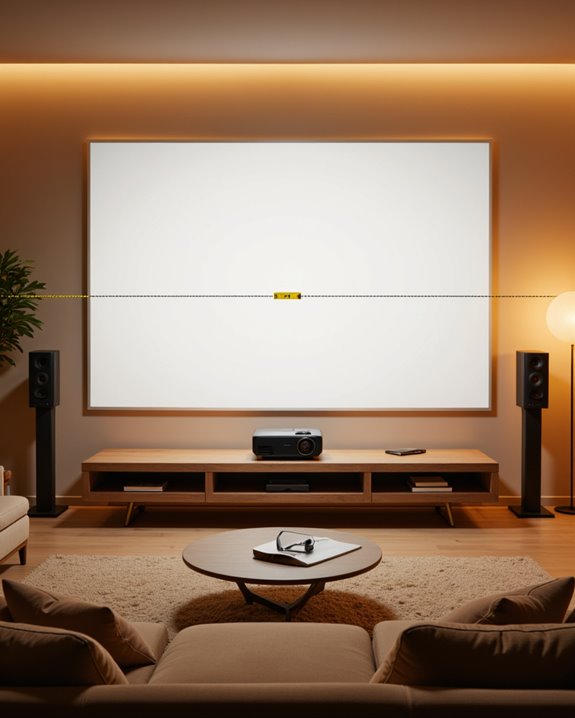
A proper viewing experience extends beyond screen placement to include the mathematical precision of projector positioning. To achieve best projection calibration, installers must calculate the throw distance – the space between the projector and screen. This measurement relies on the throw ratio, which is found by dividing the throw distance by the image width.
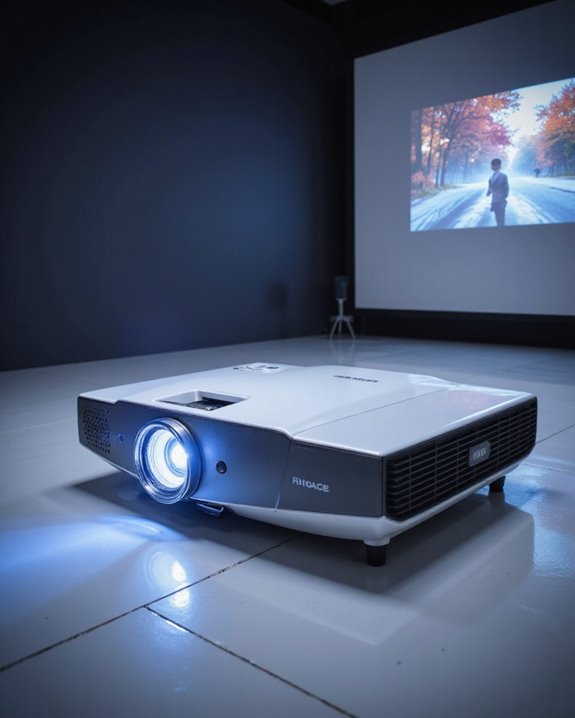
The formula for determining ideal placement is straightforward: multiply the desired image width by the projector’s throw ratio. For example, a projector with a throw ratio of 1.5 projecting onto a 100-inch wide screen requires 150 inches of throw distance. For optimal home theater setups, short throw projectors can create large displays while requiring only about 8.2 feet of space. Room dimensions and lighting conditions also influence this calculation. Many manufacturers provide online calculators to simplify this process, helping users achieve the sharpest possible image while avoiding distortion or focus issues. Additionally, considering factors such as ambient light and projector placement height can further enhance image quality and viewing comfort.
![4K Portable Smart Projector with WiFi and Bluetooth [Compatible with Netflix & Dolby Audio], Mini Outdoor Movie Projector with Native 1080P, Auto Keystone & Electric Focus for Home Theater, Bedroom](https://m.media-amazon.com/images/I/41ZsqxVUB9L._SL500_.jpg)
[All-in-One Streaming Ready] This projector with wifi and bluetooth provides direct access to streaming platforms like Netflix, YouTube, and Prime Video. Simply connect to your home network and press play—no extra streaming devices needed. Designed for instant enjoyment, the mini projector eliminates compatibility issues and delivers seamless viewing. Perfect for home theater or outdoor movie nights, the smart projector works reliably out of the box and integrates effortlessly into your entertainment routine.
![Smart Projector [Google TV Built-in & 4K Support] with WiFi and Bluetooth, Portable Mini Movie Short Throw Projector Outdoor with Built-in Apps Auto Focus Keystone for Home Theater Bedroom Ceiling](https://m.media-amazon.com/images/I/51KwXGkgvnL._SL500_.jpg)
[Built-in Google TV | 10,000+ Apps | Voice Control] This 2026 smart mini projector with wifi and bluetooth features Google TV, giving you instant access to 10,000+ apps—including Netflix, YouTube, Prime Video, Disney+, Sling TV, Hulu + Live TV, YouTube TV, and more—all seamlessly integrated into one easy-to-use home screen. Simply use the voice remote with built-in Google Assistant to watch live channels across these apps—such as ESPN, Fox Sports, CNN, NBC, and local stations. Perfect for catching the World Cup or staying up to date with live events. Whether you're cheering for your favorite team or watching blockbusters, this Google TV projector transforms any room into a personal theater.
TOPTRO A1 All-in-One 4K Smart Portable Projector | Exceptional Value.This smart projector with WiFi and Bluetooth redefines home entertainment by delivering premium features at an exceptional value. The built-in Linux system lets you instantly stream movies and sports without extra devices. Weighing only 1.26kg and compact enough to hold in one hand, it's your perfect portable home theater. Enjoy crystal-clear HD visuals combined with Dolby Audio that creates an immersive 360° surround sound experience. Whether you're new to projectors or a home cinema enthusiast, the TOPTRO A1 offers the perfect balance of stunning picture quality and theater-like audio.
Managing Ambient Light for Maximum Image Quality
Managing ambient light effectively stands as one of the most essential factors in achieving superior projection quality. Successful ambient light management combines strategic screen placement with proper room setup to create ideal viewing conditions. By using Ambient Light Rejecting (ALR) screens, which specifically reflect projector light while minimizing other light sources, viewers can maintain image clarity even in moderately lit rooms.
To further enhance projection quality, the installation of blackout curtains and strategic placement of the screen away from windows proves necessary. Poor contrast settings can significantly increase the visibility of light bleed around your screen edges. The projector’s settings should be calibrated to match the room’s lighting conditions, with brightness and contrast adjusted accordingly. Room layout also plays a critical role, as positioning furniture and décor to absorb rather than reflect light helps maintain image fidelity throughout viewing sessions. Additionally, choosing high-gain surfaces that are appropriate for ambient light conditions can further improve brightness and contrast in less controlled environments.

🎥Advanced PVC Material Projection Screen: Professional 1.5 gain PVC material + cinema-grade multi-layered projection screen. Our screen uses PVC, a professional-grade curtain material recognized as having the best projection effect, supplemented by four additional layers of polymer materials to achieve cinema-grade 1.5 gain reflective effect. 1080p effect projection, no color difference, 160° viewing angle, no creases.

Wide Viewing Angle: 100-inch diagonal white screen with 16:9 aspect ratio(53.7" H x 91.8" W). 120-inch diagonal white screen with 16:9 aspect ratio(63.8" H x 109.1" W). 1.1 gain, and a wide 160-degree viewing angle. 4K Ultra HD and Active 3D Projection Ready

HOME THEATER LEVEL ENJOYMENT: HYZ projector screen with stand uses cinema-grade material, which can achieve theater-grade 1.5-level gain reflection effect, five-layer preferred material, in order to ensure that the visual experience of the maximum degree of refusal to roll edges, creases. 160° Viewing angle without dead angle viewing, 4K HD equipment, you can enjoy the theater experience at home
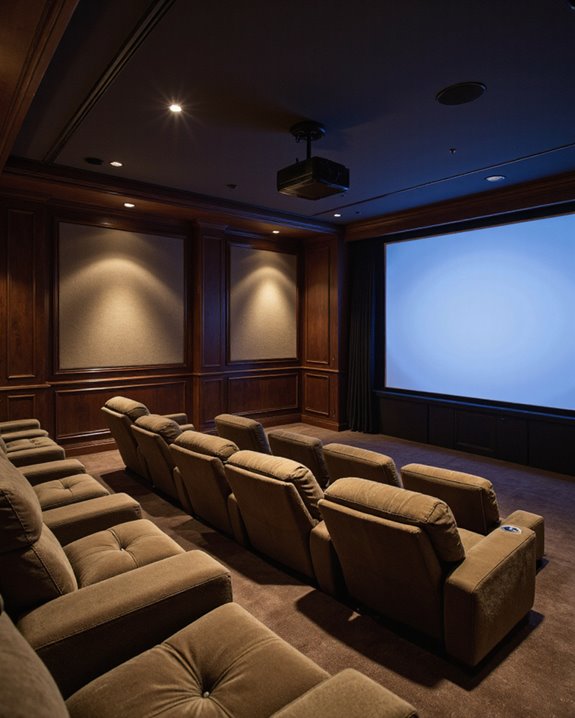
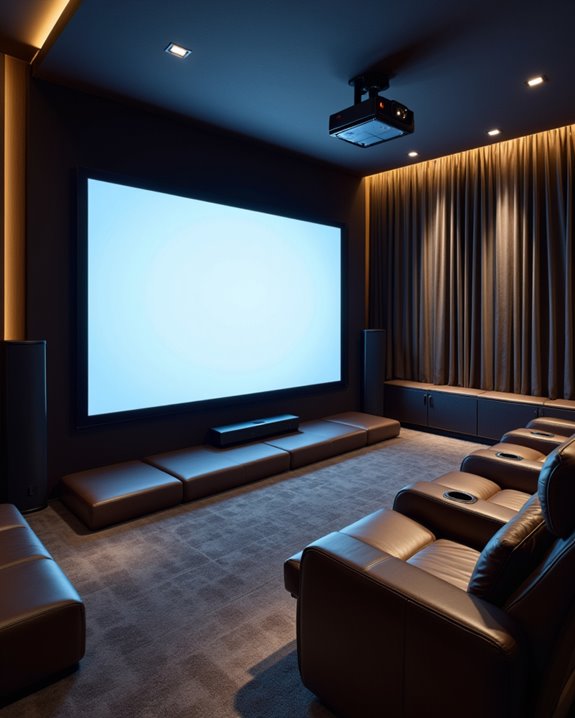
Mastering Ceiling Mount Installation
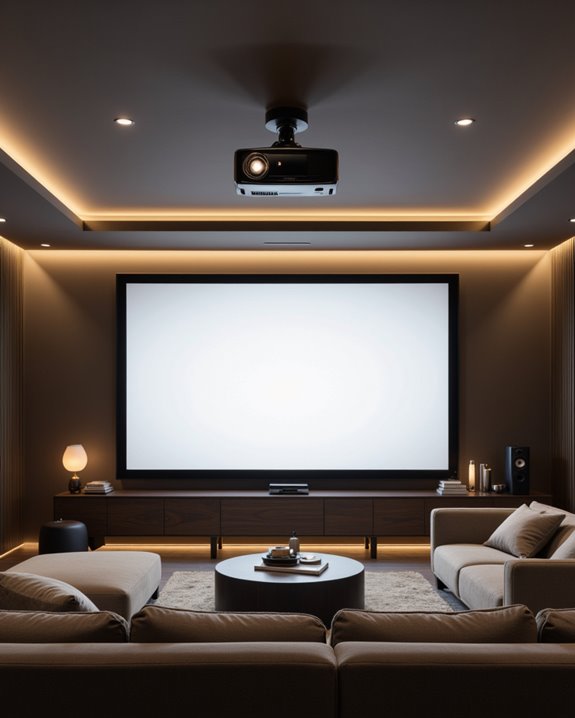
Successful ceiling mount installation begins with thorough preparation and precise measurements to guarantee ideal projector placement. The first step involves locating sturdy ceiling joists and confirming mount compatibility with both the ceiling structure and projector model. Using a throw distance calculator helps determine the exact mounting location for optimal screen size and clarity.
The installation process requires careful attention to positioning, with the projector centered relative to the screen’s midpoint. Installers should mark mounting points clearly, drill appropriate pilot holes, and use proper anchors for secure attachment. Cable management should be planned early to ensure a clean, professional appearance.
Final adjustments focus on fine-tuning the image quality through proper lens alignment and keystoning corrections. Installers must verify the mount’s stability, adjust the projector’s tilt and roll as needed, and test all functions thoroughly before considering the installation complete.
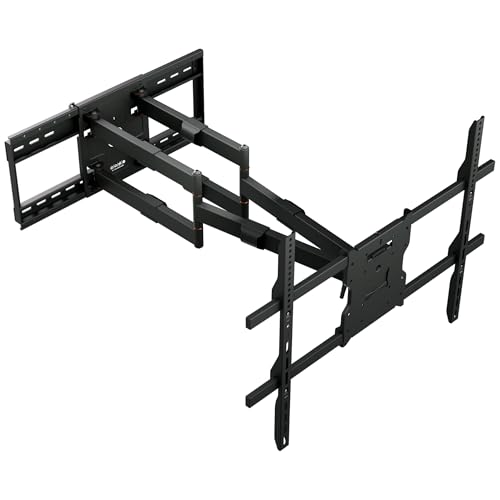
Ultra heavy-duty outdoor performance: Designed for the largest outdoor TVs, this professional-grade wall mount supports screens from 60" to 110" with an exceptional 275 lb weight capacity, delivering rock-solid stability for oversized displays.

Built for ceilings that standard mounts can’t reach – The MI-509XL’s 10-foot pole drops your TV 98 to 118 inches below the ceiling — purpose-built for warehouses, production floors, auditoriums, large event venues, hospitals, and any high-bay space where a standard mount leaves the screen too far from the audience.

MAXIMUM FLEXIBILITY WITH EXTRA LONG 24” EXTENSION ARM - Perfect for corner mounting or hard-to-reach viewing angles, this TV wall mount extends a full 24 inches from the wall—offering a broader range of motion than standard mounts. Easily retracts to 2.75 inches to sit close to the wall for a sleek, modern look.
Room Layout and Seating Arrangements

With the projector securely mounted, creating an ideal viewing environment depends heavily on thoughtful room layout and seating arrangements. Rectangular rooms offer superior sound distribution compared to square spaces, with perfect viewing achieved by placing seats at least twice the screen’s horizontal length away. Acoustic treatments and decorative accents should complement the space while maintaining proper distances from walls and speakers. A minimum ceiling height of nine feet is essential when planning for multiple seating rows.
For smaller rooms, a single row of centered seating works best, while larger spaces can accommodate multiple rows arranged in gentle arcs. Each seat should maintain at least four feet of distance from side walls and surround speakers to prevent sound distortion. In rooms over 16×20 feet, stepped or staggered seating ensures clear sightlines for all viewers, especially when incorporating multiple rows.
Essential Screen Selection and Positioning
The selection of an appropriate projector screen stands as one of the most crucial decisions in creating a home theater system. Screen material options range from basic matte white surfaces to specialized materials that enhance contrast and viewing angles. The aspect ratio, which describes the screen’s width-to-height proportion, must match the primary content being viewed.
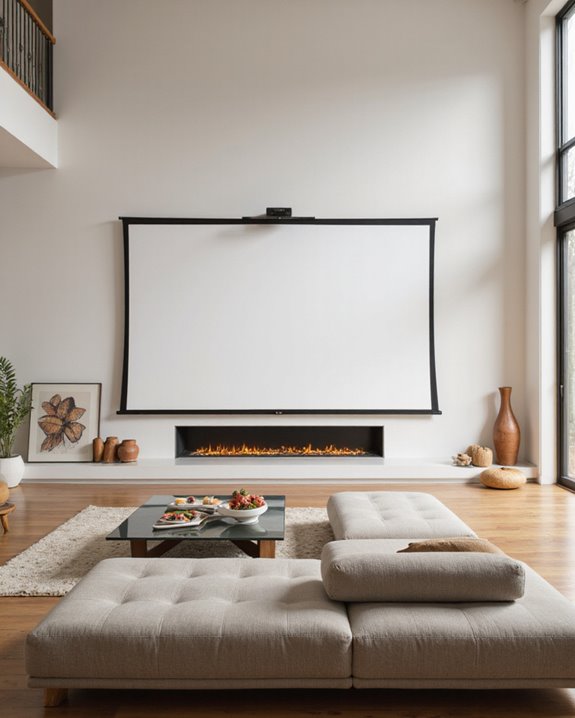
For ideal positioning, screens should be mounted at eye level when seated, typically 24-36 inches from the floor. Fixed frame screens provide the best image quality due to their consistently flat surface, while retractable screens offer flexibility in room usage. Tab-tensioned screens ensure a wrinkle-free viewing surface for optimal image quality. Key considerations include:
- Room size and available wall space
- Viewing distance from seating area
- Ambient light conditions
- Screen size compatibility with projector specifications
- Installation method (wall or ceiling mount)

Wall Mounted Fixed Frame Projection Screen (Overall Size 63.625" Tall x 109.25" Wide) (Viewing Area 120" Diagonal x 58.875" Tall x 104.5" Wide) No option for Legs or Stands with this product. Recommended for projectors with Native 16:9 Resolution

Quick & Simple Solution for Outdoor Projection: Set up in no time with just the included air blower—no need to attach a separate white screen. The one-piece design of the white screen and black frame makes setup easier, perfect for watching movies or sports in your backyard with minimal effort.

[Antirust Aluminium Alloy Stand]- The vamvo stand is made of aluminum alloy material, which is more durable and textured than most iron stand or plastic stand on the market. The stand is not only advanced and beautiful but also lightweight and durable. The rust-free aluminum material and the movie projector screen pairing with 9 grounding spikes and ropes make it to sturdy enough to be used and resist bad weather in outdoor.
Fine-Tuning Projector Settings and Performance
Properly fine-tuning a projector’s settings and performance substantially impacts the overall home theater experience. The process begins with adjusting basic display settings, including resolution matching the content source and ideal brightness levels between 45-50%. Color calibration plays a vital role in achieving lifelike images, particularly when using Cinema or Movie modes for enhanced contrast. Selecting the proper aspect ratio setting ensures content displays correctly without distortion or black bars.
Sound synchronization and image clarity require attention to technical details:
- Set color depth to 8-bit for LCD projectors
- Adjust contrast to 55-65% for balanced visuals
- Use the focus ring to achieve sharp images
- Maintain proper cooling system function
Regular maintenance ensures consistent performance. This includes cleaning vents, updating software, and replacing lamps according to manufacturer guidelines. Utilizing calibration guides and test patterns helps achieve professional-quality results while extending the projector’s lifespan through proper power management.
Frequently Asked Questions
Can I Use My Projector Outdoors for Movie Nights?
While projectors can function outdoors, success depends on outdoor lighting conditions and weatherproofing considerations. A projector with 3,000+ lumens, proper screen setup, and protection from elements guarantees enjoyable movie nights under the stars.
How Often Should I Replace My Projector’s Lamp?
Projector lamp replacement typically occurs every 1,500-2,000 hours of use, though some models last up to 5,000 hours. Users should monitor lamp hours and brightness levels to determine ideal projector lifespan and replacement timing.
Will Gaming Consoles Work Well With My Home Theater Projector?
Despite common skepticism, modern gaming consoles excel with home theater projectors. Proper screen placement and sound integration create an immersive experience, offering stunning 4K graphics and low latency through HDMI connections.
Does a Projector’s Fan Noise Increase Over Time?
Yes, projector fan noise typically increases over the lifespan due to dust accumulation, component wear, and reduced efficiency. Regular maintenance, including filter cleaning and proper ventilation, can help minimize this gradual noise increase.
Can I Connect Multiple Devices Simultaneously to My Projector?
While basic projectors limit connections, modern units embrace multiple device setups through various methods. Users can employ HDMI switching solutions or AV receivers to connect several devices simultaneously, expanding connectivity options considerably.