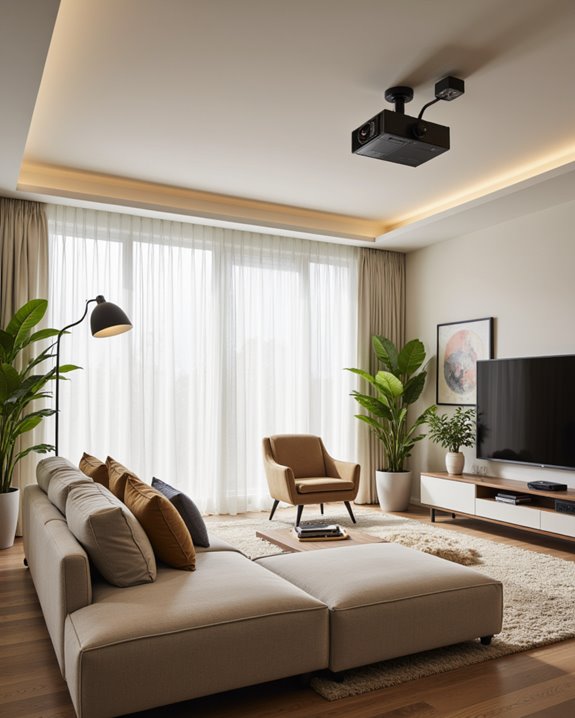
The ideal projector placement requires careful measurement of throw distance, typically 14-16 feet from the screen for standard projectors or 1-2 feet for short-throw models. The screen’s bottom edge should sit 24-36 inches above the floor, with the projector mounted on either the ceiling or a sturdy shelf. Viewers need to sit 8-18 feet back, depending on screen size. Room lighting control through blackout curtains and proper ventilation considerably impact image quality. These basic guidelines set the foundation for more advanced home theater optimization.
Key Takeaways
- Mount the projector 14.4 to 17.6 feet from the screen for optimal throw distance, or 1-2 feet away if using a short-throw projector.
- Position the screen’s bottom edge 24-36 inches above floor level to ensure comfortable viewing height for all seated viewers.
- Install the projector with proper ventilation, maintaining at least 6 inches of clearance around all sides for adequate airflow.
- Place viewers 8-18 feet from the screen, depending on screen size, to ensure clear and comfortable viewing without eye strain.
- Mount the projector approximately 16% above the screen’s top edge when ceiling-mounting for ideal image alignment and minimal distortion.
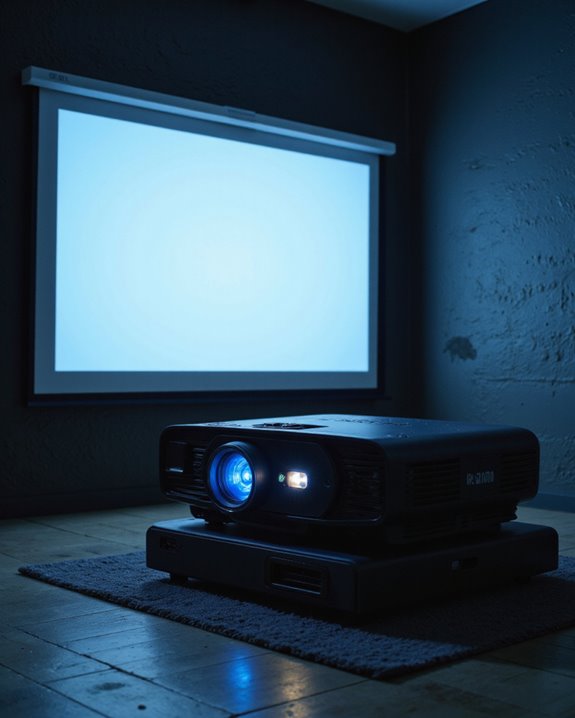
Calculating Your Room’s Ideal Projector Position
When setting up a home theater system, calculating the ideal projector position requires careful consideration of multiple spatial factors. The process begins by measuring the throw distance – the space between the projector lens and screen – which typically ranges from 14.4 to 17.6 feet. Room acoustics play a vital role in this setup, as proper positioning helps minimize sound reflections and echo. Short throw projectors can be mounted just 1-2 feet away from the screen surface, making them ideal for smaller rooms. Additionally, considering the projection ratio helps ensure the projector’s placement aligns with your desired screen size and room dimensions. For accurate projector calibration, users should first determine their screen size and use the throw ratio (typically 1.5 to 2.25) to calculate the best mounting location. Specialized tools like projection calculators can help determine precise measurements. The projector should be positioned to guarantee the screen’s lowest point sits 24-36 inches above the floor, accounting for seating arrangements and viewing angles. A higher throw ratio offers more flexibility in positioning, particularly in rooms with challenging layouts.
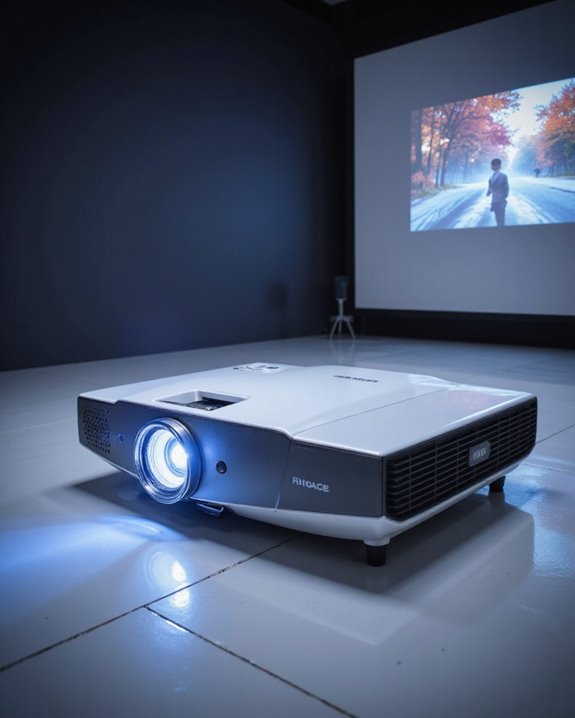
Essential Room Measurements and Layout Planning

Before installing a home theater projector, proper room measurements and layout planning serve as the foundation for an excellent viewing experience. The process begins with measuring the room’s dimensions, including ceiling height, which should ideally be 9-10 feet for ideal viewing angles. Professional throw ratio calculators can help determine the precise projector placement based on your screen size. Additionally, selecting a projector with suitable brightness levels ensures clear images even in environments with ambient light, enhancing overall viewing quality.
Key measurements include:
- Screen placement: 24-36 inches above floor level
- Viewing distance: 1.5 to 2.5 times the screen width
- Power outlet locations and cable paths
Wall color choices substantially impact image quality, with neutral, matte finishes being perfect. Decorative accents should be minimal to prevent light reflection and distraction. The room layout must account for:
- Natural light control through window treatments
- Proper airflow around equipment
- Sound system integration
- Easy maintenance access
- Future upgrade possibilities
Temperature control and ventilation are essential for equipment longevity and viewer comfort.
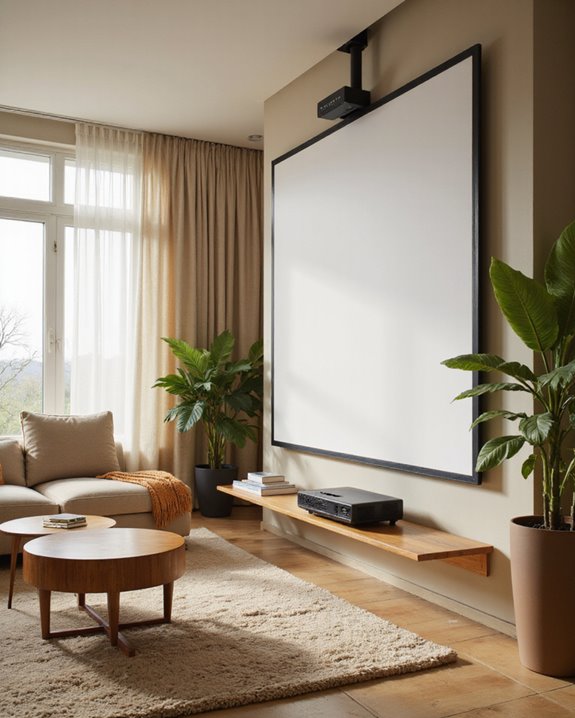
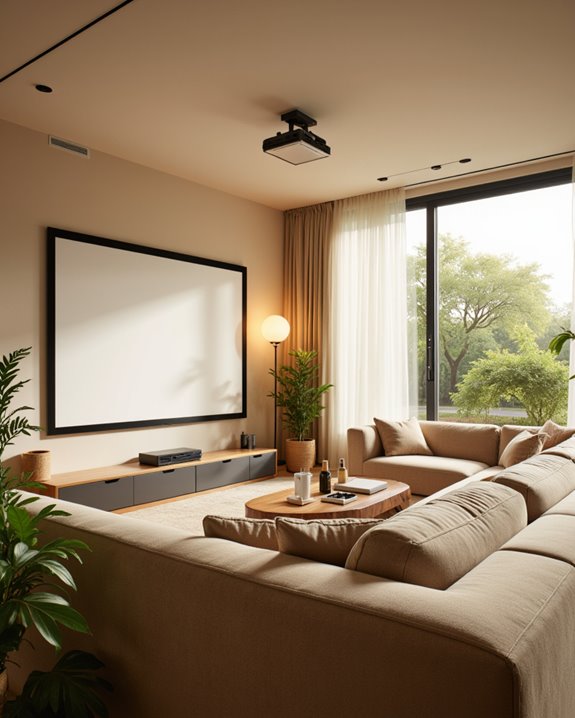
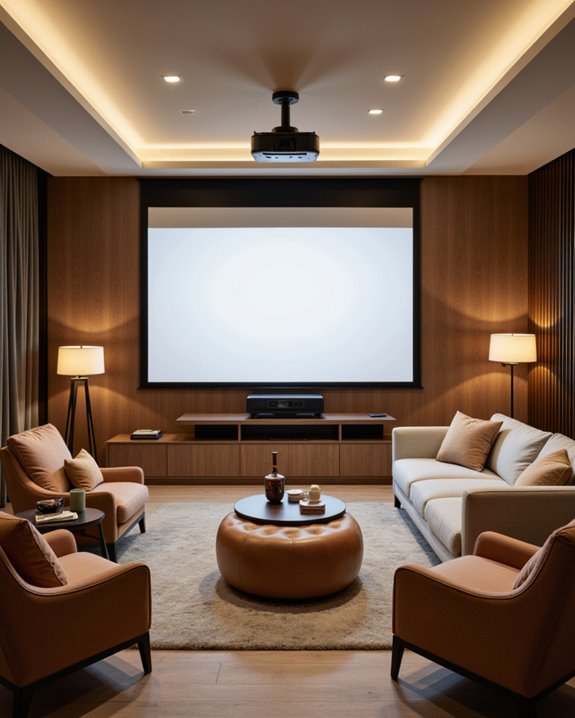
Mounting Options and Height Considerations
Selecting the right mounting option and height for a home theater projector directly impacts viewing quality and room functionality. While wall mounting and ceiling installations are common choices, each setup requires careful consideration of room dimensions and viewing angles. For ideal viewing, screens should be positioned 24-36 inches above the floor, with the projector aligned accordingly. Testing the environment with no projector illumination helps determine the optimal mounting setup before permanent installation. In rooms with standard ceiling height of 8-10 feet, ceiling-mounted projectors typically need a 16% offset above the screen’s top edge. Alternative mounting options include shelf placement for flexibility, floor-standing mounts for larger spaces, and hidden installations within furniture or walls. Each method must account for:
- Proper ventilation to prevent overheating
- Sound system interference prevention
- Sturdy mounting hardware rated for the projector’s weight
- Adequate adjustment capabilities for precise image alignment
- Smart features can assist in fine-tuning image positioning and setup.
Branch Out: add Multi Mount modular rigging capabilities to your wall.
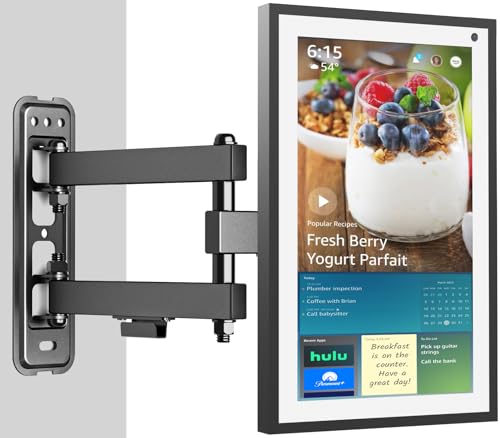
COMPATIBILITY: This PUTORSEN steel wall mounted bracket works for for Echo Show 21, Echo Show 15 (device not included) and TVs and monitors up to 32 inch. Heavy duty articulating arm holds up to 44lbs

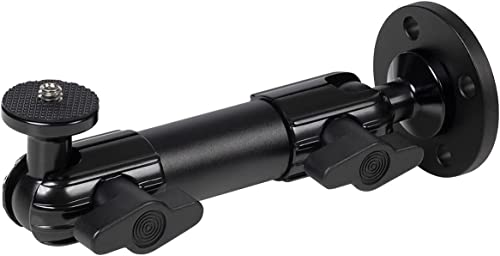
UNIVERSAL MOUNTING: This projector bracket has been designed to be universal which means that it should fit any projector unit. If you are in doubt, please ensure you check the measurements to ensure it will fit the way you need it to.
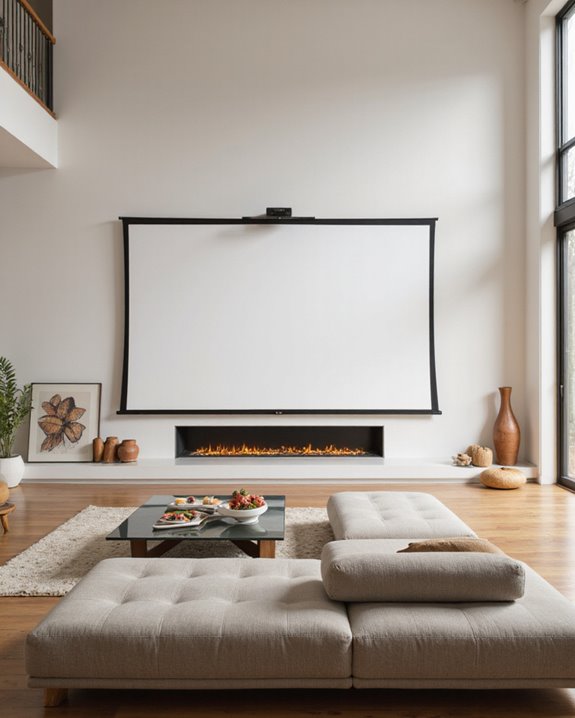
Screen Placement Strategies for Maximum Impact

The strategic placement of a projector screen serves as the cornerstone of an effective home theater setup. Screen orientation plays a vital role, with fixed mounting options providing consistent viewing experiences and professional aesthetics. Wall color surrounding the screen should be neutral or dark to minimize light reflection and enhance image contrast.
Homeowners can choose between permanent and portable solutions based on their living room requirements. Fixed screens offer a sleek, integrated look but require precise installation, while portable screens provide flexibility for rooms with changing layouts. Blackout curtains are essential for daytime viewing sessions to maintain image clarity. When selecting screen placement, key factors include:
- Distance from seating areas
- Room lighting conditions
- Screen size relative to wall space
- Viewing angle for all seats
- Integration with existing decor
The screen material choice further impacts viewing quality, with high-gain materials brightening the image but limiting viewing angles.

Wall Mounted Fixed Frame Projection Screen (Overall Size 63.625" Tall x 109.25" Wide) (Viewing Area 120" Diagonal x 58.875" Tall x 104.5" Wide) No option for Legs or Stands with this product. Recommended for projectors with Native 16:9 Resolution
Tested and matched pair (2 tubes) of low-noise 7-Pin NIB/NOS JAN 5654W Vacuum Tubes. Considered one of the best of the 5654 / 6AK5 / EF95 family of tubes for audio use.

【4K HDMI Cable 1FT】Short hdmi to hdmi cables are specially designed for HDMI switch/splitter, patch panels, camera field monitor. A short distance 1ft hdmi cable can meet your use.
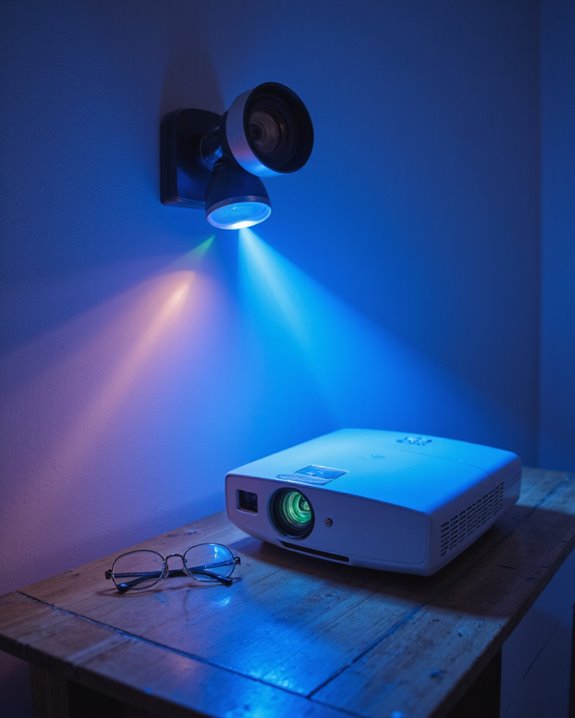
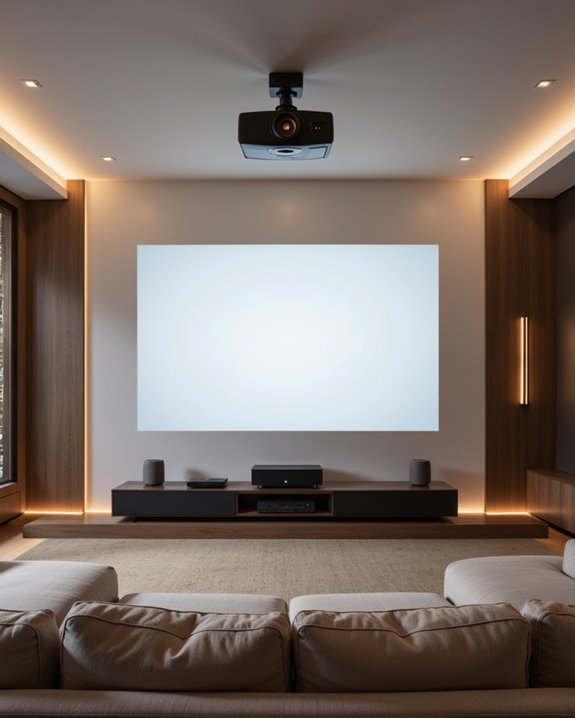
Managing Natural and Artificial Light Sources
Successful projector setups depend heavily on mastering both natural and artificial light control in the viewing space. For natural light, installing blackout curtains or window films provides essential lighting control, while positioning the projector away from direct sunlight helps maintain image clarity.
Effective glare reduction involves strategic placement of artificial light sources. Indirect lighting techniques, such as wall sconces or recessed ceiling lights, minimize screen reflections. For ideal results, room lights should be dimmable and positioned away from the projection screen. In brighter rooms, choosing a projector with at least 3,000 lumens ensures vibrant images even with ambient light present. Only about 30% of lamp lumens will effectively reach your projection screen, so proper light control is crucial. Light-colored walls can reflect excess light, so using darker paint colors near the screen area helps maintain contrast and picture quality.
Optimal Viewing Distance and Seating Arrangements
Finding the perfect viewing distance and seating arrangement transforms a basic projector setup into an immersive home theater experience. The ideal distance can be calculated by dividing the screen’s diagonal size by 0.84, while maintaining a viewing angle between 26 and 40 degrees for maximum comfort.
When planning seating, consider how decorating themes can complement the viewing space while maintaining proper sight lines. Central seats should align with the screen’s middle, and furniture should be arranged symmetrically to enhance the experience. For larger rooms, tiered seating offers improved viewing angles. Acoustic treatments can be integrated between seating areas to enhance sound quality without disrupting the viewing distance. The THX recommended viewing angle of 36 degrees provides the most comfortable viewing experience for most viewers.
To prevent eye strain and maintain image quality, larger screens require viewers to sit farther back, typically 8 to 18 feet depending on screen size.
Power and Cable Management Solutions

Managing power and cable connections efficiently transforms a projector setup from a tangled mess into a streamlined system. Professional installation methods include ceiling mounts with concealed wiring and power distribution units (PDUs) that safely manage multiple device connections. Wireless connectivity options, such as wireless HDMI adapters, eliminate the need for visible cables while maintaining high-quality transmission.
For setups requiring physical connections, cable management solutions offer practical ways to maintain a clean appearance. Decorative covers and cable sleeves can be matched to room décor, while in-wall routing provides the most polished look. Under-carpet cable routing offers another discreet option for rooms where wall modifications aren’t possible. Cable management boxes keep multiple cords organized in a central location, reducing clutter and maintaining easy access for maintenance. Installing surge protectors near the projector provides essential protection while offering additional outlets for connected devices.

1:Under Desk Design for PS5/PS5 Slim by Monzlteck. Designed specifically for the PS5/PS5 Slim/PS5 Pro. The metal mount securely holds your gaming console in a convenient location under your desk.

𝐈𝐍 𝐖𝐀𝐋𝐋 𝐂𝐀𝐁𝐋𝐄 𝐌𝐀𝐍𝐀𝐆𝐄𝐌𝐄𝐍𝐓 𝐊𝐈𝐓 – Bestmounts Single gang wall cable pass through is the perfect solution to conceal cords on wall up to 4 low voltage audio/video cables behind your wall-mounted flat panel TV (may hold more than 4 cables depending on type)
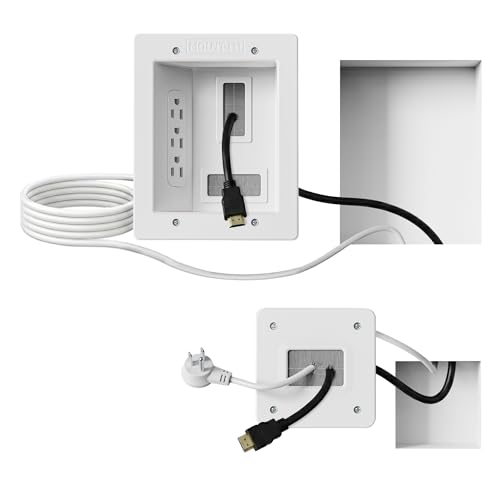
Organized home theater setup – Eliminate messy wires and give your entertainment area a clean, modern look. This in-wall cable management kit provides an easy way to power your TV and hide cables for a polished setup in living rooms, bedrooms, or home theaters.
Cooling and Ventilation Requirements
Proper cooling and ventilation stand as critical requirements for any projector installation, directly impacting both performance and longevity. Effective thermal management requires maintaining at least 6 inches of clearance around the projector and keeping room temperatures between 60°F and 90°F.
Optimal airflow optimization involves several key considerations:
- Avoiding placement near heat sources or direct sunlight
- Ensuring unobstructed ventilation holes
- Using built-in and supplementary fans when needed
- Maintaining proper air circulation in the room
For enclosed installations, additional measures become necessary. These include installing secondary fans, incorporating heat sinks, and using foam dividers to separate hot and cold air zones. EC inline fans provide the most efficient ducted cooling solution for enclosed spaces. Regular maintenance of cooling systems, including cleaning vents and monitoring temperature levels, helps prevent overheating and extends the projector’s lifespan.
Sound System Integration Tips

While creating an immersive home theater experience depends heavily on visual quality, a well-integrated sound system plays an equally crucial role in achieving professional-level entertainment. A high-quality soundbar with Dolby Atmos, which creates three-dimensional audio, should be positioned below the screen for ideal sound distribution. Modern systems with wireless connectivity options reduce cable clutter while maintaining audio quality. The refurbished Soundcore X600 offers an affordable yet effective solution for enhancing bass and spatial audio performance.
For the best experience, proper sound calibration is essential. Many current soundbars offer auto-calibration features that analyze room acoustics and adjust accordingly. A system with at least a 5.1.2 configuration (five speakers, one subwoofer, and two height channels) provides thorough audio coverage. In-wall speakers offer a sleek alternative, though they require professional installation. HDMI ARC compatibility ensures seamless integration between the projector and sound system.

HDMI 2.1 Certified Cable: UGREEN high speed HDMI cable upgrade to the standard HDMI 2.1 version with 48Gbps bandwidth, delivers uncompressed 8K(7680 x 4320) video transmission without signal loss. Make it faster 2.6X than HDMI 2.0(18Gbps), the video cord is Ethernet-enabled and makes it easy for multiple HDMI devices to exchange files

【Real 8K HDMI 2.1 Cable】Our HDMI cables support high resolution 8K@60Hz (7680*4320). It smoothly supports 4K@120Hz & 2K@240Hz, ensuring a smooth and low-latency viewing experience. Compatible with HDMI 2.0/1.4/1.3/1.2/1.1
【Certified for True 8K】Officially certified by the HDMI Forum, this Ultra High Speed HDMI 2.1 Cable 6FT delivers the full uncompressed 48Gbps bandwidth. You can experience guaranteed incredibly smooth 8K@60Hz and 4K@144Hz visuals.
Frequently Asked Questions
Can I Use a Projector if My Walls Aren’t Perfectly White?
Non-white walls can effectively display projector images through built-in color adjustment features. Projector brightness and wall color impact quality, but specialized paints and coatings can enhance performance on various wall surfaces.
Will a Projector’s Fan Noise Disturb My Neighbors at Night?
With most projectors operating between 25-40 decibels – quieter than a library whisper – sound levels typically won’t disturb neighbors. However, proper placement away from shared walls further minimizes potential neighbor disturbance during nighttime viewing.
Should I Turn off My Projector During Short Breaks?
For short breaks under 30 minutes, using reduced screen brightness and eco power settings is preferable to shutting off the projector. Complete shutdown is recommended for longer breaks to maximize lamp life and energy efficiency.
Can Humidity in My Living Room Damage My Projector?
High humidity can damage projectors through internal condensation and corrosion. Proper projector storage in dry, well-ventilated areas and maintaining indoor humidity below 60% helps prevent moisture-related issues affecting performance and lifespan.
How Often Should I Clean My Projector’s Lens and Filters?
Regular lens cleaning should occur monthly or when image quality declines. Filter maintenance is recommended every 3-6 months, with more frequent cleaning needed in dusty environments. Both tasks help maintain ideal projector performance.