As an Amazon Associate, we earn from qualifying purchases. Some links on this site are affiliate links at no extra cost to you. Our recommendations are based on thorough research and editorial judgment.

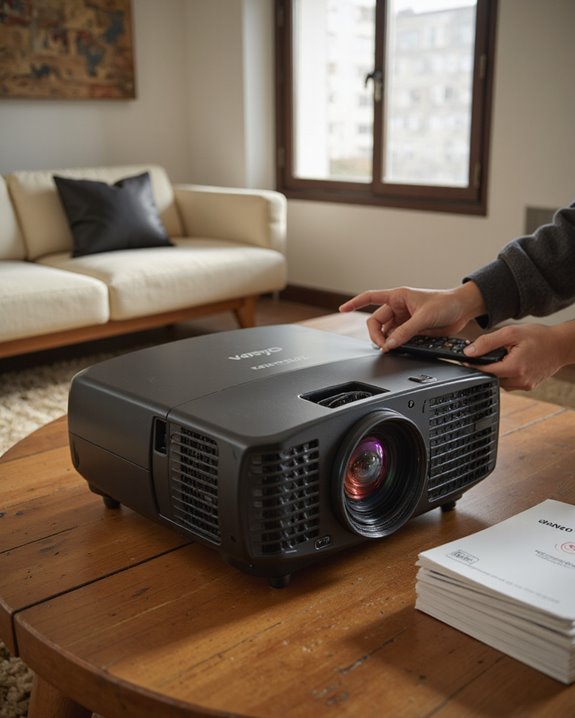
How to Use a Vankyo Projector: A Step-by-Step Guide

To use a Vankyo projector, first unbox and verify all parts, then connect the power cord and plug it in. Position the projector on a stable surface, adjusting its feet and distance for a clear image. Connect source devices using HDMI, VGA, or USB cables, then use the focus ring and keystone controls for sharpness and proper shape. Set picture and sound preferences via the remote. Wireless screen mirroring should match WiFi networks; further details address troubleshooting and upgrades.
Key Takeaways
- Unbox the projector, verify all components, and inspect for any shipping damage before starting setup.
- Connect the power cord, place the projector on a stable surface or mount, and power it on using the button or remote.
- Connect your media source using HDMI, USB, VGA, or enable wireless screen mirroring as needed.
- Adjust focus and keystone settings for a sharp, properly shaped image, and use the remote to fine-tune picture and sound.
- Regularly clean the lens and vents, and check cables to maintain optimal performance and prevent overheating.
Unboxing and Identifying Your Vankyo Projector Components
You may be interested
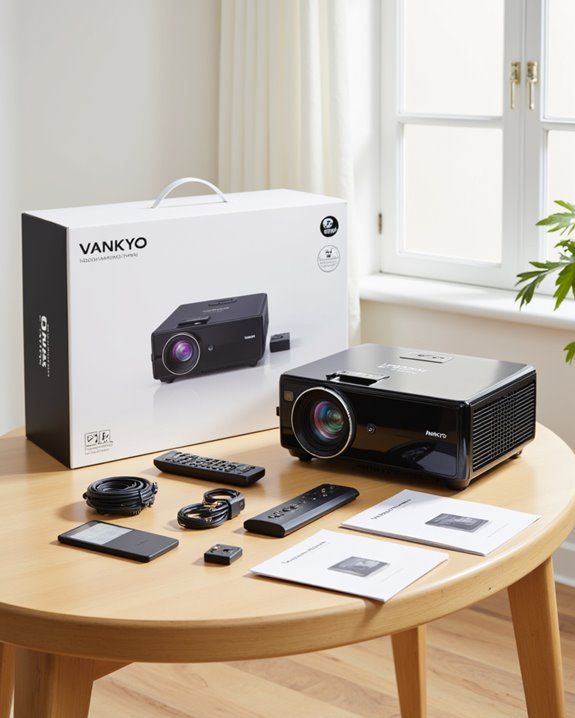
A Vankyo projector kit typically arrives with several essential components, each designed for a specific function in the setup process. The main projector unit contains the lens and internal electronics, while the included remote control provides remote functions such as power, mute, navigation, and volume adjustment. Packing materials are environmentally friendly, using minimal plastic, and provide secure cushioning. Users will find a power cable, HDMI, VGA, and AV cables for different connection needs. Accessories include a cleaning kit with Q-tips and a cleaning cloth for maintenance. Manuals, such as a quick start guide and full user manual, are provided for reference. Some models also offer a carrying case. Many kits also include a 120-inch portable screen that can be easily set up to maximize your viewing experience. Before setup, users should verify all components against the manual and inspect the packing materials for any damage. Additionally, understanding the connection options available can help optimize your setup process.
Powering Up and Placing Your Projector
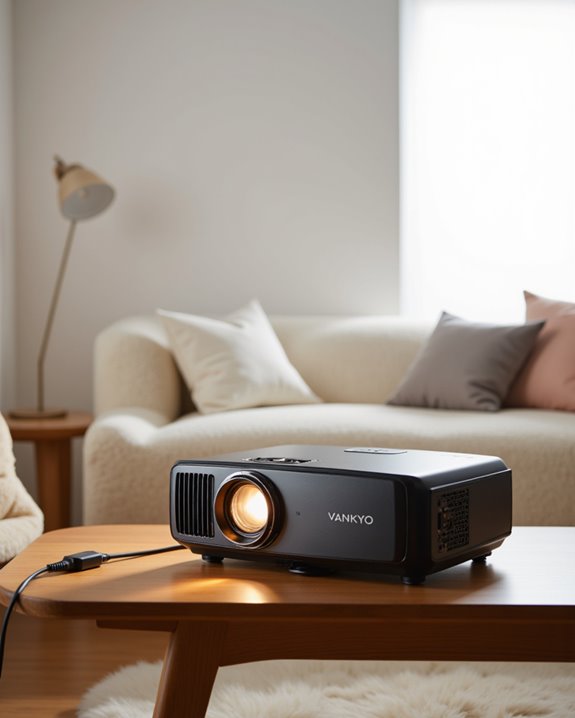
Successful operation of the Vankyo projector begins with two key steps: powering up the device and placing it correctly. To start, connect the power cord to the projector’s power inlet and plug it into an electrical outlet. Press the power button; indicator lights will confirm startup. Effective power management—such as activating power-saving modes or using automatic shutdown—helps extend device life. For cable organization, keep all cords tidy and away from walkways to avoid tripping hazards or accidental damage. Additionally, consulting the brightness & contrast specifications ensures your setup is optimized for the ambient lighting conditions in your space. When positioning the projector, select a stable, dust-free area. Adjust the height using the built-in stand or opt for ceiling mounting using provided screw holes. Align the projector with the screen’s center, use the focus ring for clarity, and apply keystone correction to ensure the image remains rectangular and sharp. For added convenience, a carrying case is often included, making it easy to transport and set up your projector in different locations.
Recommended Products

Universal Compatibility: Fits most projectors (Note: Length <13.7'', Width <8.6'') with standard mounting interfaces. Projector Wall Mount supports a maximum load of 10kg/22LBS, suitable for home, office, cinema and other scenarios, and is compatible with mainstream device sizes, no compatibility concerns
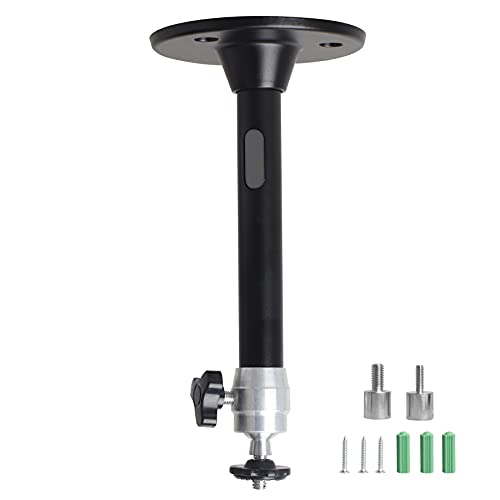
Projector Holder Compatible with QKK,DR.J,DBPOWER,Anker,VANKYO,AAXA,Jinhoo,PVO,TMY,AuKing and Most Other Mini Projector

Universal Projector Mount: Fits most projectors on the market, including mini projectors. Sturdy steel design supports up to 30 lbs (Please Note: Extension arms need to be removed for mini projectors)
Connecting External Devices
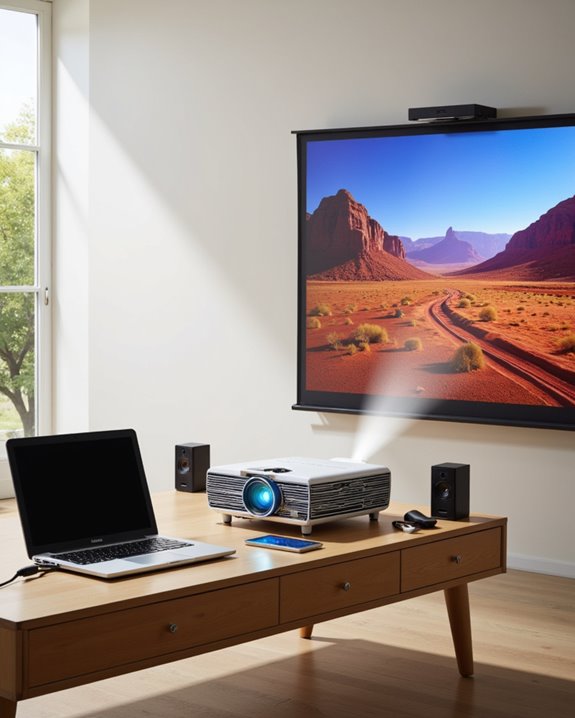
Once the Vankyo projector is powered on and correctly positioned, connecting external devices allows users to access a wide range of media and content sources. The projector supports strong external device compatibility, offering multiple input ports such as HDMI, USB, microSD (TF), and VGA. For wired connections, users can link laptops, game consoles, or streaming sticks via HDMI, which carries both video and audio. Wireless connectivity is available through built-in Wi-Fi, allowing Apple and Android devices to stream content using screen mirroring or apps like AllCast. Wired connections are reliable when wireless options fail or are unavailable, making them a dependable choice for presentations or high-quality streaming. To select the desired input, press the “Source” button and use the arrow keys to highlight the correct input type. Confirm with OK/Enter. For USB or microSD, select the corresponding input to access and play stored files. Ensuring a proper signal connection with high-quality cables and adapters can prevent issues and improve overall performance.
Recommended Products
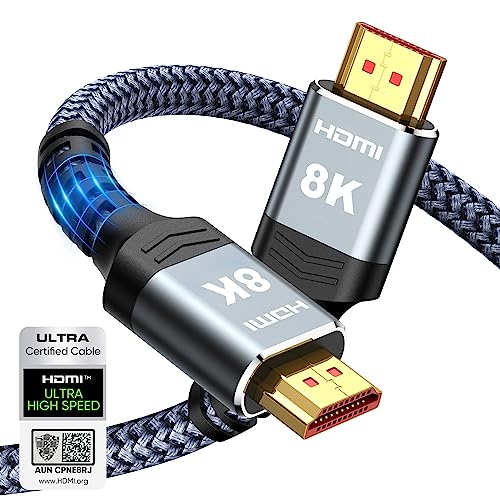
Top Technology--8K@60HZ: This 8K Ultra-High Speed 2.1 HDMI Cable uses the most cutting-edge technology, which is compatible with 8K@60HZ,4K@240HZ and 4K@120HZ clearly displays every particle, and accurately processes every signal source.

【4K UHD Visual Feast】This USB-C to HDMI cable supports up to 4K@60Hz resolution and is backward compatible with 1440P@60Hz and 1080P@120Hz. It can seamlessly transmit at 3840x2160 resolution, providing crystal-clear images and smooth video, suitable for high-definition monitors, TVs, and projectors, meeting the needs of various devices and use cases. 📌𝐍𝐨𝐭𝐞: 𝐔𝐒𝐁-𝐂 𝐩𝐨𝐫𝐭 𝐦𝐮𝐬𝐭 𝐬𝐮𝐩𝐩𝐨𝐫𝐭 "𝐃𝐢𝐬𝐩𝐥𝐚𝐲𝐏𝐨𝐫𝐭 𝐀𝐥𝐭𝐞𝐫𝐧𝐚𝐭𝐞 𝐌𝐨𝐝𝐞". 𝐍𝐎𝐓 𝐬𝐮𝐩𝐩𝐨𝐫𝐭 𝐏𝐨𝐫𝐭𝐚𝐛𝐥𝐞 𝐌𝐨𝐧𝐢𝐭𝐨𝐫 𝐨𝐫 𝐔𝐥𝐭𝐫𝐚 𝐖𝐢𝐝𝐞 𝐌𝐨𝐧𝐢𝐭𝐨𝐫.

Certified HDMI Cable: The package has an official HDMI certification label. HDMI Officially Certified Fully compliant with the HDMI Forum’s strict requirements as specified in HDMI
Adjusting Image Clarity and Position
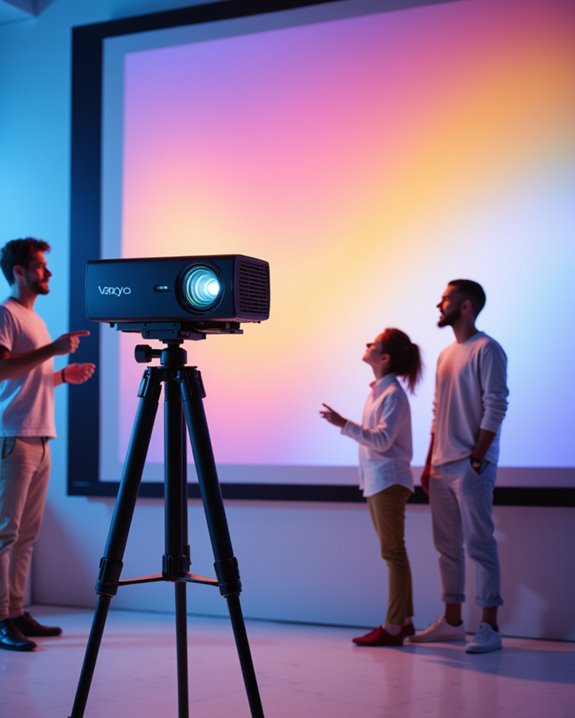
How can users guarantee the projected image is both clear and properly positioned? Begin by ensuring correct image alignment through physical placement—move the Vankyo projector closer to the screen for a smaller image, or farther for a larger one. Adjust the projector’s feet to keep the device level, which helps maintain a straight image. For ceiling-mounted units, use mount adjustments for precise positioning. Focus adjustment is achieved by manually rotating the focus ring until the image is sharp. Keystone correction, which fixes trapezoid-shaped distortion when the projector sits at an angle, can be adjusted both vertically and horizontally. Utilize lens shift, a physical lens movement, to move the image up, down, left, or right without moving the projector. Refer to the manual for the recommended distance range to ensure you do not exceed the projector’s specified limits and maintain optimal image quality. Always recheck focus after repositioning for superlative clarity.
Recommended Products

【Note】The projector mount used in this projector mount should have the following conditions: 1. The wall where the mount is installed should be a hard solid wall, not a hollow and weak wall; 2. The projector has 3-4 screws holes to install screws; 3. The diameter of screw holes is 3 mm or 4 mm.

Fits projectors with 1/4 inch thread (or M4 or M6), and weight under 30lbs (13.6kg). Note: Only for single-hole installation. Not suitable for three-hole or four-hole installations.
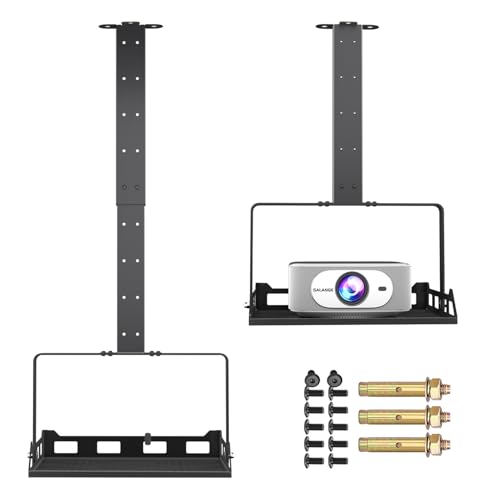
360° Rotatable Tray & 0-90° Tilt for Perfect Projection - This universal projector ceiling mount features a 360° rotatable tray and supports 0-90° tilting. Pair it with your projector’s auto or manual keystone correction, and you can get a perfectly rectangular projection on walls or screens without hanging the mount at a low height. Secure the device by driving screws upward through the multi-row heat dissipation holes on the tray bottom; the all-around side guards prevent slipping even when tilted.
Customizing Picture and Sound Settings
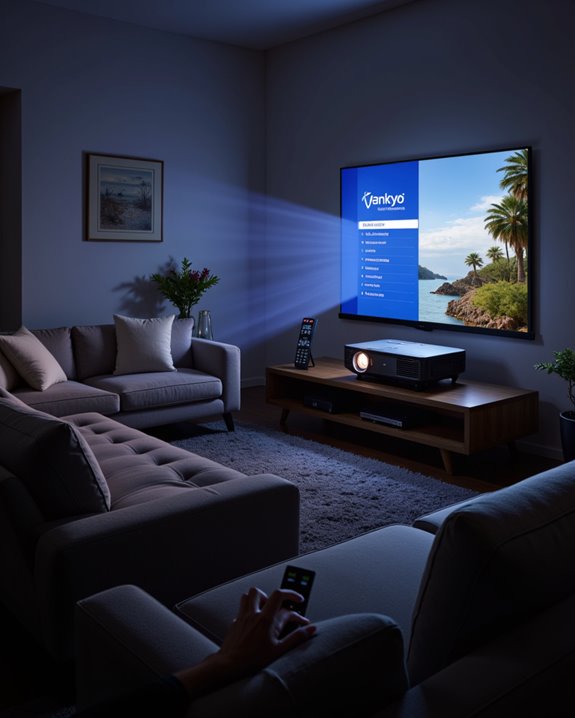
Adjusting picture and sound settings on a Vankyo projector helps users achieve ideal viewing and listening experiences for different types of content and environments. The Picture mode menu provides options such as Standard, Soft, User, and Vivid. Picture mode determines how colors and brightness appear:
- Standard: balanced for general use
- Vivid: increases color and brightness intensity
- Soft: lowers sharpness for comfortable, prolonged viewing
- User: allows custom adjustment of contrast, brightness, color, sharpness, and tint
Color temperature, which adjusts the overall color tone, includes Medium (neutral), Warm (reddish), Cool (bluish), and User for custom red, green, and blue levels. Users can set the Aspect Ratio to 16:9, 4:3, or Auto for correct image shape. Sound settings include noise reduction, volume, and options for connecting external speakers. For optimal results, consider using recommended settings such as contrast 60, brightness 15, color 63, sharpness 53, and noise reduction set to middle with color temperature at warm, as these values have been shown to maximize color accuracy and sharpness on Vankyo projectors.
Using Screen Mirroring Features
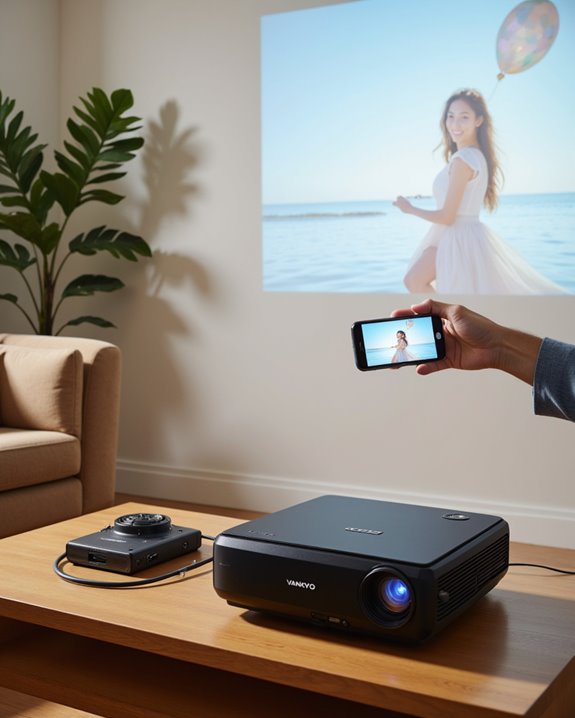
Screen mirroring allows users to display the content from their smartphone, tablet, or computer directly onto a Vankyo projector’s screen, creating a larger and more immersive viewing experience. This feature uses wireless connectivity, letting users avoid extra cables. To begin, both the projector and device must be connected to the same WiFi network. Device compatibility is broad—most iOS and Android devices, as well as computers, include built-in screen mirroring functions. Users can use AirPlay on Apple devices or Smart View on Android. Alternatively, an HDMI cable can be used for a direct, stable connection; simply connect the cable, select the correct HDMI input on the projector, and set the device to output video. Both wired and wireless methods enable real-time media sharing with similar functions. Always make certain software and apps are up to date for reliable performance.
Enhancing Your Viewing Experience With Accessories
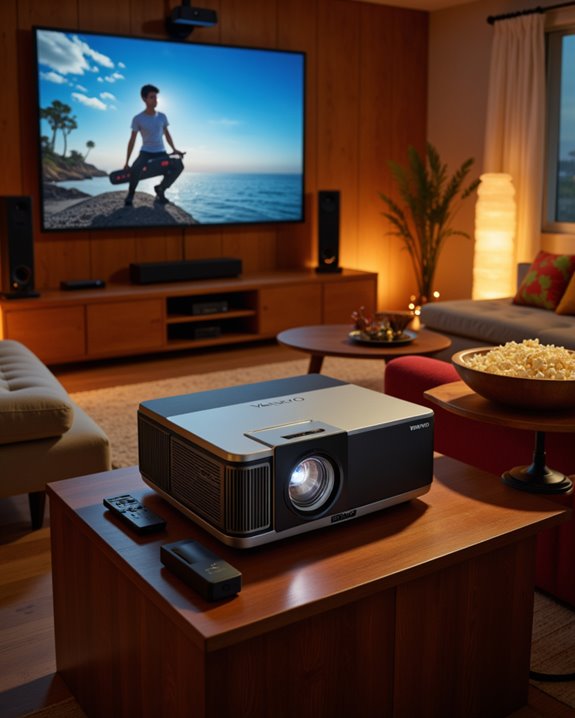
Creating a high-quality home theater or presentation setup involves more than just connecting a Vankyo projector to a device. The use of dedicated projector screens—available in 100-inch and 120-inch sizes—delivers sharper images and more accurate colors than blank walls. Many screens feature ambient light control, which means they reduce glare and maintain contrast in bright rooms. Adjustable tripod stands, such as the Vankyo WT50, allow flexible placement and stable projection, even on uneven surfaces. Ceiling mounts provide a permanent, space-saving installation option, improving wireless connectivity by enabling discreet cable runs. VANKYO accessories are often available at up to 50% off, making it more affordable to upgrade your setup with screens, mounts, or stands. Remote controls add convenience, allowing users to adjust settings from a distance. Protective carrying cases safeguard equipment during transport and storage, while accessory pockets keep cables and remotes organized and easy to find.
Recommended Products

Sturdy Backdrop Stand: Made of metal with uniformly thick tubing, this backdrop stand is more stable than telescoping models. The enlarged base and non-slip feet enhance stability, easily supporting heavy backdrops (e.g., 6x6m) without bending crossbar
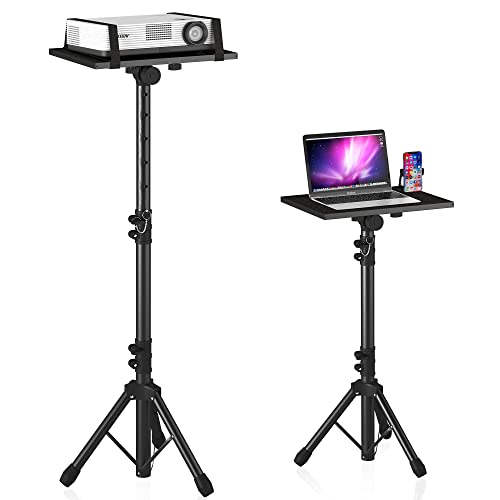
【𝑼𝒑𝒈𝒓𝒂𝒅𝒆𝒅 𝑷𝒓𝒐𝒕𝒆𝒄𝒕𝒊𝒐𝒏 𝑫𝒆𝒗𝒊𝒄𝒆】: Projector Stands add a safety latch, which avoids the danger of falling. Laptop tripod is made of thickened aluminum metal to ensure overall stability. Metal top tray prevents warping in the transportation process.
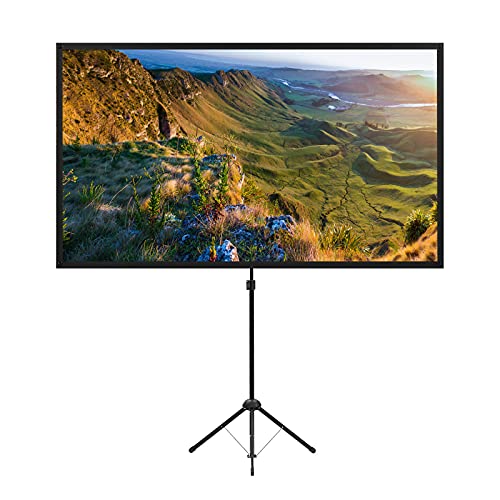
PROJECTOR SCREEN 100 INCH: The size of this premium screen with 16:9 format can meet most of your applications, the tension of four tubes makes a flat surface, with high gain factors on fabric, it will gives you a perfect picture.
Troubleshooting Common Issues
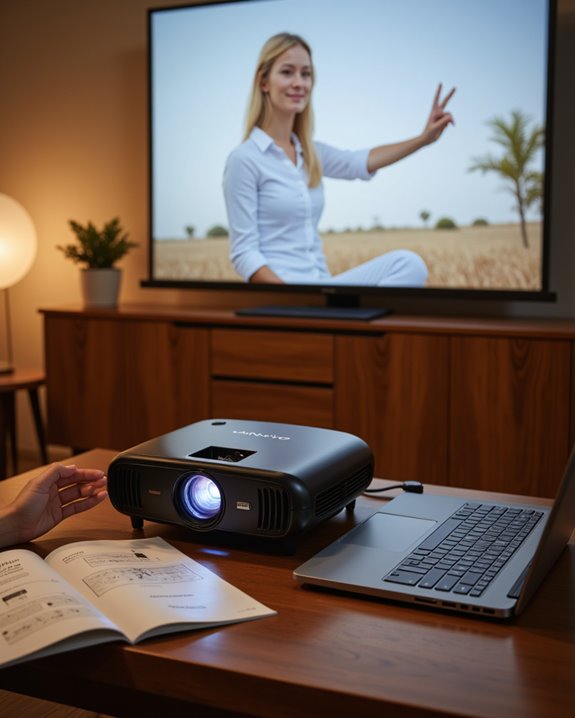
When technical issues arise with a Vankyo projector, users can often resolve them by following a systematic troubleshooting process. Begin with basic troubleshooting protocols: verify the power cord is firmly connected and the power button is released by holding it for a few seconds. Test the electrical outlet with another device to confirm it works. For signal issues, verify the correct input source is selected and cables like HDMI or VGA are secure and undamaged. Make sure that the projector is properly set up by connecting it to your source device using the correct cables or adapters, and adjust the display settings as needed to ensure compatibility. Address overheating by placing the projector in a ventilated area, cleaning vents, and avoiding blockages. For image problems, adjust focus, keystone, and clean the lens. Audio issues require checking volume, cable connections, and output settings. Regular maintenance tips include cleaning dust from vents and inspecting cables for damage.
Recommended Products

Life:Increasing the brightness of the bulb seems to be an easy task,The most difficult thing to break through is how to extend the life of the bulb.We did it.
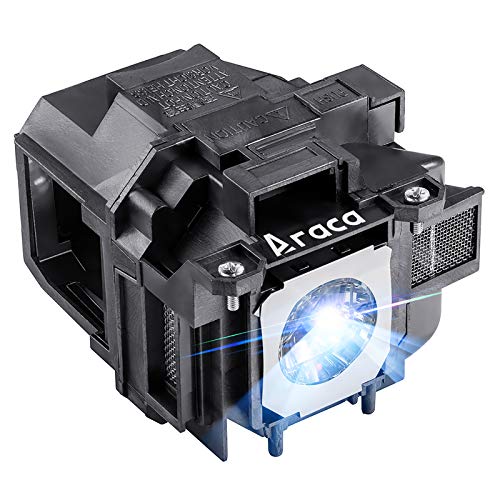
Compatible Models: for ELPLP78 /V13H010L78 with housing, fully tested before leaving the factory.

Lamp Model: 5J.JEE05.001(P-VIP 240/0.8 E20.9n) replacement lamp with housing, high brightness lasting 4000h, "ECO" more durable (brightness only slightly reduced), lumen output of 2200.
Frequently Asked Questions
How Do I Update the Firmware on My Vankyo Projector?
To perform a firmware update, the user should download the latest file, place it on a USB drive, then access the projector settings. Selecting the USB update option initiates installation, after which the projector automatically restarts.
Can I Use the Projector Outdoors During Daylight?
Like a candle flickering at noon, outdoor viewing with a Vankyo projector faces challenges in daylight visibility. Ambient light overwhelms the image, making daytime projection difficult; nighttime or shaded environments yield far superior results for viewers.
What Is the Recommended Screen Size and Distance for Optimal Viewing?
Recommended screen size ranges from 100 to 120 inches, with prime seating distance determined by screen calibration and projector positioning. The ideal distance typically aligns with the projection ratio and image width, adjusted for room layout and viewing preference.
How Do I Clean and Maintain the Projector Lens?
Proper lens cleaning involves using compressed air, a microfiber cloth, and lens cleaner applied to the cloth, not directly on the lens. Maintenance tips include routine dust removal, securing the lens cap, and avoiding direct contact or abrasive materials.
Are There Parental Control Features Available on Vankyo Projectors?
Like a gate left open, Vankyo projectors currently lack built-in parental controls or direct content restrictions. Users seeking content oversight must rely on connected devices, software solutions, or network-level controls to manage access and filter unsuitable material.