As an Amazon Associate, we earn from qualifying purchases. Some links on this site are affiliate links at no extra cost to you. Our recommendations are based on thorough research and editorial judgment.

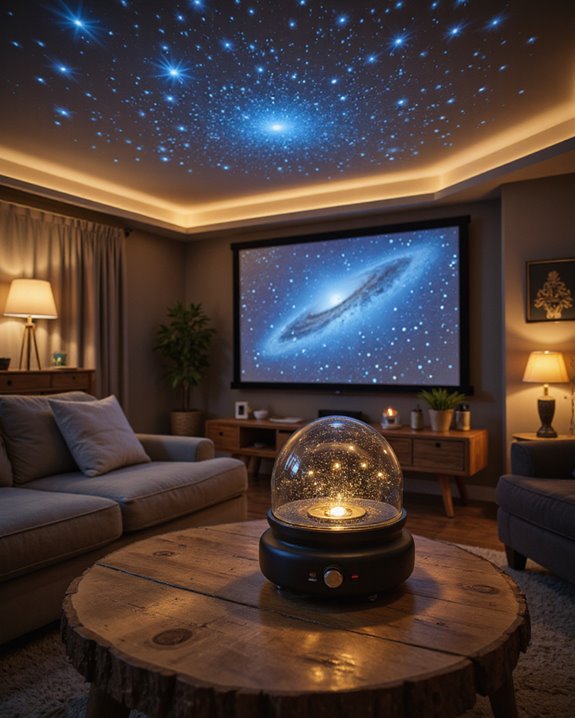
How to Make a DIY Star Projector for Your Home Theater

To make a DIY star projector for a home theater, assemble a small box using sturdy cardboard or foamcore, then attach a pattern of holes in aluminum foil to act as the star map. Mount a bright LED or torch inside the box to shine light through the holes, projecting stars onto the ceiling. Use black paper or paint to block stray light. Secure components with tape or glue, and customize with fiber optics or colored LEDs for advanced effects. More detailed steps follow.
Key Takeaways
- Choose sturdy materials like cardboard or foamcore for the projector housing and line the interior with aluminum foil to maximize light reflection.
- Use a clear plastic sheet with pinholes or a printed star pattern to create the star field for projection.
- Install a super bright white LED as the light source, connecting it safely to a battery pack or USB power supply.
- Adjust the distance between the light source and star pattern to achieve sharp, focused star projections on your ceiling or wall.
- Mount the projector at least 7 feet high and minimize ambient light to ensure clear, immersive star effects in your home theater.
Materials and Tools Checklist
You may be interested
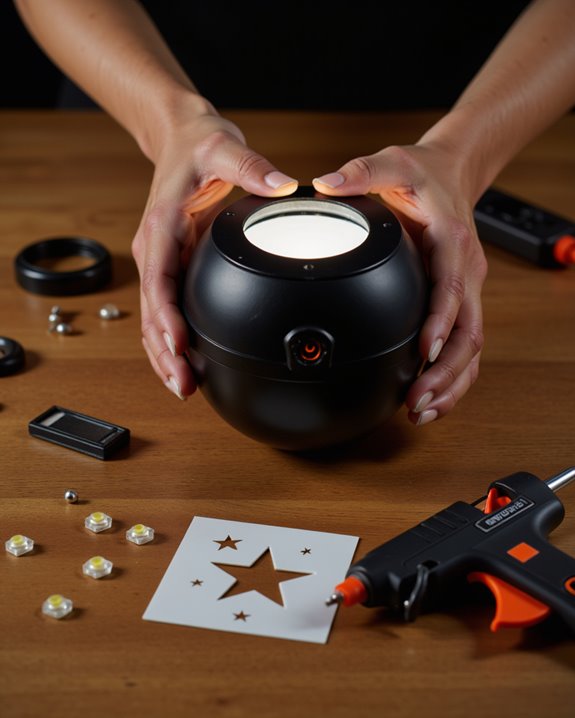
A thorough materials and tools checklist is essential for building a functional and accurate DIY star projector. The main structure requires sturdy cardboard or foamcore, about 0.5 cm thick, providing stability. Aluminium foil creates reflective or star-pattern surfaces, while black paper or matte black spray paint delivers a dark background for ideal contrast. For mounting constellation templates, clear plastic sheets or lids are recommended. Adhesives—such as strong tape and glue sticks—secure components. Precision tools include sharp scissors, a craft knife, ruler, compass, and pencil for accurate measurement and cutting. Safety precautions should include using a cutting mat and protective gloves. Lighting involves a bright LED or torch, powered by compatible batteries. For customization, decorative paper allows for varied color schemes, and extra cardboard offers reinforcement. Additionally, ensuring the projector is compatible with modern lighting options can enhance brightness and image clarity.
Recommended Products

SIZE: 1 in x 16ft ; Can be cut into small pieces freely.

【Clear Acetate Sheets for Versatile Use】Premium PET acetate sheets with high clarity, ideal for craft projects, overlays, printing designs, and presentation transparencies.

12" x 12" ACETATE SHEETS FOR CRAFTING & DIE CUTTING - Designed for crafting and Cricut materials, these acetate transparent paper sheets are perfect stencil paper for Cricut machines and die cutting. Large 12" x 12" size provides more surface area for creative ideas to be cut and shaped.
Designing the Projector Structure
How does one achieve both function and form when constructing a DIY star projector? The foundation lies in designing a projector housing that balances practical needs with the home theater’s design. The projector housing, which is the outer shell protecting internal components, should match the room’s style and provide easy access for maintenance. Integrating acoustic treatment—using sound-absorbing acoustic boards—helps control sound reflection and enhances overall audio quality. To optimize visual performance, select a compatible screen size and material, such as a 120″ Seymour Enlightor Neo. Add light control systems to minimize stray light and preserve star projection clarity. Ascertain safe cable management, a reliable USB power source, and include a user-friendly switch. Regular inspection and dust protection are essential for long-term reliability and performance. Additionally, choosing a projector with high brightness and resolution ensures vivid star patterns even in well-lit environments.
Recommended Products

Wall Mounted Fixed Frame Projection Screen (Overall Size 79.8" Tall x 137.05" Wide) (Viewing Area 150" Diagonal x 73.5" Tall x 130.75" Wide) No option for Legs or Stands with this product. Recommended for projectors with Native 16:9 Resolution

CONVENIENT TO STORAGE AND CARRY : Compact one-piece,lightweight and folding design. You can fold the projector screen in small size and put it in your backpack or suitcase

Wall Mounted Fixed Frame Projection Screen (Overall Size 65.175" Tall x 110.8" Wide) (Viewing Area 120" Diagonal x 58.875" Tall x 104.5" Wide) No option for Legs or Stands with this product. Recommended for projectors with Native 16:9 Resolution
Building the Star Panels
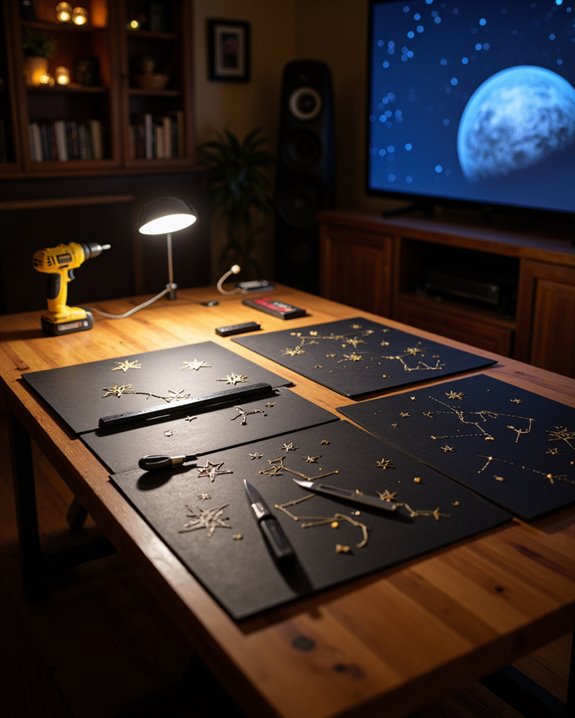
When constructing star panels for a DIY star projector, material selection and panel design are the primary considerations. Acoustic boards, which enhance sound quality, and fiber optic panels, known for their high-tech effect, are popular choices. For budget builds, cardboard and aluminum foil can substitute. Star pattern variations—such as random star placements or constellation alignment—impact the natural look of the starfield. Variable star sizes, created with different pin or hole diameters, simulate planets and bright stars. Light color customization is achieved by integrating colored LED backlights or using different fiber optic strands. Panels are typically framed with wood or plastic, then attached using neodymium magnets for secure, removable installation. Custom designs and textured finishes further personalize the star ceiling. Additionally, selecting the right projection technology can greatly influence the overall effect and brightness of your DIY star projector.
Recommended Products

【Design Originals】 This original design plan comprehensively integrates innovative elements of UV printing pattern design, optimised strategies for accessory use, scientific planning of installation process design, and in-depth exploration of design concepts, forming a systematic and forward-looking innovation system


Enhance Sound Quality: Our sound proof foam panels for walls effectively reduce echo and reverberation, providing a balanced and clear audio experience in any room.
Assembling the Light and Projection System
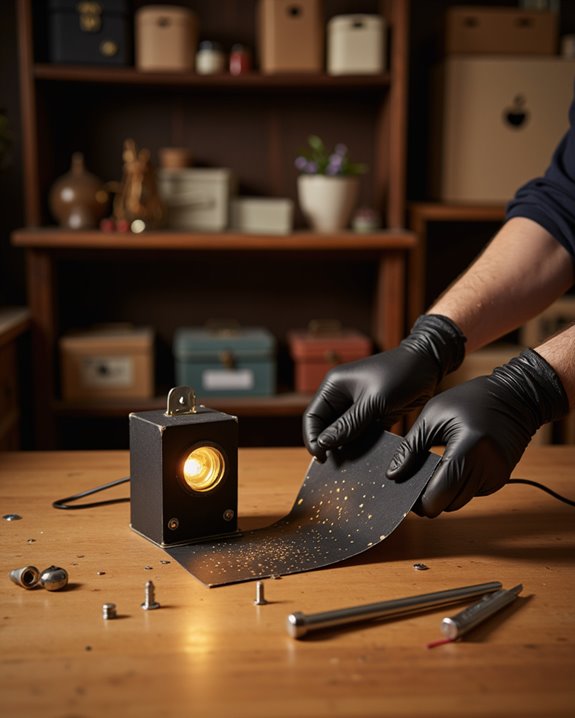
While assembling the light and projection system is the core step in building a DIY star projector, careful attention to component selection and precise construction guarantees the best results. Begin by installing super bright LEDs, as LED brightness directly impacts how vivid the stars appear. Connect the LEDs to a battery pack using a suitable wire gauge for safe and efficient power transfer. Power management is critical—add resistors to control the electrical current and prevent overheating. Ensure all wiring is insulated to avoid shorts and maintain safety. Mount the LEDs securely inside the projector body, aligning them with the pre-cut star pattern. Test the projection on a wall, adjusting the distance between the light source and the pattern for ideal clarity and brightness.
Recommended Products

🚗【Upgrade your 2016-2018 Dodge Ram with projector Bulbs】AMXTOBUB light bulb combo includes 9005 HB3 H10 High Low Beam + 9145/9140 fog light + 7443 Turn signal Lights. Upgraded 240W 30,000LM 6500K pure white light for brighter, safer night driving. Direct replacement with plug-and-play installation. Durable aluminum housing with advanced heat dissipation. Fits perfectly without error or flicker. Enhance visibility and style effortlessly.
Customizing Star Effects and Features
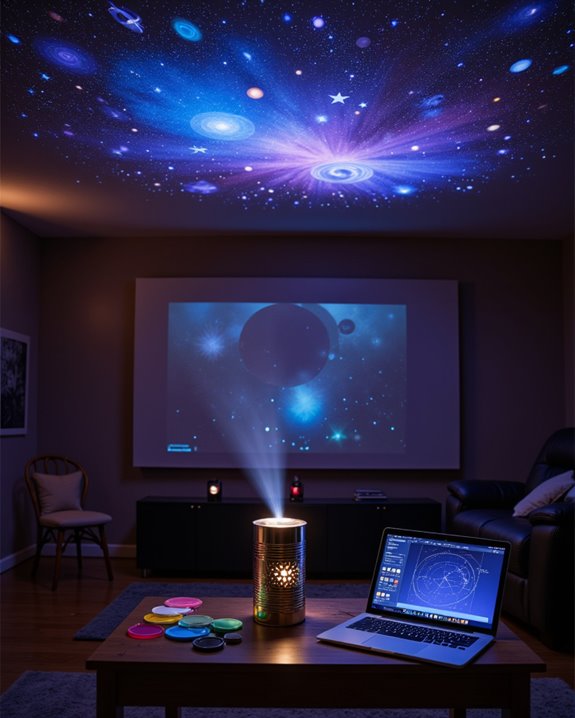
A key advantage of building a DIY star projector is the ability to customize star effects and features to suit specific preferences and environments. Star map customization allows users to select or design unique celestial patterns using software or mobile apps, with options to create constellations for specific dates or locations. To enhance projection effect enhancement, builders can:
- Adjust light sources, such as LED lights or modified flashlights, for varied brightness and color.
- Incorporate dimming controls for ideal light intensity.
- Use magnifying glasses and reflective surfaces to sharpen and brighten projections.
- Design custom constellation patterns by piercing cardstock or paper.
- Experiment with surface types, such as semi-blackened ceilings, for higher contrast.
- Integrate additional effects like fog, color-changing lights, or synchronized soundscapes for a more immersive experience.
Recommended Products

Use this high-quality 6-inch dual-mode planetarium and slide projector to turn your bedroom into a personal planetarium theater!

DIY NIGHT LIGHT: Create your own night sky full of stars with a diamond art painting night light! Fill in the cosmic sky design with colorful, transparent gems to bring your stellar night light to life. Design YOUR way with a creative, gem art activity for kids!

🎨 DIY CREATIVITY AT ITS BEST - Let your child personalize their astronaut projector with badge style stickers and 8 acrylic markers, sparking creativity and helping them stay present and engaged for hours of fun. It’s more than just a lamp. It’s a project that becomes a keepsake for their space adventures.
Placement Tips for Maximum Impact
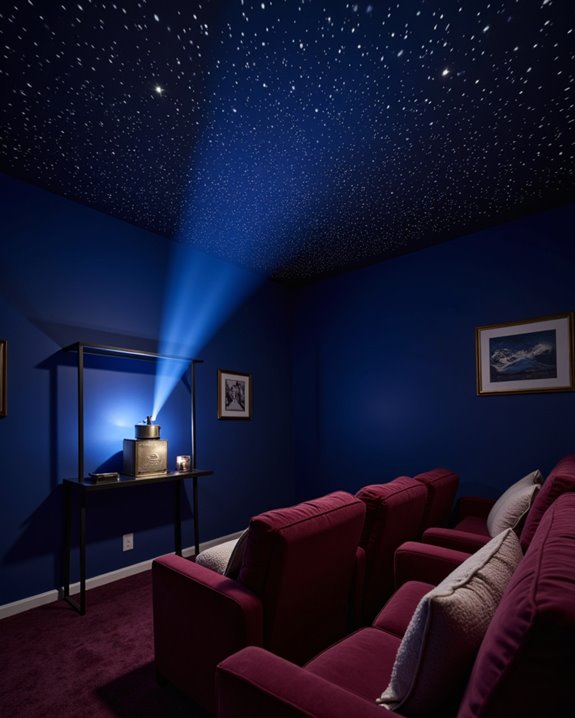
Proper placement of a DIY star projector has a direct impact on image quality and the overall viewing experience. For ideal ceiling placement, mount the projector at least 7 feet high to minimize obstructions and guarantee stability. Ceiling mounts help keep the image consistent and reduce interference from people moving through the room. Viewing angle considerations are also important—position the projector and screen so viewers face the display directly, reducing eye strain. Key placement tips include:
- Maintain the manufacturer’s recommended throw distance (the space between projector and screen) for clear star patterns.
- Use mounts with adjustable arms for fine-tuning.
- Arrange seating symmetrically, ensuring everyone has a good view.
- Avoid placing the projector near walkways or direct light sources to enhance image contrast and immersion.
Frequently Asked Questions
Is It Safe to Leave the DIY Star Projector on Overnight?
Leaving a DIY star projector on overnight can be generally safe if proper safety precautions and electrical considerations are followed. Ensuring good ventilation, using stable materials, and incorporating automatic shut-off features help minimize overheating and electrical risks.
How Much Does It Cost to Build a DIY Star Projector?
Budget considerations for a DIY star projector include material costs ranging from $0 to $20, depending on the use of household items or new materials. Enhanced features and premium kits may increase overall expenses to $30 or more.
Can I Use My Smartphone Flashlight as the Light Source?
A smartphone flashlight, symbolizing a modern torchbearer among light source options, can be used, though its limited brightness may dim the stars. For projector safety and clarity, a dedicated flashlight or LED is generally recommended.
Are There Recommended Apps to Help Design Accurate Constellation Patterns?
For constellation mapping and star pattern design, recommended apps include SkySafari 7 Pro and Constellation Catcher. These offer virtual star maps, real-time celestial data, and AR features, enabling users to create accurate, realistic constellation projections for various projects.
How Do I Maintain or Clean the Projector Over Time?
Nearly 70% of projector issues stem from neglected maintenance. Establishing regular cleaning routines and following maintenance tips—such as lens care, vent cleaning, and inspecting components—helps extend lifespan and guarantees ideal performance for any projector over time.