As an Amazon Associate, we earn from qualifying purchases. Some links on this site are affiliate links at no extra cost to you. Our recommendations are based on thorough research and editorial judgment.

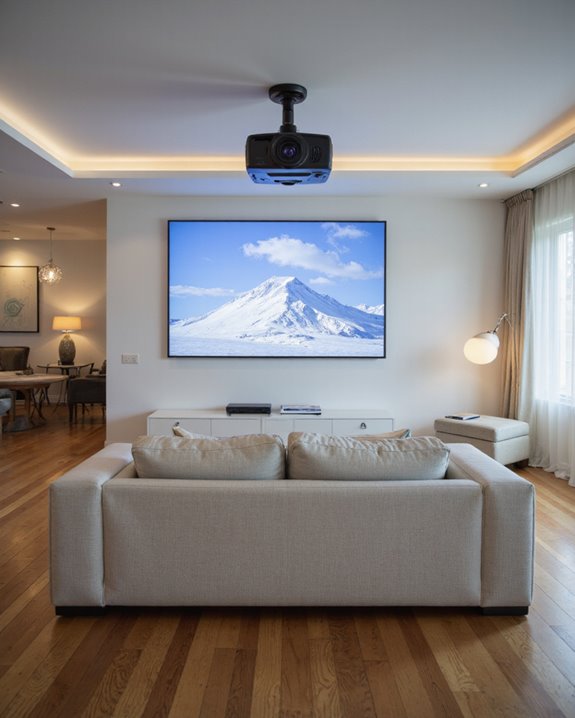
How High Should a Projector Be Mounted for Optimal Viewing?

The ideal mounting height for a projector places its lens slightly above the screen’s top edge, approximately 16% of screen height, to minimize image distortion. The screen’s center should align with seated viewers’ eye level, typically 4 feet from the floor. Room dimensions, ceiling height, and screen size all influence exact placement calculations. Proper mounting requires consideration of throw distance, ambient light, and viewing angles. Further exploration reveals additional factors that enhance projection quality.
Key Takeaways
- Mount the projector with its lens slightly above the screen’s top edge (approximately 16% of screen height) to minimize keystone distortion.
- Position the screen so its center aligns with seated viewers’ eye level, typically about 4 feet from the floor.
- Consider ceiling height and room dimensions when calculating mounting height, ensuring adequate ventilation and accessibility for maintenance.
- Use adjustable mounts to fine-tune the projection angle and maintain proper alignment with the screen center.
- Account for the projector’s throw distance and lens shift capabilities when determining optimal mounting height for your specific setup.
Understanding Basic Projector Mounting Height Guidelines
You may be interested

When setting up a projector, determining the correct mounting height stands as one of the most critical installation decisions. The ideal placement typically positions the projector lens slightly above the screen’s top edge, approximately 16% of the screen height, to maintain proper image geometry. This placement ensures minimal keystone distortion while facilitating easy projector maintenance. Additionally, selecting a stand or mount that supports adjustability & rotation can help fine-tune the projection angle for optimal viewing. Several key factors influence the ideal mounting height:
- The vertical center of the projector lens should align with installation specifications
- Screen positioning should correspond to viewers’ eye level
- Ceiling material considerations affect mount stability and safety
- Room size and seating arrangements impact optimal placement
Professional installers recommend measuring twice before mounting, accounting for both technical requirements and practical viewing angles. The mounting solution must balance image quality with comfortable viewing positions while ensuring proper heat dissipation around the unit. Following the guidance of screen center perpendicular measurements from back wall to screen will help determine the most precise projector placement location.
Recommended Products

Versatile Application: PUTORSEN projector ceiling mount is compatible with most manual or spectrum projector screens, Also can be used to hold a video camera, laptop, or other electronic device. The metal 13.77” x 8.66” tray holds up to 22 lbs of weight

Fits projectors with 1/4 inch thread (or M4 or M6), and weight under 30lbs (13.6kg). Note: Only for single-hole installation. Not suitable for three-hole or four-hole installations.

Compatibility: Universal Projector Mount Bracket for Both Ceiling and Wall Installation. Applicable to mounting holes distance between 8.9’’to 12.4’’
Screen Size and Its Impact on Mounting Position
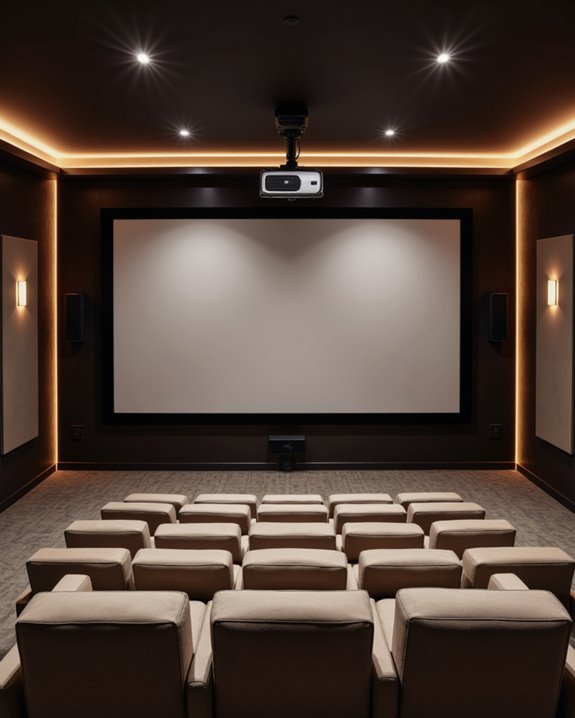
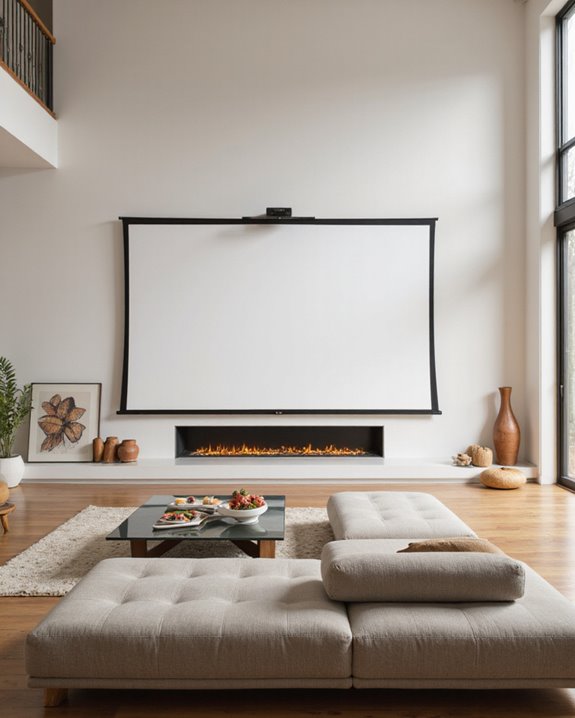
The relationship between screen size and projector mounting position plays a crucial role in achieving perfect image quality. The screen aspect ratio, whether 16:9 or 4:3, determines the best mounting height and projector throw distance needed for proper image alignment. Larger screens typically require more precise positioning to prevent distortion. Proper mounting height ensures the projected image aligns accurately with the screen’s center, enhancing overall viewing experience. For ideal viewing, the screen height should measure approximately one-third of the viewing distance. Using viewing distance calculators, you can ensure optimal seating arrangements for your specific screen size. In home theaters, screens ranging from 100 to 120 inches diagonally work well for most spaces. The projector’s mounting height must account for these measurements while maintaining proper alignment with the screen’s center. Mathematical formulas help determine the perfect setup: for a 16:9 aspect ratio, the screen width equals the viewing distance multiplied by 0.87, while the height is calculated by dividing the width by 1.77.
Recommended Products

【Note】The projector mount used in this projector mount should have the following conditions: 1. The wall where the mount is installed should be a hard solid wall, not a hollow and weak wall; 2. The projector has 3-4 screws holes to install screws; 3. The diameter of screw holes is 3 mm or 4 mm.

Universal Compatibility: Fits most projectors (Note: Length <13.7'', Width <8.6'') with standard mounting interfaces. Projector Wall Mount supports a maximum load of 10kg/22LBS, suitable for home, office, cinema and other scenarios, and is compatible with mainstream device sizes, no compatibility concerns
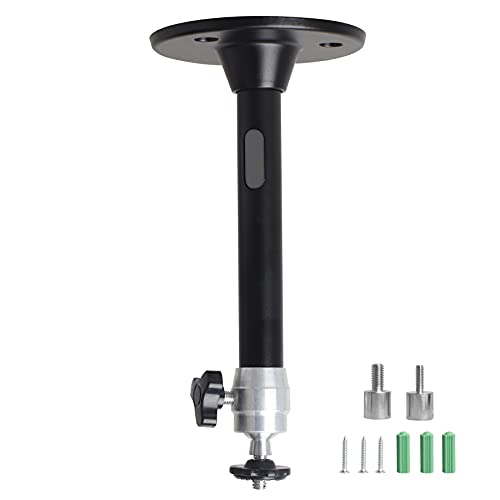
Projector Holder Compatible with QKK,DR.J,DBPOWER,Anker,VANKYO,AAXA,Jinhoo,PVO,TMY,AuKing and Most Other Mini Projector
Calculating the Perfect Projector Height for Your Space
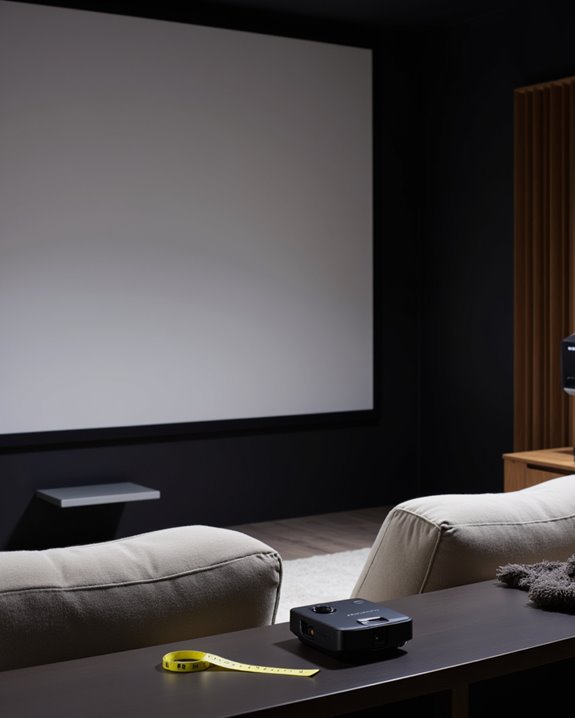
Determining the perfect projector height requires careful consideration of multiple technical factors, including screen positioning, lens offset, and viewing angles. The ceiling design plays a vital role, as mounting height must account for structural elements like beams and any installed sound system components. A standard ceiling height of 8 feet provides adequate space for most home theater installations. To optimize image quality and avoid distortion, the projector’s placement should also consider the lens shift specifications, which allow for adjustments without physically moving the unit.
To calculate the ideal height, installers should start by measuring from the bottom of the screen, which should be positioned approximately 4 feet from the floor for optimal viewing. The projector’s lens offset specifications determine the vertical distance needed between the lens center and the screen’s top edge. Using online calculators or professional measurement tools helps guarantee precise positioning. Additionally, consideration must be given to the room’s layout, including seating arrangements and any potential obstructions that could interfere with the projected image or viewing experience.
Recommended Products

📽️UNIVERSAL: Compatible with majority of projectors on the market whose mounting holes are from 2.83'' to 11.42" and weight under 30lbs (13.6kg)

【3-IN-1 UNIVERSAL PROJECTOR MOUNT】Works as a flush ceiling mount, extendable ceiling arm, or wall mount projector bracket for maximum flexibility. Ideal for home theater projectors, office presentations, and classroom setups. Fits wood studs, concrete walls, and flat ceilings.
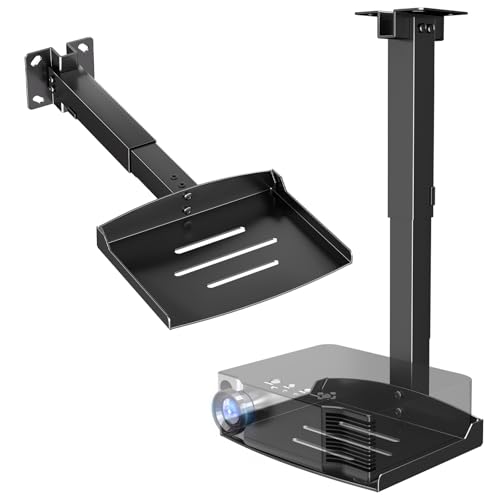
Versatile Application: PUTORSEN projector ceiling mount is compatible with most manual or spectrum projector screens, Also can be used to hold a video camera, laptop, or other electronic device. The metal 11.02” x 8.27” tray holds up to 22 lbs of weight
Essential Factors That Affect Projector Placement
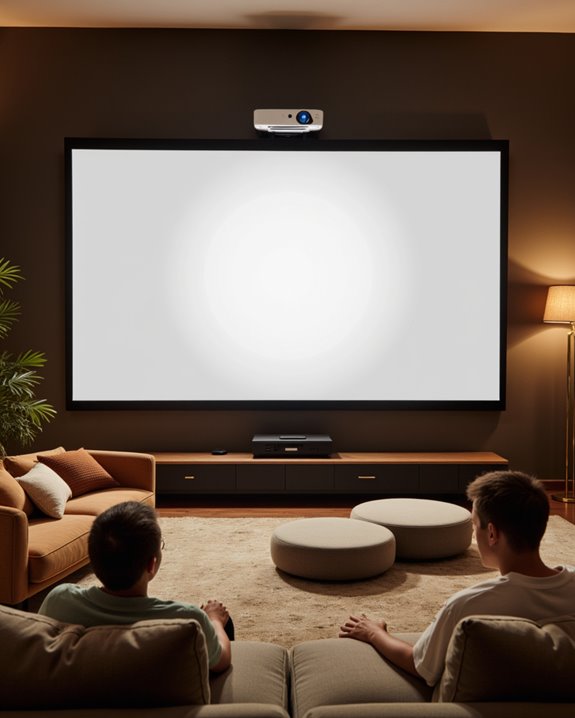
Successful projector placement depends on several vital factors that work together to create an ideal viewing experience. The projection angle and ceiling clearance significantly influence image quality and viewer comfort. Room dimensions, including ceiling height and screen positioning, determine the optimal mounting location for the projector. The center of screen should align with the viewer’s natural eye level for maximum comfort.
Technical specifications play a crucial role in placement decisions. The projector’s throw distance, which is the space needed between the device and screen, affects the mounting height. Additionally, viewer preferences impact installation choices through:
- Screen height relative to eye level
- Distance from seating to screen
- Ambient light control requirements
The room’s layout, including furniture placement and acoustic considerations, must be evaluated to ensure proper viewing angles and sound distribution. Proper mounting height also accounts for maintenance accessibility and heat dissipation needs.
Recommended Products

Universal Extending Ceiling Projector Mount: Built for universal mounting, this product fits the majority of projectors on the market and is an excellent addition to any...
Common Mounting Height Mistakes to Avoid
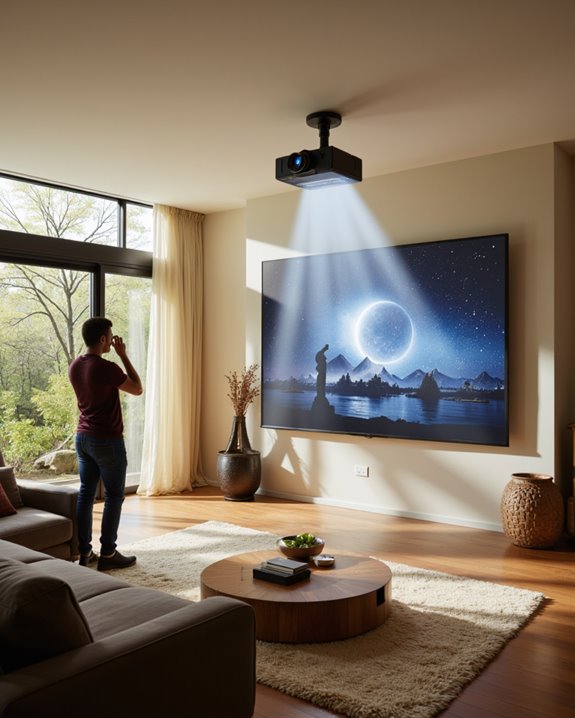
When installing projectors, several mounting height mistakes can considerably impact viewing quality and comfort. Common errors include mounting projectors too high or too low, which leads to image distortion and neck strain for viewers. Inadequate consideration of room dimensions and ceiling height often results in poor speaker placement and complicated audio calibration. The bottom screen edge should be positioned 24-36 inches above the floor for comfortable viewing.
Installation teams frequently overlook vital factors such as:
- Proper throw distance calculations
- Screen size compatibility
- Viewing angle requirements
- Room layout obstacles
Using inappropriate mounting hardware compounds these issues, especially when the equipment cannot support proper height adjustments or projector weight. Incorrect vertical positioning can also interfere with ideal audio-visual integration, affecting both image quality and sound distribution throughout the viewing area. Careful attention to these details helps prevent mounting height errors and guarantees comfortable viewing experiences.
Best Practices for Professional-Quality Projection Setup
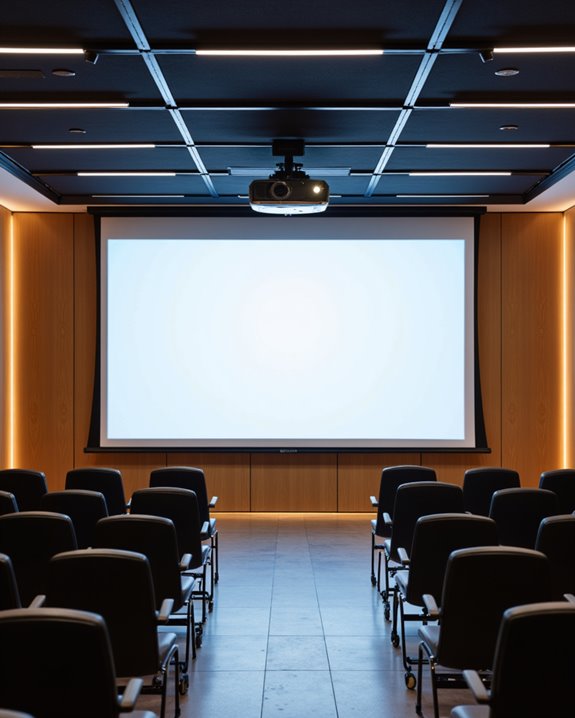
Professional-quality projection setup depends on precise attention to multiple technical factors that work together harmoniously. The most critical elements include proper projection distance from screen to projector and precise lens alignment to prevent image distortion. Room conditions also play a crucial role in achieving excellent results.
Key aspects of professional setup include:
- Installing the projector at the manufacturer’s recommended throw distance
- Ensuring perfect horizontal and vertical lens alignment with the screen
- Using appropriate mounting hardware rated for the projector’s weight
- Implementing proper ventilation to prevent overheating
- Managing ambient light with window treatments or room darkening solutions
For optimal viewer comfort, the projector should be mounted so the screen is positioned at eye level for seated viewers. For best results, installers should use a high-quality matte white screen and maintain proper screen tension. Regular maintenance checks help ensure consistent performance and image quality over time.
Recommended Products

Compatibility: Universal Projector Mount Bracket for Both Ceiling and Wall Installation. Applicable to mounting holes distance between 8.9’’to 12.4’’
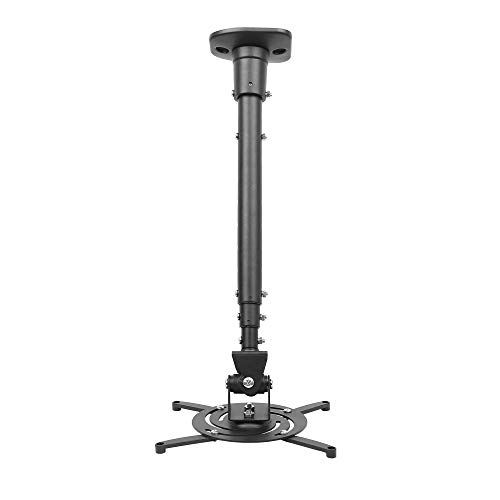
Universally Compatible: This projector ceiling mount supports most projector brands with distance between the mounting holes on back 12.1 inches or less. This mount can be used on flat ceiling.

If your projector is less than 12lbs and has one hole in the projector bottom will be suitable. screws diameter, 1/4 in 0.25in/6.35MM , if your projector hasn't a hole,Please don't buy it.
Frequently Asked Questions
Can Projector Mounting Height Affect Wi-Fi Signal Strength?
Projector mounting height can impact Wi-Fi signal strength through signal attenuation. Metal components in mounting hardware and the projector itself may create Wi-Fi interference, particularly when positioned between wireless devices and routers.
Should Mounting Height Be Adjusted Differently for Outdoor Movie Screenings?
Yes, outdoor setup requires different mounting heights to account for weather considerations, varying viewing distances, and environmental factors. The mounting should be higher and more secure than indoor installations for better visibility and stability.
How Does Ceiling Fan Placement Impact Optimal Projector Mounting Height?
Ceiling fan interference requires careful consideration of mounting surface height. The projector should be positioned above or below fan blades to prevent beam obstruction while maintaining proper image alignment with the screen.
Does Projector Brand Influence Recommended Mounting Height Specifications?
Different projector brands provide specific mounting guidelines based on their models’ technical specifications. While brand compatibility varies, most manufacturers follow similar principles for ideal positioning, adjusting for throw distance and lens characteristics.
Can Mounting Height Affect Projector Lamp Life or Cooling Efficiency?
Mounting height notably influences lamp lifespan and cooling efficiency. Higher placements permit better heat dissipation and diminished dust exposure, while proper ventilation space guarantees ideal airflow, extending the projector’s operational longevity and performance.