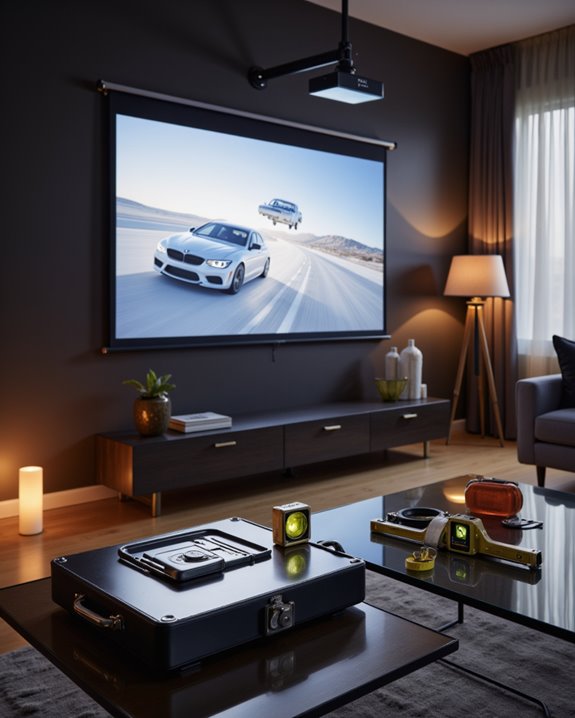
A level projector is crucial for ideal image quality and viewing comfort. When properly leveled, projectors maintain correct image proportions, prevent geometric distortion, and guarantee consistent brightness across the screen. Unleveled projectors can cause trapezoidal distortion, uneven focus, and increased eye strain for viewers. While modern projectors offer digital corrections like keystone adjustment, these features can degrade resolution when overused. Understanding proper leveling techniques and mounting methods helps achieve professional-grade projection results.
Key Takeaways
- A level projector prevents geometric distortion and keystoning, ensuring the projected image maintains proper proportions and visual quality.
- Unleveled projectors can cause trapezoidal distortion, uneven brightness, and focus inconsistencies, leading to increased viewer eye strain.
- Level positioning maximizes the projector’s native resolution without relying on digital corrections that can degrade image quality.
- Professional setup requires proper leveling tools and techniques to achieve optimal image alignment and consistent brightness across the screen.
- Regular maintenance of projector levelness ensures long-term image quality and prevents gradual shifts that could impact viewing experience.
Why Projector Leveling Matters
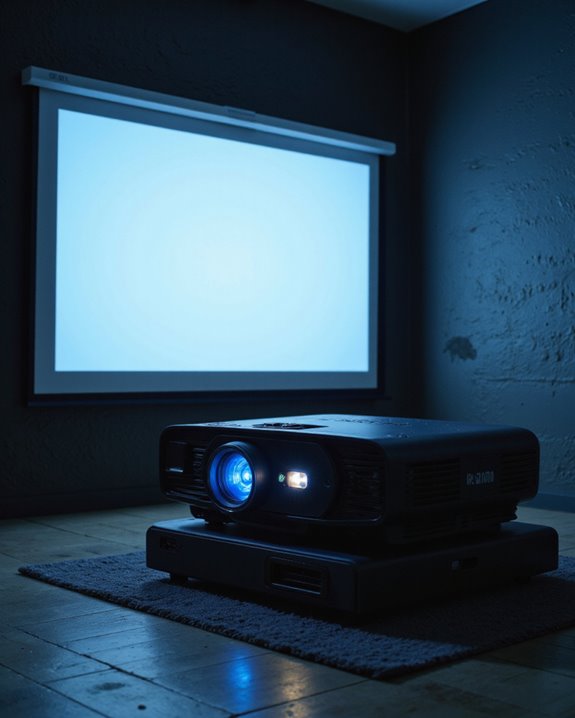
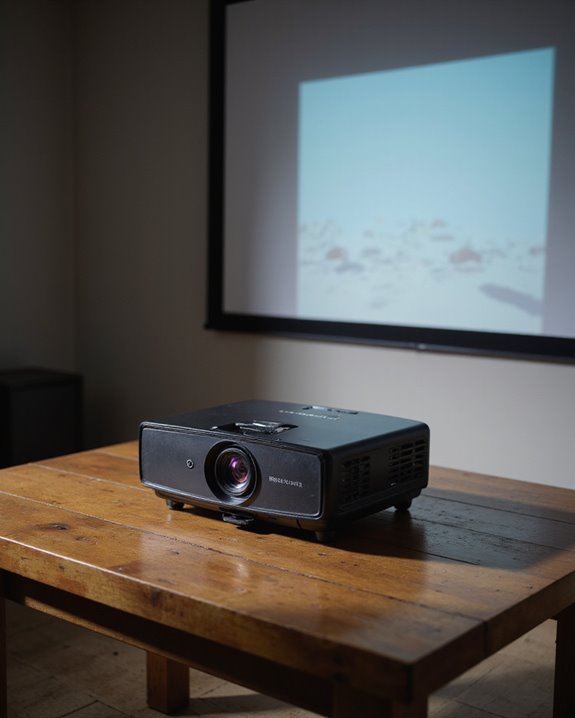
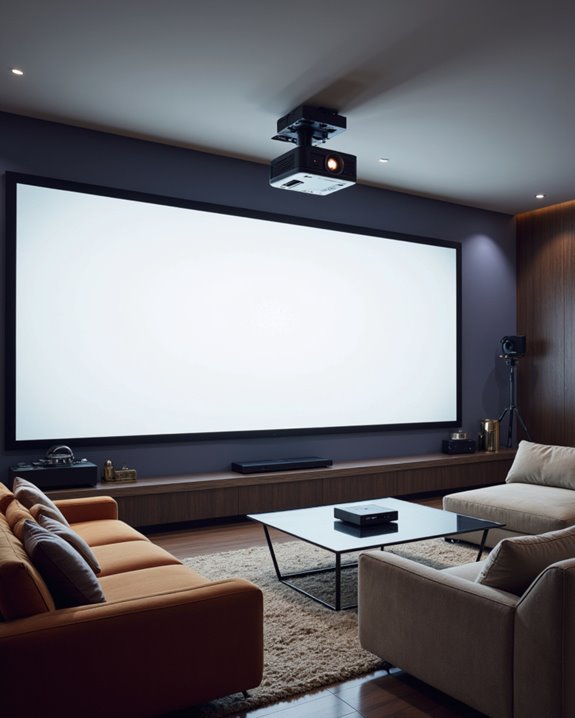
Why does projector leveling make such a significant difference in image quality? Proper leveling prevents geometric distortion and maintains the rectangular shape of projected images. When projectors aren’t level, whether on ceiling mounts or mounting brackets, they create trapezoidal distortions known as keystoning, which compromises image quality.
Level projectors deliver consistent brightness and contrast across the entire screen, eliminating uneven light distribution and hotspots. This uniformity is essential for viewer comfort, reducing eye strain during extended viewing sessions. When a projector is correctly leveled, it preserves the native resolution without requiring digital corrections that can degrade image quality.
Additionally, proper leveling simplifies installation and reduces long-term maintenance needs. It allows for optimal use of lens shift features and ensures that all viewers in the room experience equal image quality regardless of seating position. For optimal performance, the projection angle should maintain within 5 degrees of the screen surface to prevent image distortion and light loss.
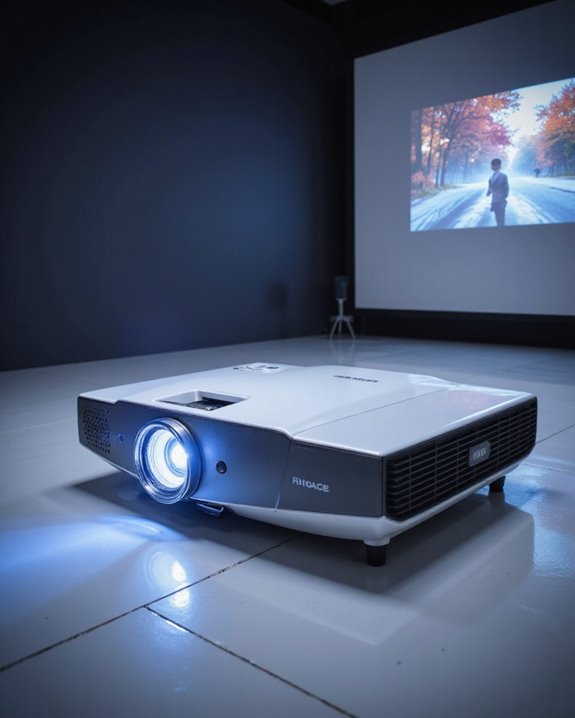
Understanding Projection Angles and Image Quality
Understanding how projection angles impact image quality starts with recognizing the relationship between projector placement and screen position. When a projector isn’t properly aligned, it can create lens distortion and affect color calibration across the display surface. The keystone effect, which creates a trapezoidal shape instead of a perfect rectangle, becomes more pronounced as the angle increases. Proper alignment is essential to maintain optimal image quality and avoid unnecessary adjustments. Modern projectors now offer automatic keystone detection that can instantly correct image distortion with the press of a button. Vertical lens shift technology helps correct these issues by moving the image up or down without physically repositioning the projector. However, excessive digital corrections can degrade resolution and clarity. The ideal setup maintains minimal angles between projector and screen, typically requiring vertical adjustments of up to half the screen height for table-mounted units or up to three times the screen height for ceiling mounts. This careful positioning ensures consistent brightness and prevents unwanted light reflection or glare.
Common Problems With Unleveled Projectors
Projector leveling problems create a cascade of visual issues that can substantially impact viewing quality. When a projector isn’t properly aligned, images become distorted into trapezoidal shapes instead of perfect rectangles, compromising both color calibration and overall clarity. Even wireless connectivity features can’t compensate for these physical alignment issues. Proper physical adjustments typically deliver better results than relying on digital keystone correction.
The most common problems include:
- Screen fill gaps causing black bars along edges
- Reduced image sharpness from keystone correction
- Uneven brightness distribution across the display
- Focus inconsistencies, especially at screen corners
These issues often force viewers to strain their eyes, resulting in visual discomfort during presentations or entertainment. The degradation in image quality becomes particularly noticeable during detailed content viewing, where precision and accuracy are essential for an ideal experience.

Application: Fits most manual or spectrum projector screen on the market. Support maximum loading weight up to 80lbs / 36kg.

💡💡【Round Base Monopod Saving Space】: IFOOTAGE A400 Round Base Monopod comes with heavy-duty flat base, replacing bulky tripod legs, minimizing floor space in tight studios while eliminating tripping hazards. It's ideal for small studios and limited space
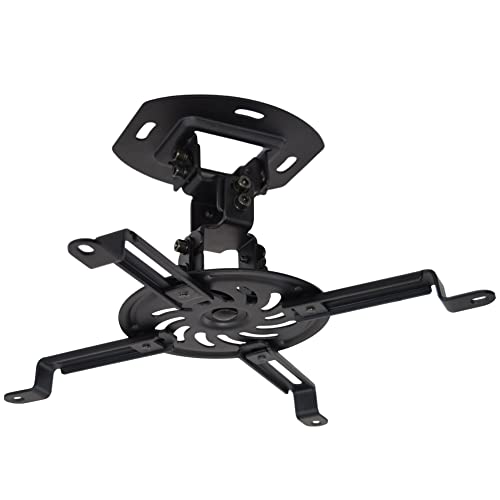
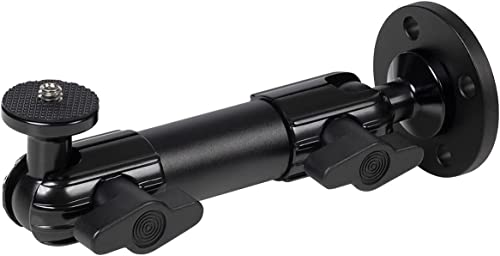
Universal Projector Mount - Fits the majority of projectors on the market, including mini projectors (Please Note: Extension arms need to be removed for mini projectors). The distance between mounting holes on the back of the projector must be 31.8 cm or less.
Essential Tools for Proper Projector Leveling
Successfully leveling a projector requires a specific set of professional tools, each serving a vital purpose in the installation and calibration process. Core tools include a high-quality level, stud finder, and power drill for establishing mounting stability. A complete installation kit should contain:
- Professional-grade measuring tape
- Screwdriver set for mount adjustments
- Projector ceiling mount with fine-tune capabilities
- Cable management system for organized wiring
Additional tools enhance precision and safety during installation. Using a mount designed for your specific projector ensures proper weight support. A reliable ladder provides secure access to the mounting area, while safety cables prevent accidents. Modern calibration tools, such as built-in test patterns and computer software, help achieve perfect alignment. For maximum accuracy, installers should use both digital and manual levels, ensuring the projector maintains proper horizontal positioning for optimal image quality.
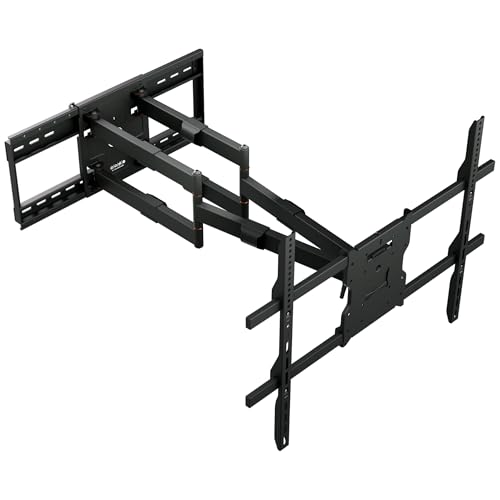
Ultra heavy-duty outdoor performance: Designed for the largest outdoor TVs, this professional-grade wall mount supports screens from 60" to 110" with an exceptional 275 lb weight capacity, delivering rock-solid stability for oversized displays.

Built for ceilings that standard mounts can’t reach – The MI-509XL’s 10-foot pole drops your TV 98 to 118 inches below the ceiling — purpose-built for warehouses, production floors, auditoriums, large event venues, hospitals, and any high-bay space where a standard mount leaves the screen too far from the audience.

MAXIMUM FLEXIBILITY WITH EXTRA LONG 24” EXTENSION ARM - Perfect for corner mounting or hard-to-reach viewing angles, this TV wall mount extends a full 24 inches from the wall—offering a broader range of motion than standard mounts. Easily retracts to 2.75 inches to sit close to the wall for a sleek, modern look.
Step-by-Step Guide to Level Your Projector
Properly leveling a projector follows a systematic approach that guarantees ideal image quality and viewing experience. The process begins with selecting an appropriate mounting location, considering both screen placement and viewing distance. Using a bubble level, installers ensure the mounting bracket sits perfectly horizontal before securing the projector. A clear understanding of the projector’s projection technology can also aid in achieving accurate alignment. Fine adjustments come next, starting with physical alignment of the projector body. Cable management should be addressed early to prevent any pulling or tension that might affect the level. Installers then use the projector’s built-in leveling tools, including lens shift and zoom features, to achieve precise positioning. If minor corrections are still needed, minimal keystone adjustment can be applied through the projector’s settings. A gear-based fine adjustment system allows for precise millimeter-by-millimeter tweaks to achieve perfect alignment. Regular checks of the level ensure the projector maintains its ideal position over time.

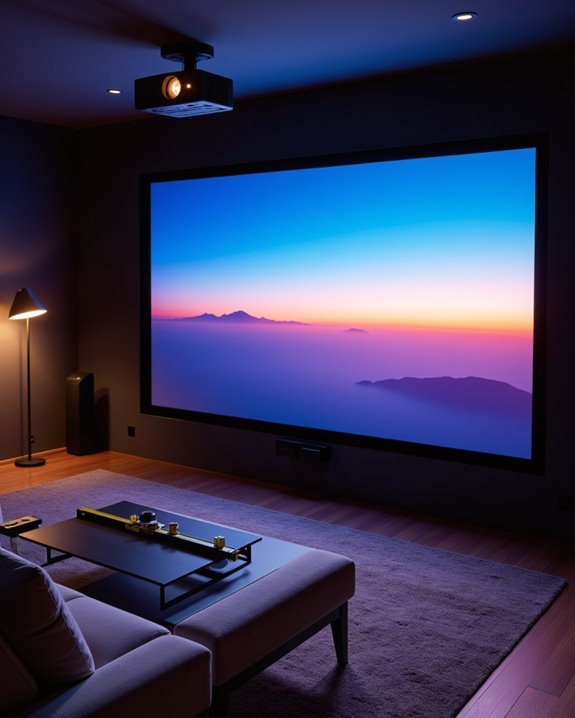
Turn your living room into a theater – Unlock the full cinematic experience at home by mounting a massive 75–140” screen that feels like a private IMAX.

MADE FOR YOUR EXTRA LARGE TV: Our sturdy full motion TV mount was specifically designed for the largest TVs on the market. Crafted from high-strength steel with heavy-duty dual arms that will prevent the TV from sagging when extended. No matter where you plan to hang your TV, the full motion features will ensure you have the best view from every angle. When fully retracted, the TV will only sit 3 inches from the wall, allowing for a low-profile, minimalist look supporting screens weighing up to 264lbs
Branch Out: add Multi Mount modular rigging capabilities to your wall.
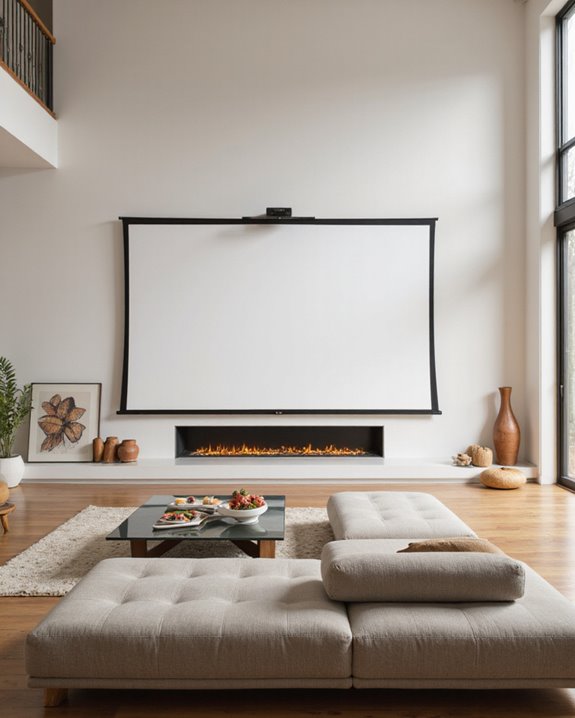
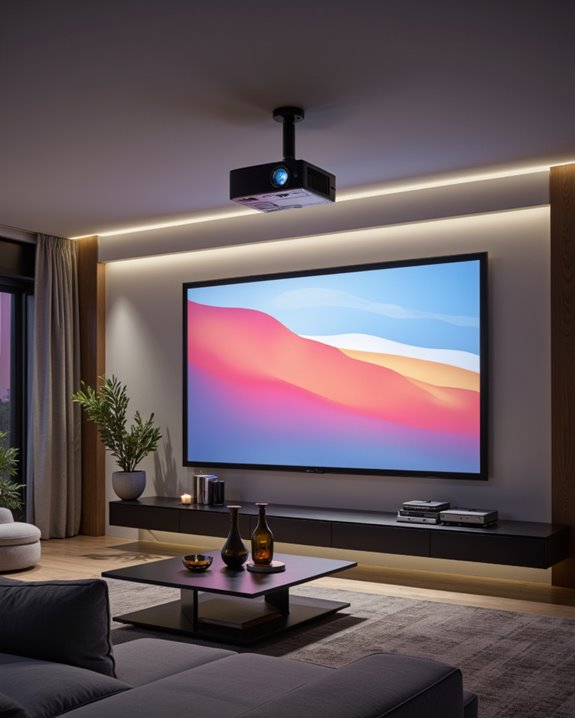
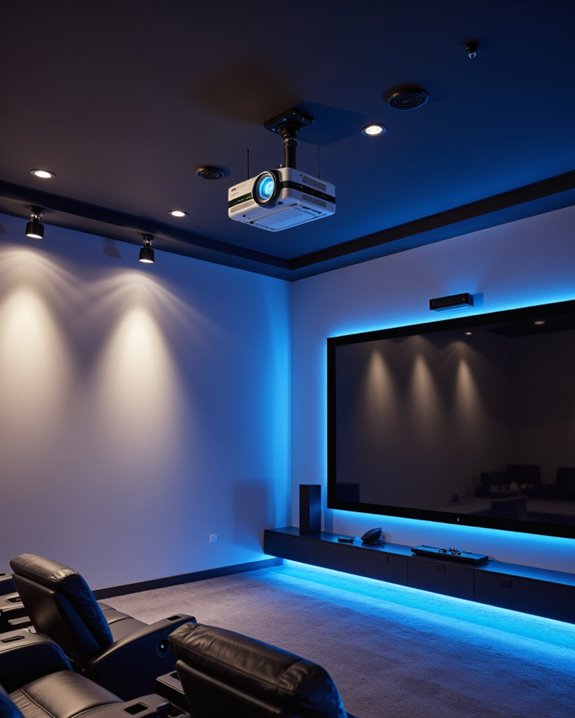
Impact of Room Layout on Projector Positioning
When designing a home theater or presentation space, room layout serves as the foundation for ideal projector positioning. The arrangement must balance technical requirements with aesthetic elements, including decorative accents and color schemes, while maintaining most suitable viewing angles for all seats. A minimum ceiling height of 8-feet is required for standard installations, though 9-10 feet is preferred for a more open feel. Proper projector placement ensures optimal image quality and minimizes distortion. Key layout considerations affect projector placement:
- Screen height should be 24-36 inches from the floor
- Seating must provide unobstructed views without neck strain
- Ambient light sources need careful management to prevent glare
- Room dimensions determine throw distance and screen size options
The projector’s position relative to furniture and architectural features impacts both performance and visual appeal. For the best results, the projector should align with the screen’s center while integrating seamlessly with the room’s design elements, creating a professional yet comfortable viewing environment.
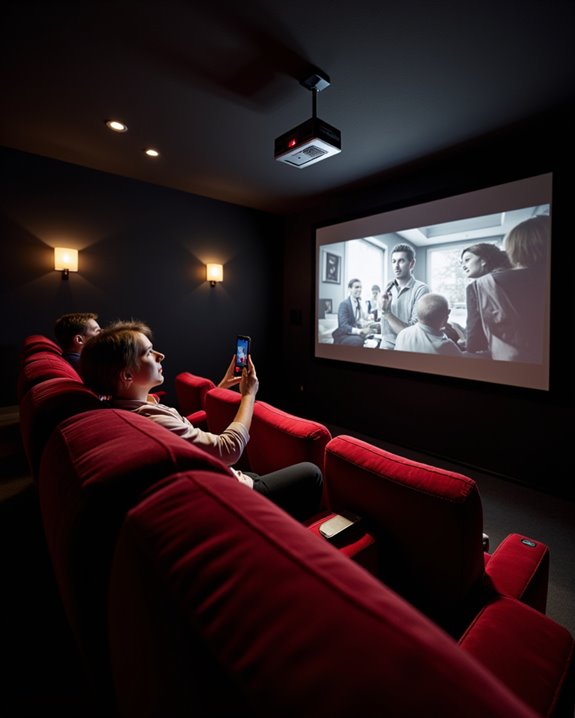
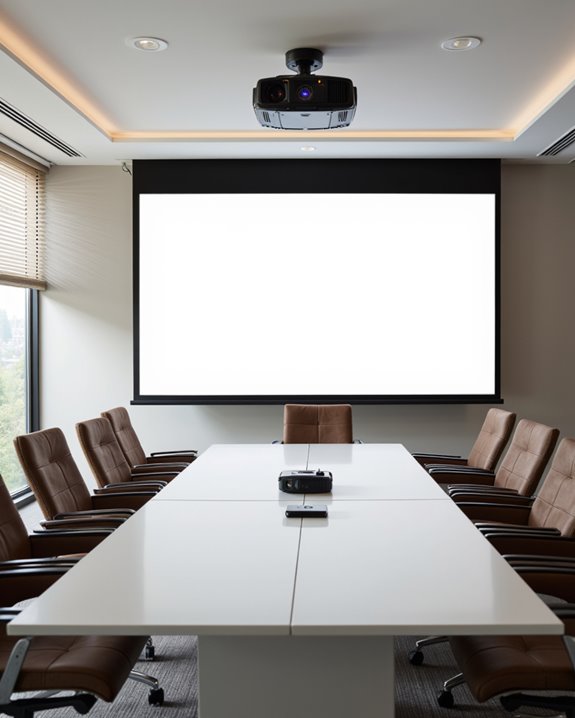
Advanced Leveling Techniques for Different Mounting Options
The precise leveling of a projector requires specific techniques tailored to different mounting options. Professional installers often use laser alignment tools to guarantee perfect positioning, regardless of whether the projector uses ceiling, shelf, or adhesive mounting brackets. Proper projector mounting significantly enhances the overall viewing quality and user experience during presentations or entertainment.
For ceiling mounts, installers first locate sturdy joists using specialized detection tools before securing the mounting brackets. Shelf-mounted projectors benefit from built-in leveling mechanisms that allow for easy adjustments without requiring ladder access. While adhesive mounts offer a drilling-free solution, they require careful surface preparation and consideration of weight limitations.
Each mounting method demands specific maintenance approaches:
- Regular stability checks
- Cable management to prevent shifting
- Vibration protection measures
- Periodic screen calibration
- Fine-tuning of projector settings for the best image quality

【2 IN 1 Camera & Hunting Tripod】Our tripod equipped with a 360° rotatable V-Yoke Rest, It can be quickly installed on the tripod center column 3/8" screw and transform into a Rifle shooting tripod, Max 26mm diameter aluminum legs provide sturdy and stable support, Three leg flick locks can quickly adjustment the tripod height to keep level even on uneven area, 16.5 in foldable design with carry bag is your perfect choice for outdoor hunting or shooting training.

【73-INCH LIGHTWEIGHT TRIPOD】 - This lightweight tripod offers adjustable heights ranging from 19 to 73 inches. Equipped with a 1/4-inch mounting screw on the quick release plate, it is compatible with both cameras and smartphones.(Phone holder clamp range: 2.3 inch - 3.3 inch) When folded, it measures just 20 inches, making it highly portable and perfect for frequent location changes or travel. Despite weighing only 2.76 pounds, it can support a load of up to 8.8 pounds.

[Compatible with Netflix] The Soomfon SK3 smart projector come with built-in smart WhaleOS, enjoys millions of videos and hundreds of apps, including officially certified content from NetfIix, Prime Video, YouTube and ESPN. Note: include remote control, you can also download the TV Casting App to control the projector from smartphone, easy to browse content, adjust settings, and manage playback.
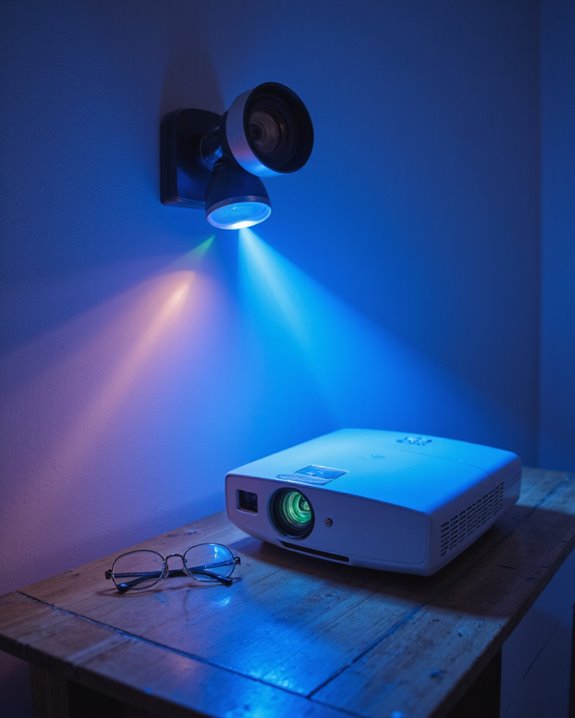
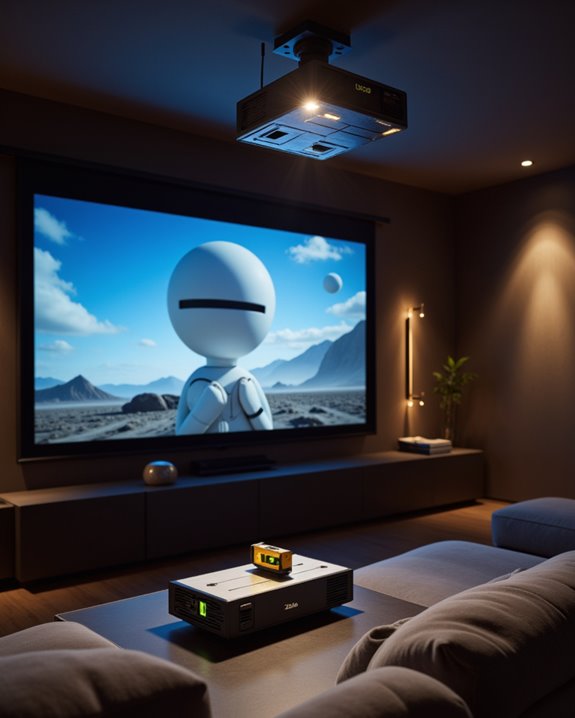
Optimizing Image Quality Through Perfect Alignment

Through careful alignment techniques, projector image quality reaches its full potential while minimizing common display issues. Proper alignment preserves resolution and maintains image clarity through two primary methods: lens shift, which physically moves the image without digital manipulation, and keystone correction, which digitally adjusts the image shape when needed. Trapezoidal distortion occurs when projectors are mounted in off-center positions.
For ideal viewing, positioning the projector directly in front of the screen prevents distortion and ensures accurate color calibration. While automatic features can assist with alignment, manual adjustments often provide more precise results. Sound synchronization remains consistent when the image is properly aligned, as there’s no delay from digital processing. Using grid alignment tools helps achieve perfect rectangular images, while controlling ambient light further enhances the viewing experience. Excessive lens shift or keystone correction should be avoided to preserve image quality.
Maintaining Projector Level Over Time
Maintaining ideal projector alignment requires consistent monitoring and adjustment over time to prevent image quality degradation. Weekly inspections help identify shifts in positioning, while monthly checks ensure mounting hardware remains secure. During these checks, proper cable management and power supply routing should be verified to prevent tension that could affect leveling.
Environmental factors like vibrations, temperature changes, and humidity can impact projector stability. Following recommended operating temperature ranges between 50°F-95°F will help maintain stable positioning and prevent warping of mounting components. To combat these issues, installations should utilize robust mounting hardware and vibration-dampening materials. Regular maintenance schedules should include:
- Tightening all mounting fasteners
- Checking level indicators
- Verifying power and signal cable strain relief
- Inspecting for dust accumulation or environmental damage
These preventive measures help sustain ideal image quality and extend projector lifespan by reducing stress on internal components.
Professional Tips for Perfect Projector Setup
Professional projector setup requires careful attention to several key elements that work together to create an ideal viewing experience. Experts recommend starting with proper mounting and positioning, ensuring the projector is perfectly level using built-in adjustment features or a bubble level.
The screen material plays a vital role in image quality, with matte white surfaces typically offering the best results for most environments. Viewers should sit 1.5 to 2.5 times the screen width away from the display for optimal comfort and immersion. Color calibration should be performed after the physical setup is complete, adjusting brightness, contrast, and color settings for maximum picture quality. Key considerations include:
- Maintaining proper throw distance based on the projector’s specifications
- Using minimal keystone correction to preserve image quality
- Installing appropriate cable management solutions
- Controlling ambient light through proper room darkening measures
- Ensuring stable mounting that won’t shift over time
Frequently Asked Questions
Can Projector Leveling Affect the Lifespan of My Lamp Bulb?
Like a tightrope walker maintaining balance, proper projector calibration greatly impacts lamp lifespan. Level positioning guarantees ideal heat distribution and reduces mechanical stress on internal components, helping the bulb achieve its maximum operational life.
Should I Level My Projector Differently for 3D Content Viewing?
Standard projector calibration and leveling principles apply equally to 2D and 3D content. However, precise 3D alignment is particularly essential as misalignment can disrupt stereoscopic effects and cause viewer discomfort.
How Often Should I Check and Adjust My Projector’s Level?
Like a skilled craftsman’s spirit level, projector alignment requires regular attention. Check and adjust installation frequency based on usage: monthly for high-traffic areas, semi-annually for home setups, using proper calibration tools for accuracy.
Does Screen Material Choice Impact How Precisely I Need to Level?
Screen surface and material texture critically influence leveling requirements. High-gain, ALR, and specialized screens demand more precise leveling, while matte white surfaces are more forgiving. Textured or uneven materials require stricter alignment for ideal performance.
Can Weather Conditions Affect My Outdoor Projector’s Leveling Requirements?
While weather itself doesn’t alter leveling requirements, rain impact can damage equipment, and wind stability issues may disrupt projector positioning. Secure mounting becomes essential to maintain consistent leveling during outdoor use.