As an Amazon Associate, we earn from qualifying purchases. Some links on this site are affiliate links at no extra cost to you. Our recommendations are based on thorough research and editorial judgment.

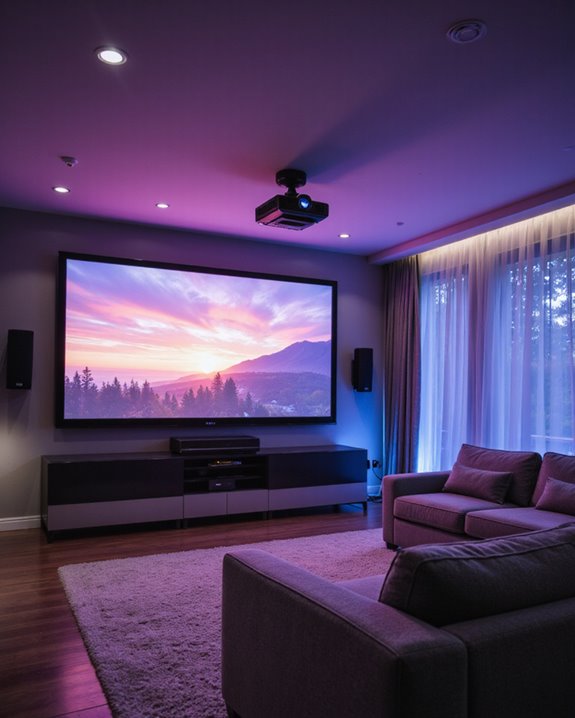
Where to Mount a Projector for the Best Home Theater Experience

The most suitable projector mounting location requires precise positioning based on room dimensions and screen size. For best results, mount the projector on either the ceiling or wall, ensuring it’s positioned at a distance of 9-23 feet from the screen, depending on screen size. The ideal setup maintains a 36-degree viewing angle, following THX standards, with proper cable management and stability measures in place. Professional installation tools and careful calculations can help achieve the perfect home theater configuration.
Key Takeaways
- Mount the projector at a distance that creates a 36-degree viewing angle, roughly 9 inches of screen diagonal per foot of distance.
- Install ceiling mounts in larger spaces for optimal height adjustment and cable concealment while keeping equipment safely overhead.
- Position the projector to ensure viewers sit between 9-23 feet from the screen for the best viewing experience.
- Mount on load-bearing wall studs or ceiling joists using appropriate hardware rated for your projector’s weight.
- Place the projector where ambient light can be controlled and wall colors won’t cause glare or color distortion.
Finding the Perfect Mounting Location
You may be interested
Finding the perfect mounting location for a home theater projector requires careful consideration of several key factors. The screen position serves as the primary reference point, with its lowest edge ideally positioned 24-36 inches above the floor for ideal viewing comfort. Dark room surfaces significantly enhance the projected image quality and contrast. The throw distance, which is calculated by multiplying the throw ratio by the image width, determines where the projector should be mounted. Proper projector lens calibration ensures sharp focus and minimal distortion. For ceiling installations, locating a sturdy stud is essential, though high-quality drywall anchors can suffice when necessary. Ambient light control plays an important role in image quality, so the mounting location should account for windows and lighting fixtures. The projector should be centered relative to the screen, though some horizontal adjustment is possible through mounting brackets and advanced alignment features. Additionally, considering projection fabric or matte vinyl that minimizes glare can further improve image clarity and overall viewing experience.
Recommended Products

Versatile Application: PUTORSEN projector ceiling mount is compatible with most manual or spectrum projector screens, Also can be used to hold a video camera, laptop, or other electronic device. The metal 13.77” x 8.66” tray holds up to 22 lbs of weight

【Note】The projector mount used in this projector mount should have the following conditions: 1. The wall where the mount is installed should be a hard solid wall, not a hollow and weak wall; 2. The projector has 3-4 screws holes to install screws; 3. The diameter of screw holes is 3 mm or 4 mm.

Universal Compatibility: Fits most projectors (Note: Length <13.7'', Width <8.6'') with standard mounting interfaces. Projector Wall Mount supports a maximum load of 10kg/22LBS, suitable for home, office, cinema and other scenarios, and is compatible with mainstream device sizes, no compatibility concerns
Essential Room Layout Considerations
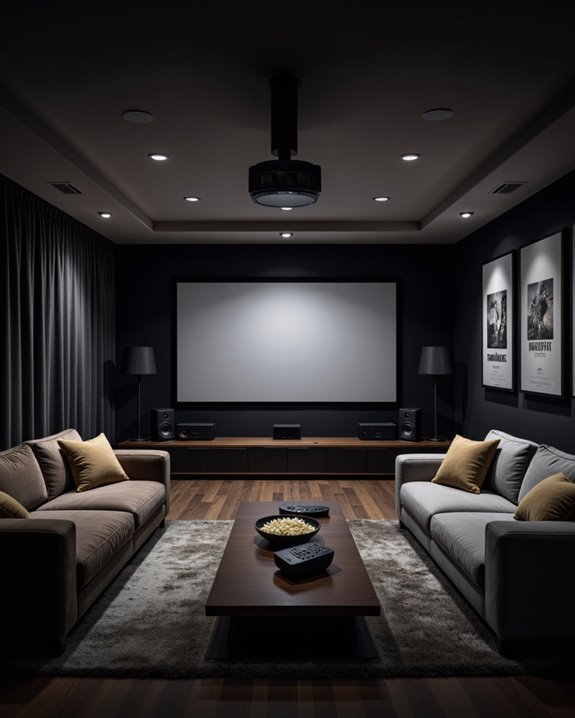
After determining the ideal mounting location, attention must shift to the overall room configuration for a successful home theater setup. For optimal acoustics, rooms should follow ideal ratio dimensions between 1:1.6 and 1:2.4. Rectangular rooms provide the best foundation for sound distribution, with minimum dimensions of 10 ft x 12 ft needed for basic installations. Room lighting should be carefully controlled to prevent screen glare, while soundproofing techniques help create an isolated viewing environment. Incorporating acoustic treatments such as foam panels or bass traps can significantly improve sound quality and reduce echo. The layout must accommodate proper viewing distances, typically at least twice the screen’s horizontal length. Speaker placement requires strategic positioning for excellent surround sound performance. In multi-row setups, each seat should have clear sightlines to the screen without obstruction. The room’s acoustic properties can be enhanced through sound-absorbing materials and minimal wall décor, ensuring an immersive theatrical experience for all viewers.
Calculating Optimal Viewing Distance
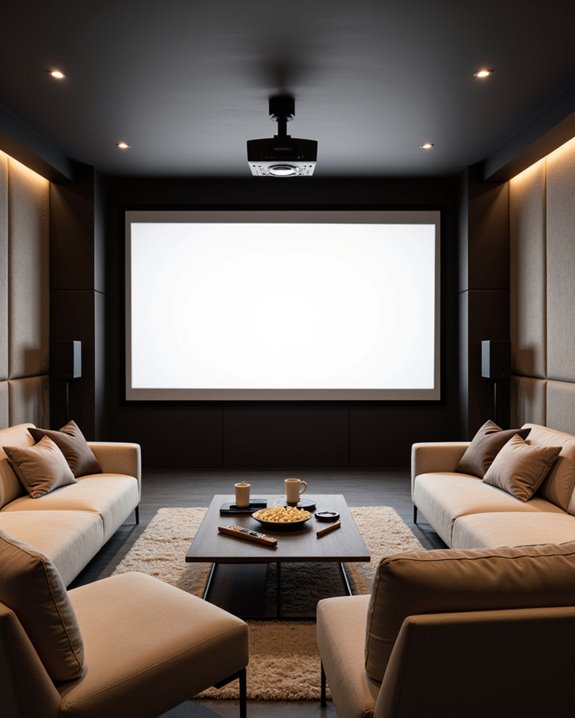
Since ideal viewing distance directly impacts the viewing experience, calculating the correct measurements becomes a critical step in home theater setup. THX recommends maintaining a 36-degree viewing angle, which helps determine perfect screen placement in relation to seating and projector brightness levels.
For most setups, the general rule is to allow about 9 inches of screen diagonal per foot of viewing distance. A 100-inch screen, for example, requires approximately 119 inches (3 meters) between the screen and seating area. This distance ensures comfortable viewing while maintaining sound system effectiveness. The first row of seats should be at least 9 feet from the screen, with the last row positioned no further than 23 feet away. Higher resolution screens, such as 4K, allow for closer viewing distances without sacrificing image quality. Using short throw projectors enables homeowners to achieve large-scale projection even in smaller rooms where space is limited. Additionally, considering the brightness levels of your projector ensures that images remain clear and vibrant at your chosen distance.
Ceiling vs. Wall Mount: Making the Right Choice
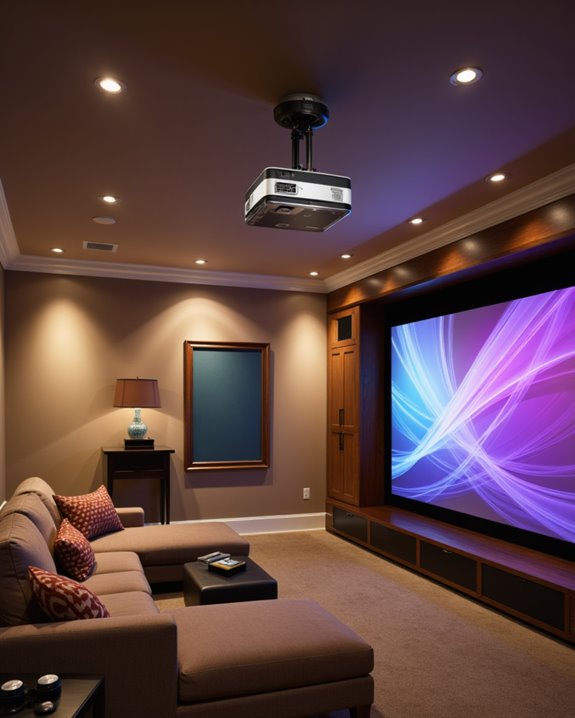
The decision between ceiling and wall mounting represents a crucial choice in projector installation, impacting both viewing quality and room functionality. Ceiling mounts excel in larger spaces, offering superior mounting height flexibility and enhanced cable concealment through above-ceiling routing. They accommodate various projector types while keeping equipment safely overhead and out of reach. Optimal viewing angles ensure the best possible image quality without distortion or skewing.
Wall mounts, however, present distinct advantages for smaller rooms and home offices. They simplify installation and maintenance access, making them particularly suitable for short-throw projectors. the choice ultimately depends on specific room considerations:
- Available space and room dimensions
- Projector type and throw distance requirements
- Cable management needs
- Installation budget, including potential electrical work
- Maintenance accessibility preferences
Both options can deliver excellent results when properly matched to the environment’s requirements.
Recommended Products

【3-IN-1 UNIVERSAL PROJECTOR MOUNT】Works as a flush ceiling mount, extendable ceiling arm, or wall mount projector bracket for maximum flexibility. Ideal for home theater projectors, office presentations, and classroom setups. Fits wood studs, concrete walls, and flat ceilings.

Compatibility: Universal Projector Mount Bracket for Both Ceiling and Wall Installation. Applicable to mounting holes distance between 8.9’’to 12.4’’
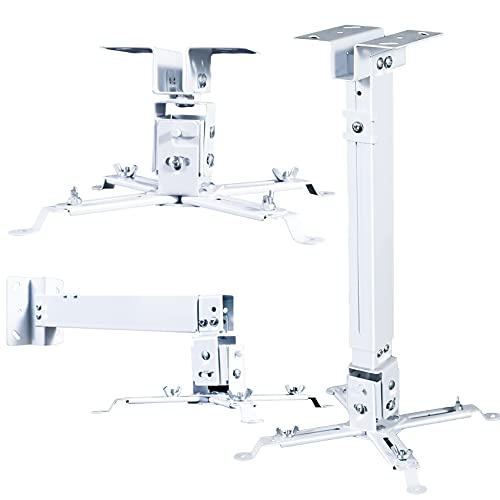
🎬【Upgraded cable management, safely contained】 The projector mounts adopt a large square tube design which helps keep HDMI, audio, and video cables concealed and organized, power cords and cables safely contained, keeps everything clean and organized, eliminate hazards due to tangled or stray electrical cables.
Professional Installation Tips and Techniques
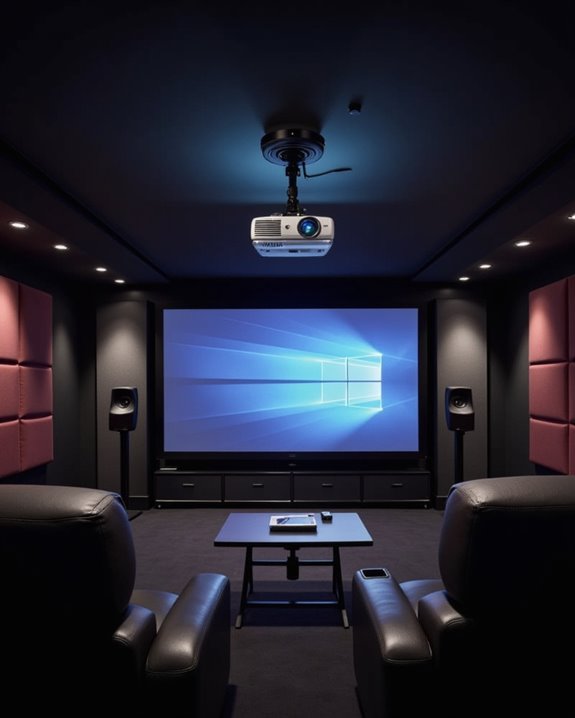
Professional projector installation demands meticulous attention to technical details and spatial considerations for ideal home theater performance. The process begins with careful assessment of room dimensions and seating arrangements to determine preferable mounting locations. Using the Free Home Theater Tool, designers can accurately map optimal placement configurations. Different projector lens types require specific throw distances, which must be calculated precisely for proper image size and clarity.
Installation experts focus on secure ceiling mounting with proper load-bearing support, followed by precise audio calibration to ensure perfect sound synchronization. They implement professional cable management solutions, concealing wires through ceiling cavities or specialized trunking systems. The final setup includes fine-tuning image settings through keystone correction and lens shift adjustments, while enhancing audio performance through speaker positioning and delay settings. Regular maintenance schedules are established to maintain peak performance, including lens cleaning and filter replacement protocols.
Recommended Products

Fits projectors with 1/4 inch thread (or M4 or M6), and weight under 30lbs (13.6kg). Note: Only for single-hole installation. Not suitable for three-hole or four-hole installations.

📽️UNIVERSAL: Compatible with majority of projectors on the market whose mounting holes are from 2.83'' to 11.42" and weight under 30lbs (13.6kg)
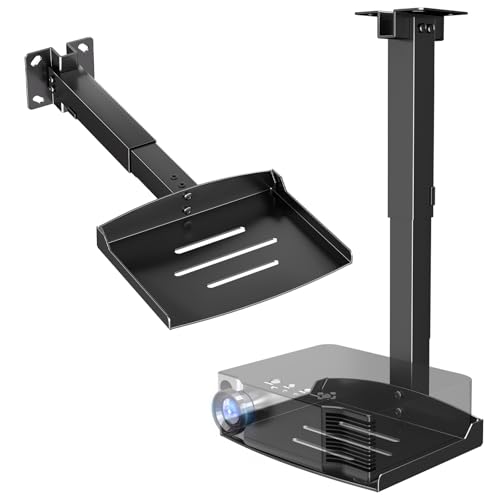
Versatile Application: PUTORSEN projector ceiling mount is compatible with most manual or spectrum projector screens, Also can be used to hold a video camera, laptop, or other electronic device. The metal 11.02” x 8.27” tray holds up to 22 lbs of weight
Creating a Clean and Aesthetic Setup
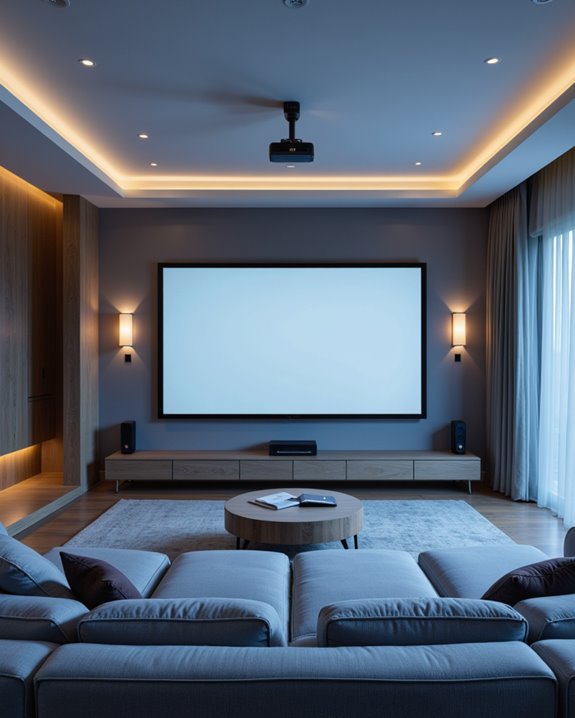
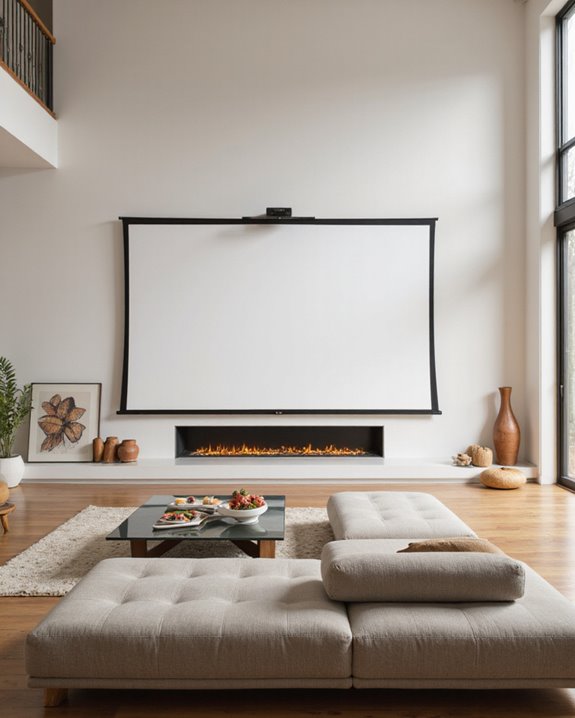
Building upon proper installation techniques, creating an aesthetically pleasing projector setup demands careful attention to visual harmony and space optimization. The integration of decorative accents and acoustic treatments can transform a basic home theater into an elegant entertainment space. Custom hideaway projector boxes provide an elegant solution for maintaining clean sightlines while protecting your equipment.
Effective cable management plays a vital role in maintaining a clean appearance. Hidden mounting solutions, such as ceiling mounts or retractable platforms, help minimize visual clutter while maximizing available space. Color-coordinated components and mounts that match the room’s design scheme create a cohesive look.
For ideal visual appeal, consider:
- Installing the projector in concealed locations when not in use
- Using suspended platforms that complement existing furniture
- Incorporating cable covers that blend with wall colors
- Adding strategic lighting control to enhance the viewing atmosphere
Recommended Products
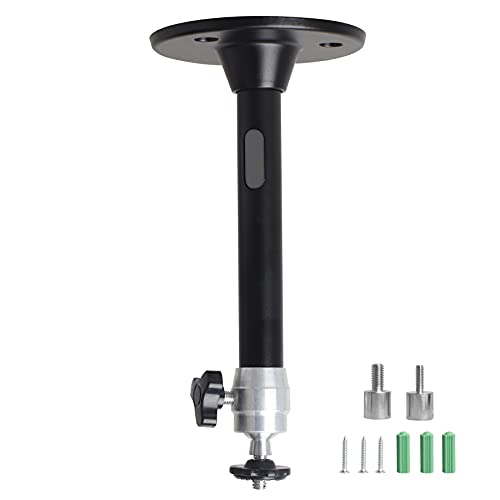
Projector Holder Compatible with QKK,DR.J,DBPOWER,Anker,VANKYO,AAXA,Jinhoo,PVO,TMY,AuKing and Most Other Mini Projector

Universal Ceiling Projector Tray Mount: This ceiling-mounted platform is designed for projectors that don't have mounting holes and fits the majority of projectors on the market. Also can be used to hold a video camera, laptop, or other electronic device

Passing the UL94 V-0 Rating test, a plastics flammability standard released by Underwriters Laboratories of the United States, UL94 V-0 Rating is defined as Burning stops within 10 seconds on a vertical part allowing for drops of plastic that are not inflames, which means it's safer than ordinary materials because of the higher flame retardancy and brings greater security to your daily use
Safety and Stability Measures
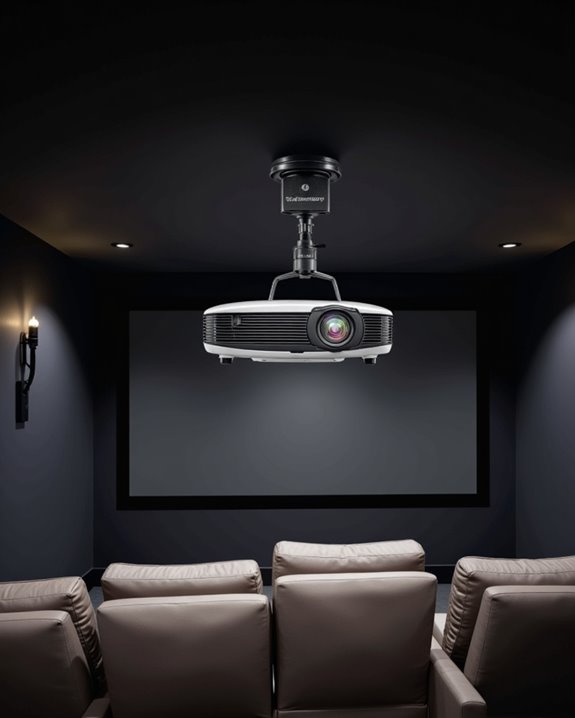
When mounting a projector, safety and stability considerations must take precedence over aesthetics or convenience. Proper projector placement requires careful attention to weight distribution and structural support, especially for ceiling-mounted units. Regularly monitoring the mount’s stability points helps identify any potential loosening or wear before issues arise. The installation should always begin with a thorough assessment of mounting locations and load-bearing capabilities.
Essential safety precautions include selecting appropriate mounting hardware based on the projector’s weight, ensuring proper stud attachment, and implementing cable management solutions to prevent tripping hazards. For ceiling mounts, safety wires provide an additional layer of protection against falls. Wall anchors and toggle bolts can supplement support when studs aren’t ideally positioned. Regular maintenance checks of mounting hardware and cables help guarantee long-term stability and prevent potential hazards from developing over time.
Recommended Products

Application: Fits most manual or spectrum projector screen on the market. Support maximum loading weight up to 66lbs / 30kg

Compatibility: This projector stand with 1/4 inch (6 mm) mounting screw thread, The Universal Projector Mount is suit for most mini projectors, fit for QKK, DR.J, DBPOWER, Eazze Series, Anker, VANKYO, AAXA, Jinhoo, PVO, TMY, AuKing, CLOKOWE, HAPPRUN, ELEPHAS, NICPOW and Roconia etc.
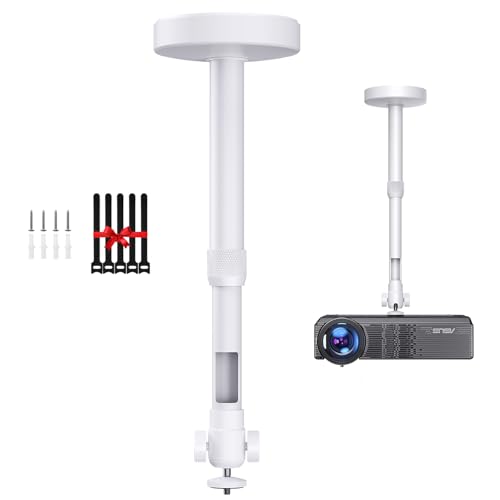
【 MINI PROJECTOR CEILING MOUNT】Equipped with a standard 1/4 inch screw, this projector mount is not only suitable for the mini video projectors, but also great for camera & smartphone clip for photo video shooting in low angle. (Note: Please make sure your projector has 1/4 screw hole)
Frequently Asked Questions
Can Projectors Be Mounted Sideways for Unique Room Configurations?
Sideways mounting is generally not recommended for projectors due to optical design limitations. Unconventional projector placement can cause image distortion and quality issues. Alternative mounting solutions like ceiling or wall mounts are more suitable.
How Often Should Mounting Brackets and Hardware Be Inspected for Wear?
Like checking a ship’s anchor quarterly, mounting bracket durability requires regular attention. Professional hardware inspection schedule recommends examining brackets and hardware every three months for wear, securing loose components, and checking for potential safety issues.
Will Mounting a Projector Void Its Manufacturer Warranty?
Proper mounting typically does not void manufacturer warranties. However, warranty impact varies by brand. Users should review specific mounting restrictions in their warranty documentation and follow manufacturer guidelines to maintain coverage eligibility.
Can Projector Mounts Be Temporarily Removed for Maintenance or Relocation?
While some might assume projector mounts are permanent fixtures, most modern mounts actually facilitate easy removal processes. Quality mounts feature temporary fixtures and quick-release mechanisms, making maintenance and relocation surprisingly straightforward for users.
Does Projector Mounting Affect the Unit’s Ventilation and Cooling System?
Projector mounting crucially impacts ventilation efficiency and cooling performance. Proper mounting ensures unobstructed airflow around vents, while improper installation can restrict air circulation, potentially leading to overheating and reduced system longevity.