As an Amazon Associate, we earn from qualifying purchases. Some links on this site are affiliate links at no extra cost to you. Our recommendations are based on thorough research and editorial judgment.

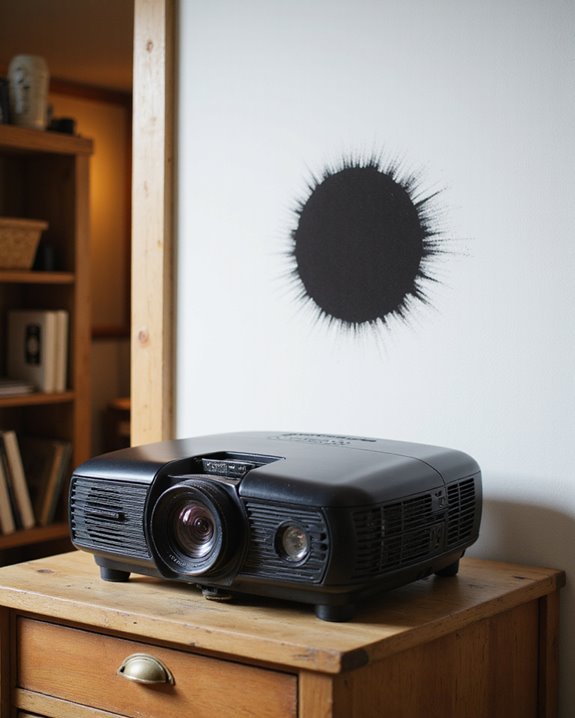
Why Does My Projector Have a Dark Spot? Common Causes Explained

A dark spot on a projector image is often caused by dust or smudges on the lens (the glass light passes through), worn internal components, overheating, poor cable connections, or a fading light source such as the bulb. Physical obstructions, incorrect mounting, or environmental factors like excessive heat can also contribute. Checking for dust, testing cables, and monitoring bulb condition are first steps. More detailed solutions, tailored by projector type and problem severity, are available in the next section.
Key Takeaways
- Dust, dirt, or smudges on the lens can block light and create visible dark spots or blurry patches on the projected image.
- Internal component wear, such as a deteriorating color wheel or debris inside the projector, can cause image distortions and dark spots.
- Overheating due to poor ventilation or failing fans may misalign optical elements and damage components, resulting in dark areas on the screen.
- Bulb degradation or nearing the end of its lifespan often leads to reduced brightness and the appearance of dark spots.
- Physical obstructions near the lens or incorrect projector mounting can cast shadows or partially block the image, causing dark spots.
Dust and Dirt Accumulation on the Lens
You may be interested
Dust and dirt accumulation on a projector lens is one of the most common causes of image quality problems, including dark spots and blurred visuals. When dust settles on the lens—the transparent glass at the front of the projector—it blocks and scatters light, causing reduced brightness, lower contrast, and color distortion. Smudges or fingerprints can also create dark spots or blurry patches. Regular lens cleaning using microfiber cloths and specialized solutions helps remove contaminants. For outdoor or high-usage environments, using material quality that resists dirt buildup can also help maintain image clarity. For dust prevention, always use a lens cap when the projector is not in use, and store the device in a clean, dust-free environment. Additional steps include:
- Using gloves to avoid fingerprints
- Employing dustproof projector technologies
- Avoiding harsh chemicals, which can scratch the lens
Consistent maintenance preserves both image quality and projector lifespan.
Recommended Products

【PROFESSIONAL LENS CLEANING KIT】:Dslr cleaning kit includes Camera Dust Blower*1, Lens Cleaning Pen*1, Microfiber Lens Cleaning Cloths*2. Safe for all electronics, coated lenses and sensors.
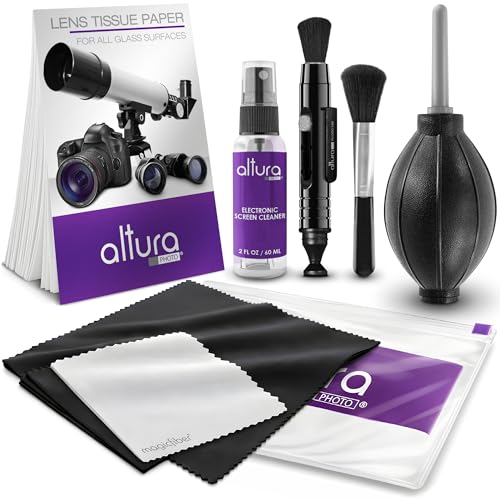
COMPLETE CAMERA CLEANING KIT: Our camera lens cleaning kit includes an alcohol & ammonia-free lens cleaner spray, cleaning brush, lens pen, air blower, MagicFiber microfiber cloths (3), and lens tissue paper wipes (50). Most competing lens cleaning kits cost more and still make you buy the spray and brush separately. Ours doesn't.

CRYSTAL CLEAR VISION – EVERY TIME: Our obsessively engineered, best-in-class formula is the only streak-free glasses cleaner that leaves your eyeglasses, sunglasses, camera lenses, and screens ridiculously clean and clear. With almost no effort, our premium ingredients wipe away dirt, grime, and oils, safely and consistently.
Overheating and Its Impact on Projector Components
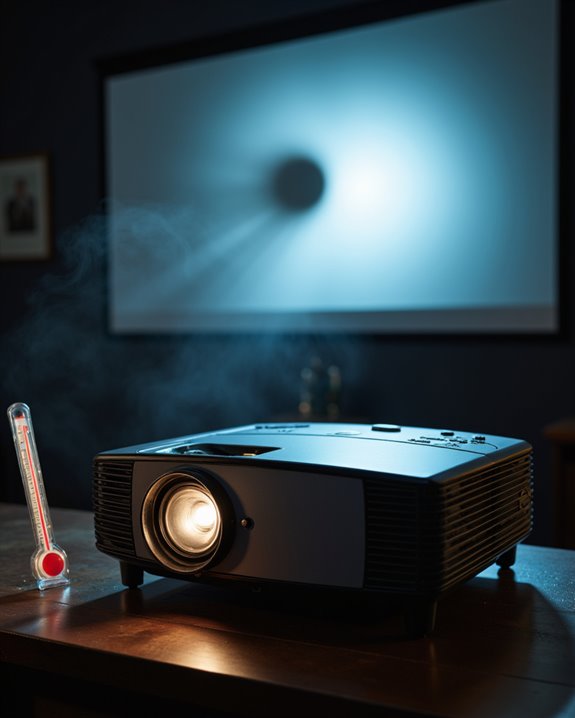
Why does overheating matter so much for projectors? Heat buildup directly impacts sensitive internal parts. As a projector operates, components like bulbs and lenses generate intense heat. Excessive temperatures cause thermal expansion—the swelling of materials when heated—which can misalign optical elements and introduce dark spots or blurriness on the screen.
Overheating also accelerates component degradation, meaning parts wear out or fail faster than normal. Key effects include:
- Deterioration of light source bulbs and digital chips, leading to dim or discolored images
- Warping of plastic housings, which can shift lenses and optical pathways
- Reduced efficiency of electronic circuits, causing functional errors
Poor ventilation, high ambient temperatures, and failing fans all contribute to overheating. Proper cooling and regular maintenance are essential to limit thermal damage and maintain image quality. Additionally, using weather-resistant projectors and screens can help prevent heat-related issues during outdoor use.
The Role of Cable Connections in Image Quality
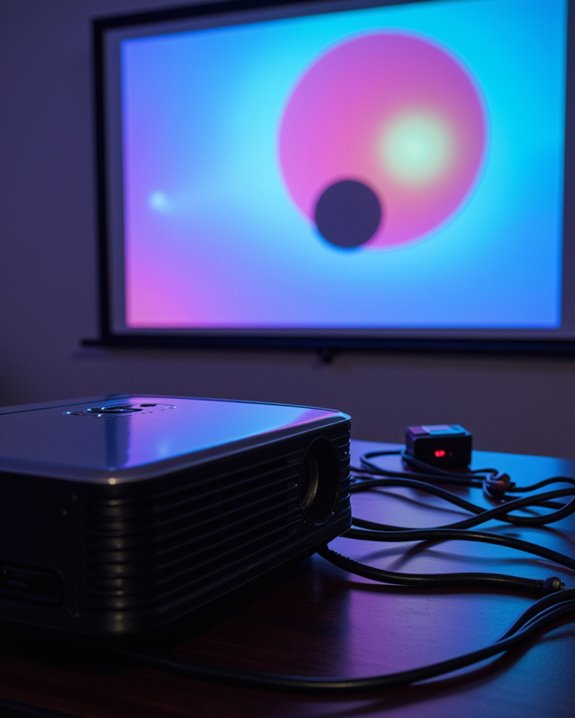
While temperature control protects a projector’s internal hardware, the quality of cable connections also plays a significant role in image performance. Cable quality determines how well video and audio signals move between the source and the projector. For example, HDMI cables, which transmit high-definition digital signals, are preferred for best image clarity and signal stability—meaning fewer interruptions or signal loss. In contrast, VGA cables, which carry analog signals, may result in lower resolution images. Additionally, cable shielding can help prevent electromagnetic interference that degrades signal quality. Critical factors affecting cable performance include:
- Cable length: Longer cables may weaken signals unless properly shielded.
- Connection security: Loose connections can disrupt signal flow.
- Cable maintenance: Damaged or worn cables often cause signal degradation.
Proper cable selection, regular inspection, and good cable management help prevent image quality issues and ensure reliable projector performance.
Projector Bulb Issues and Lifespan
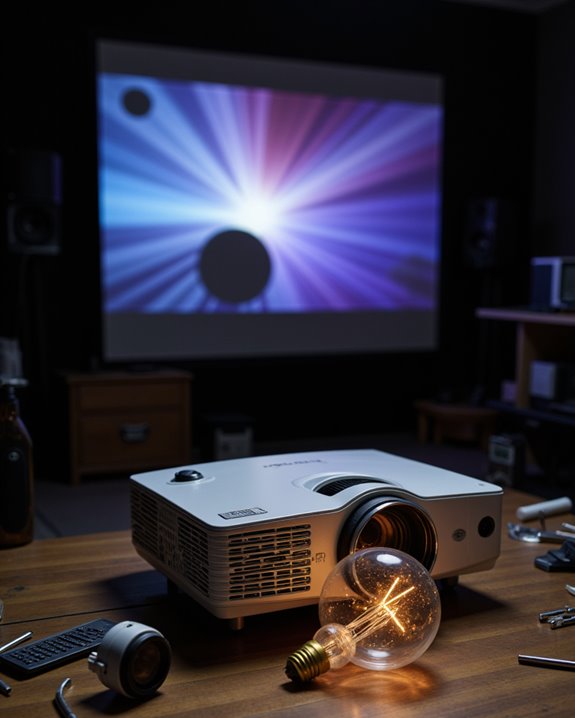
How does the condition of a projector’s bulb influence image quality and lifespan? The type and health of the bulb have a direct effect on brightness, color calibration—how accurately colors display—and the presence of dark spots. UHP (Ultra High Performance) and UHM (Ultra High-Pressure Mercury) bulbs last 2,000–4,000 hours, while LED and laser projectors can exceed 20,000 hours, reducing replacement frequency. A stable power supply helps prevent overheating and extends bulb life. Factors like usage hours, environmental dust, and frequent power cycles can shorten lifespan or cause dark spots as bulbs age. Regular maintenance—such as cleaning and ensuring proper cooling—preserves both image quality and longevity. Signs of needed replacement include fading brightness, poor color calibration, or visible dark patches.
Recommended Products
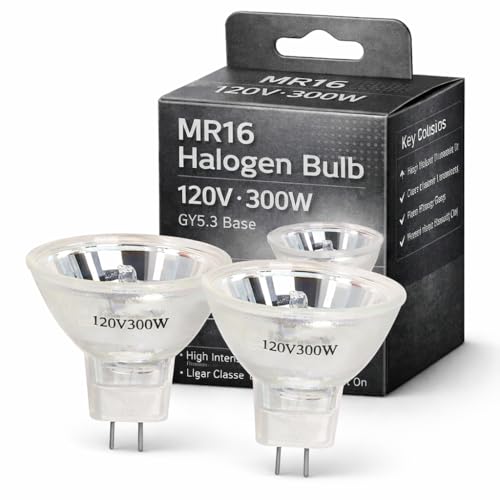
【Precision Compatibility】Compatible with Kodakk Carousel 760H, RC55, features MR16 blub with 2-flat GY5.3 base type. Perfect replacement for slide and film strip projectors, stage projectors, classroom AV systems, and professional presentation equipment

Product Contents: you will receive two projector lamps: one replacement and one spare, ideal for your daily needs

【Compatible models】for EP SON VS240 VS340 VS345 EB-945H EB-955WH EB-965H EB-S27 EB-U04 EB-U32 EB-W29 EB-X27 EB-X31 EX3240 EX7240 Pro EX9200 Pro HC1040 Home Cinema 1040 PowerLite 1224 PowerLite 1264 PowerLite 1284 PowerLite 955WH PowerLite 965H PowerLite 97H PowerLite 98H PowerLite 99WH PowerLite S27 PowerLite W29 PowerLite X27 Projectors.
Obstructions and Smudges Near the Lens
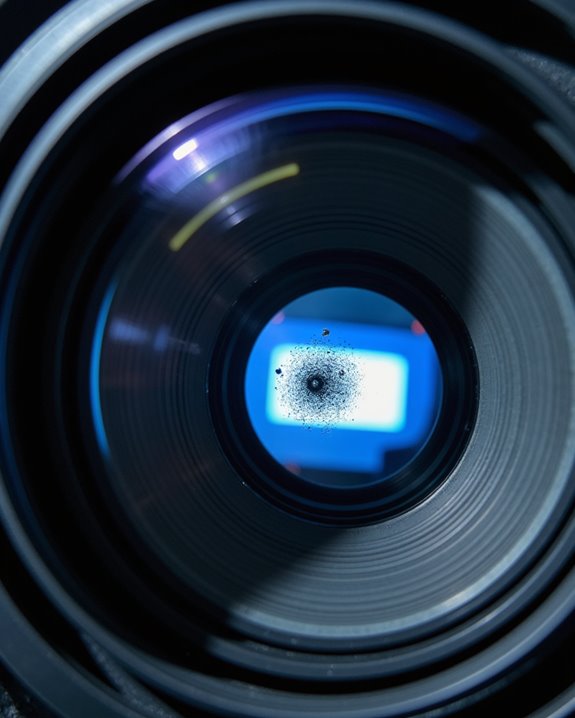
A clear and unobstructed lens is critical for maintaining projector image quality, as both physical obstructions and smudges near the lens can cause dark spots or distortions on the projected image. Physical obstructions—such as foreign objects, dust build-up, or even parts of the projector casing—interrupt the light path, resulting in shadows or blocked areas. Smudges and dust accumulation directly on the lens scatter and block light, degrading sharpness and color calibration, which is the process of adjusting colors for accuracy. Regular lens cleaning and environmental maintenance prevent these issues. Additionally, incorrect projector alignment or mounting can partially block the lens. While obstructions and smudges do not typically affect sound synchronization, which is the matching of audio and visuals, they considerably reduce visual clarity and image fidelity.
Recommended Products

WHAT YOU CAN GET: 1 camera lens Cleaner 50ml + 1 air blower + 1 two in one Lens Cleaning Pen + 1 Retractable wool soft brush + 5 sensor cleaning swab + 25 lens cleaning Tissue Paper + 2 Microfiber Cleaning Cloth + 8 Cleaner Wipes + 1 storage box.

CRYSTAL CLEAR VISION – EVERY TIME: Our obsessively engineered, best-in-class formula is the only streak-free glasses cleaner that leaves your eyeglasses, sunglasses, camera lenses, and screens ridiculously clean and clear. With almost no effort, our premium ingredients wipe away dirt, grime, and oils, safely and consistently.

Camera Lens Cleaning Kit (14 pieces), including, air blower, lens pen, cleaning brush, lint-free cloth, lens pen, storage bag, etc.
Common Problems by Projector Type
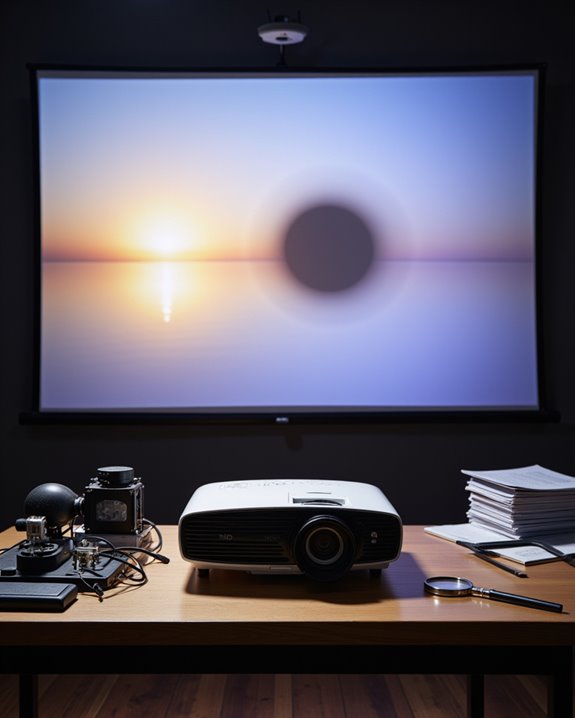
Projectors can develop dark spots for different reasons, depending on their technology and design. DLP projectors often suffer from color wheel malfunctions, where the spinning color wheel, responsible for producing accurate colors, becomes damaged or misaligned. This can cause discoloration and visible dark spots. LCD projectors may display dead pixels—small, unlit areas on the screen that result from failed liquid crystal display elements. Dead pixel repair is not always possible and sometimes requires full panel replacement.
Laser projectors rarely have dead pixels but may develop dark spots from component failure or optical path issues, which disrupt light distribution. LED projectors are prone to dark spots from faulty diodes or dust accumulation on internal optics. Hybrid projectors can experience both color wheel malfunctions and component failures, leading to similar symptoms.
Steps to Troubleshoot Dark Spots
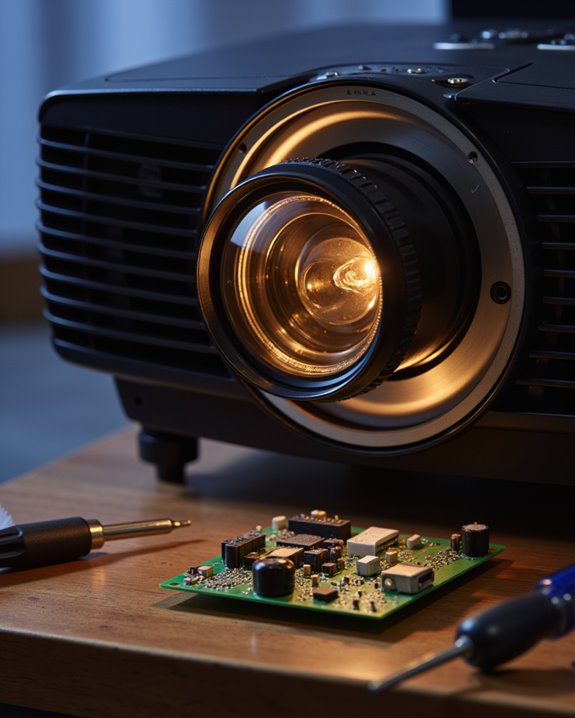
When a dark spot appears in a projected image, the most effective troubleshooting starts with a systematic inspection of the projector’s optics and components. Begin by gently cleaning the projector lens and screen, as accumulated dust or smudges can create uneven lighting. Use a specialized lens cloth to avoid scratches. Check internal optics—such as the color wheel or LCD panels—for visible marks. Examine the projector lamp to ensure it is properly installed and not at the end of its lifespan, which can cause dim or uneven light. Verify all video cables for secure connections and test with alternate sources. Review projector image settings, including brightness and contrast, and perform color calibration to correct discoloration. Consider how ambient lighting and screen cleanliness affect perceived spot severity.
Recommended Products

SIMPLE AND EFFECTIVE: Just spray on a small amount of cleaning fluid and use the included microfiber cloth to clean and polish the lens of your camera or the screen of your smartphone or tablet.
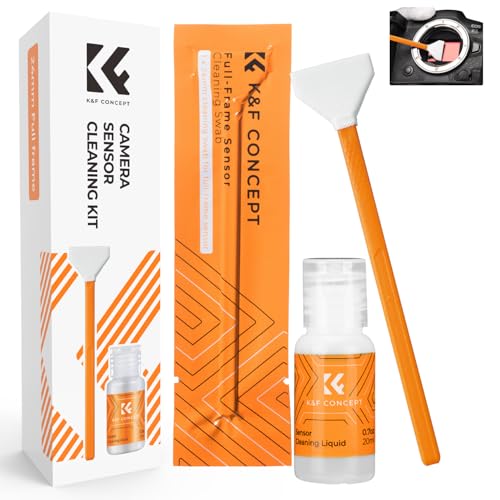
【6 Pieces of 24mm Sensor Cleaning Swabs】 Tailored according to the size of the Full frame frame sensor;Smudge-and lintfree, flexible grip rod allows the head to be close to the sensor without harm. The width of swab is 16mm and each swab is vacuum packaged.

Introducing our new simple lens-cleaning system effective, durable and long lasting
Repair and Maintenance Solutions for Persistent Issues
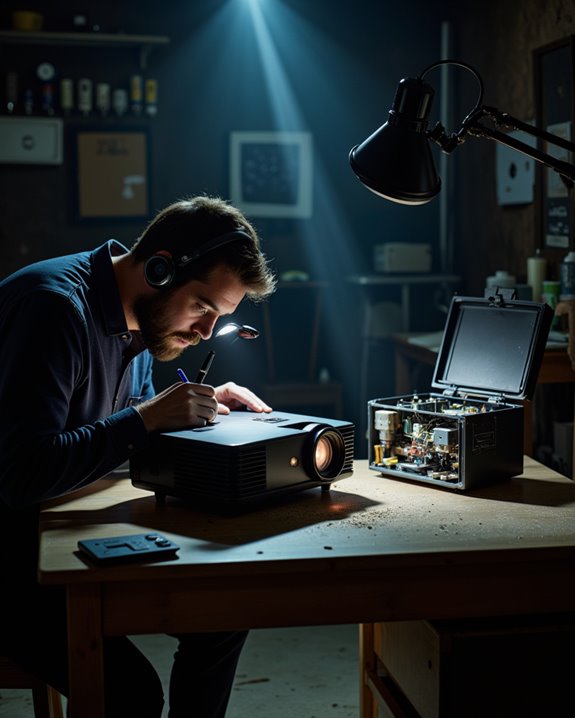
Persistent dark spots in a projector’s image often require targeted repair and maintenance beyond basic cleaning. The most common solutions include replacing damaged polarizing films—thin sheets that filter light to create correct colors—since polarizer damage can cause dark or blurry patches. Inspect and, if necessary, replace the LCD display if burn spots or image defects persist. Regular color calibration, which means adjusting a projector so colors display accurately, is important after any part replacement. Additional steps involve:
- Using compressed air or microfiber cloths to remove dust from sensitive areas
- Checking the lens for damage or debris
- Inspecting VGA cables and color wheels for issues
Always follow manufacturer guidelines, consult online resources or manuals, and seek professional help for repairs beyond basic maintenance.
Recommended Products

You will get 2 Pcs x Polarized Film Sheets(1 pcs each of the 2 styles), 3 Set Cleaning Kit, 1 Pcs Scraper, Polarization Angle: 0 Degree/90 Degree; Thickness: 0.27 mm/0.01 inch; Dimension: 152 x 200 mm/6 x 7.9 inch

Premium Material:Designed with high-quality PET materials, our linear polarized film can effectively enhance visual clarity and reduce glare on a variety of surfaces, offering exceptional durability and long-lasting performance.

Multi-scenario applications: useful in education, physics experiments, and photography. It reduces glare and improves contrast and clarity, making it an excellent choice for educator and photographer
Frequently Asked Questions
Can Software Updates Fix Dark Spot Issues on My Projector?
Software updates rarely resolve dark spot issues on projectors, as these are typically hardware-related rather than software glitches. Firmware fixes may improve system performance or diagnostics, but they do not directly address physical defects causing dark spots.
Does Projector Placement Affect the Appearance of Dark Spots?
Projector placement can influence the appearance of dark spots by altering the projection angle and interaction with room lighting. Improper angles or uneven lighting may emphasize imperfections on the screen or lens, making dark spots more noticeable during use.
Are Certain Projector Brands More Prone to Dark Spots?
Certain projector brands may be more prone to dark spots due to differences in build quality, cooling systems, and component durability. Brand reputation often reflects reliability, while lower-quality brands might lead to higher repair costs over time.
Will Using a Different Screen Help Reduce Dark Spots?
Using a different screen can sometimes help reduce dark spots, depending on the screen type and screen material. High-gain screens enhance brightness, while smooth, clean surfaces improve image clarity. Compatibility between projector and screen material is also important.
Can Environmental Humidity Cause Dark Spots on Projector Images?
Humidity effects, as an environmental factor, can cause dark spots on projector images by promoting condensation, dust adhesion, and internal component degradation. These processes scatter or block light, resulting in visible dark patches or reduced image quality.