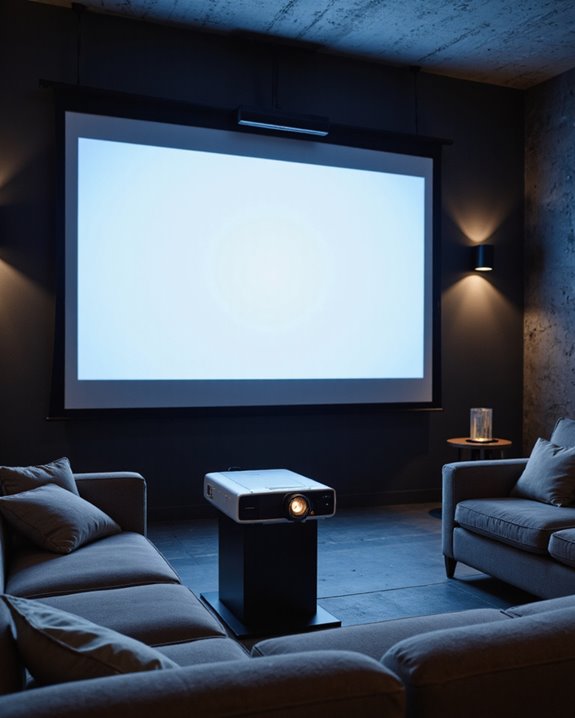
At 10 meters, ideal projector placement relies on choosing the right throw ratio, which is the distance to screen divided by image width, to create a sharp and bright picture. Brightness should exceed 5000 ANSI lumens to guarantee clarity over long distances. High-resolution projectors prevent pixelation, while a flat, reflective screen enhances color accuracy. Using zoom lenses helps adjust image size without moving the projector. Aligning aspect ratio to the projector avoids distortion. More advanced setup tips follow below.
Key Takeaways
- Proper throw ratio selection ensures accurate image size and prevents distortion or color issues at 10 meters distance.
- High-brightness (≥5000 ANSI lumens) and high-resolution projectors are needed to maintain image clarity and brightness over long throws.
- Zoom lenses provide flexible image sizing and easier placement options without moving the projector at 10 meters.
- Managing ambient light and using quality projection surfaces are essential to preserve contrast and color accuracy at extended distances.
- Correct mounting height, angle, and minimal keystone correction are crucial for sharp, undistorted images at 10-meter projection distances.
Understanding Throw Ratio and Its Impact
How does one determine the best spot to place a projector for a clear, sharp image? The answer starts with understanding throw ratio, which is the distance from the projector lens to the screen divided by the screen width (D/W). A correct throw ratio avoids lens distortion—where image edges appear warped—and ensures precise color calibration, so colors stay true across the screen. Key points include:
- Fixed lenses offer a set throw ratio; zoom lenses allow adjustment for flexibility.
- A proper throw ratio delivers sharp images, avoiding blurred edges.
- The throw ratio impacts image size and brightness, influencing viewing comfort.
- Projector selection depends on room size, screen type, and luminosity.
- Adjustable lenses and higher-end models may cost more but provide greater installation options.
- Considering the contrast ratio and ambient light conditions is essential for optimal image quality.
Calculating Throw Distance for Various Projectors
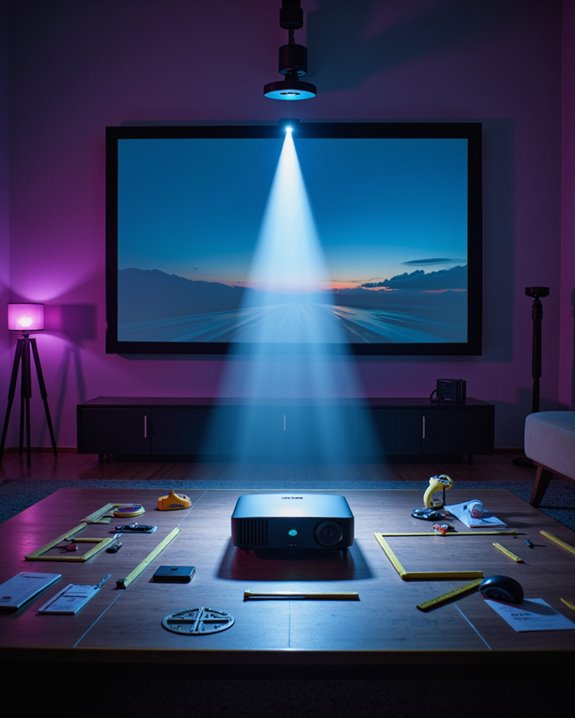
To accurately position a projector for ideal image clarity, it is essential to calculate the correct throw distance—the space between the projector lens and the screen. The throw distance depends on the throw ratio, defined as Distance (D) divided by Image Width (W). For example:
- With a throw ratio of 2.0, a 10-meter distance creates a 5-meter-wide image.
- At 1.2 throw ratio, the same distance yields a width of about 8.3 meters.
- A 1.5 throw ratio results in a 6.67-meter-wide image at 10 meters.
Projectors with zoom lenses can change image size without moving the device. Color calibration ensures true-to-life colors, while HDMI compatibility allows connection with modern media sources. Manufacturer specifications and online calculators help users match projector throw to room size and screen width.
Projector Types: Standard vs. Short-Throw at 10 Meters
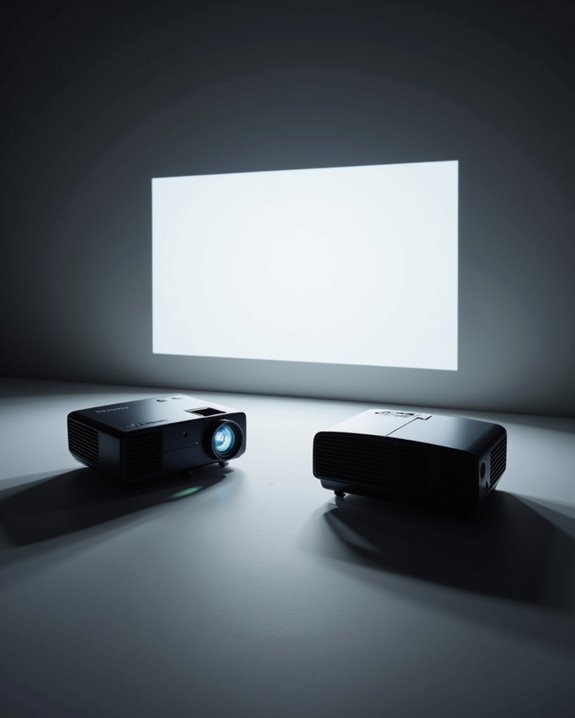
When comparing standard and short throw projectors at a 10-meter distance, the primary difference is the throw ratio—a measurement that describes how far a projector must be from the screen to produce a certain image width. Standard throw projectors, with a throw ratio greater than 1.0, are designed for larger venues and require more space, making them suitable for ceiling installation with a projector mount. In contrast, short throw projectors have a lower throw ratio (0.4–1), allowing them to be positioned closer to the screen and offering more flexible installation. Key considerations include:
- Standard projectors can create larger images at this distance.
- Short throw models are more commonly used in smaller spaces.
- Both types benefit from proper ceiling installation and projector mount alignment.
- Image quality remains consistent if the setup is correct.
- Understanding brightness requirements ensures optimal visibility and performance at this distance.
Determining Screen Size for a 10 Meter Placement
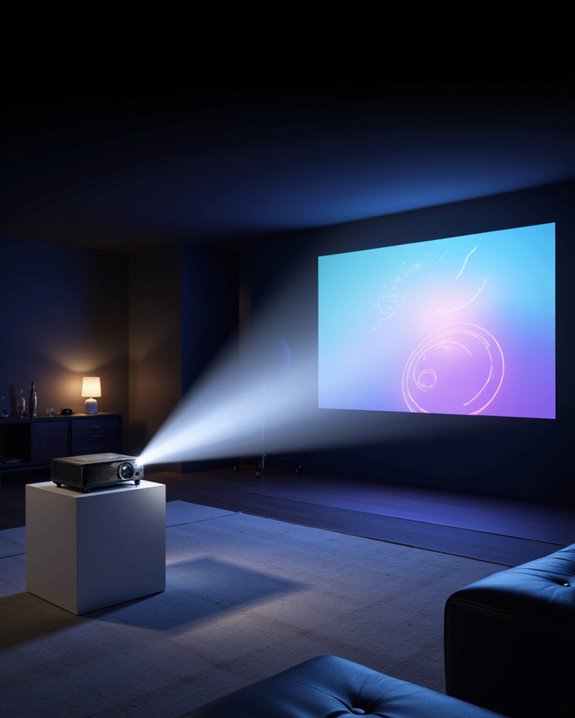
Selecting the correct screen size for a projector placed at 10 meters is a process shaped by several technical factors. The throw distance—distance from projector to screen—directly determines image size. To ensure compatibility, the screen’s aspect ratio (width-to-height proportion) should match the projector. Screen resolution, or the number of pixels displayed, also guides size choice; higher resolutions allow for larger screens without loss of clarity. Calculators such as those from ProjectorScreen.com or Epson assist with these calculations. Additional considerations include screen gain (reflectivity), lumen output (brightness), and projector lens adjustability, which can fine-tune image size. For viewer comfort, industry standards like SMPTE and THX recommend specific screen sizes and seating distances. The sound system layout should complement the screen’s position to maintain an immersive experience. Accurate placement also benefits from understanding the optimal distance for clarity and brightness, as specified in professional laser specifications for high-quality projection.
Image Quality Considerations at Extended Distances
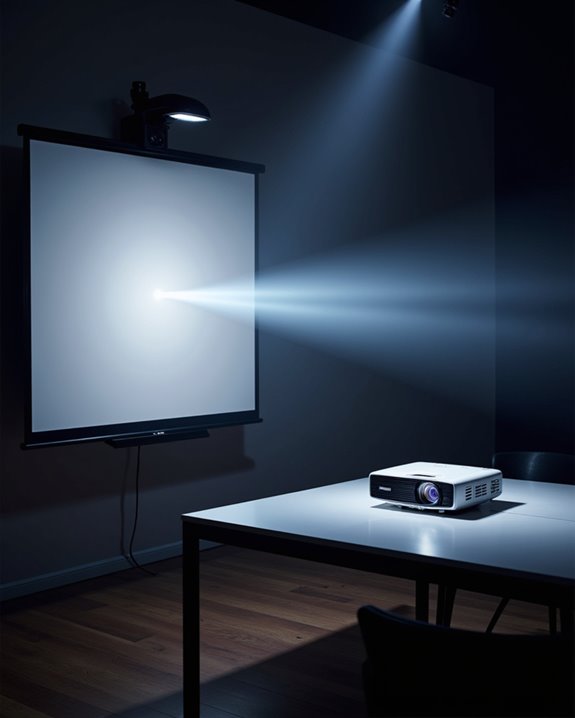
How does distance affect projector image quality at 10 meters? At this range, maintaining focus and clarity becomes challenging. The projector’s lens must be precisely adjusted, or the image may appear blurry. Pixelation—a blocky appearance—can also occur, especially with lower-resolution projectors, as pixel density decreases over longer distances. Color accuracy may suffer, resulting in uneven or distorted colors across the screen, because light disperses more as it travels. Additional issues include:
- Distortion: Images can appear stretched or warped if the lens is not designed for long throws.
- Color uniformity: Achieving even color distribution is more difficult.
- Sound quality: Speaker placement, often overlooked, affects the viewer’s experience, since sound must travel further and may lose clarity.
Proper projector selection and setup are essential for ideal results at such distances.
The Role of Brightness and Ambient Light
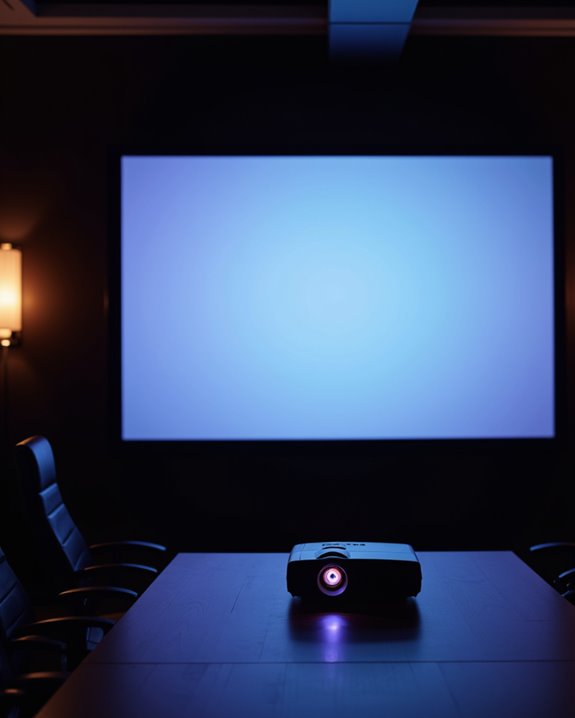
Why does brightness matter so much in projector setups? Brightness, measured in lumens, determines how clearly images appear, especially in environments with high ambient light. Higher lumens help maintain color accuracy, which is the faithful reproduction of colors, even in bright rooms. Projectors in large or well-lit spaces often need 7,000 lumens or more, while home theaters may require only 2,000 lumens.
Ambient light, measured in lux, directly impacts image clarity. More ambient light means a projector must be brighter to display sharp, vibrant images. Key factors:
- Screen size: Larger screens require more lumens.
- Contrast ratio: Higher contrast ratios improve image quality in bright settings.
- Screen material: Some materials reflect light better, affecting brightness.
- Noise levels: Powerful projectors may generate higher noise, impacting user experience.
Aspect Ratio Choices for Large-Scale Projection
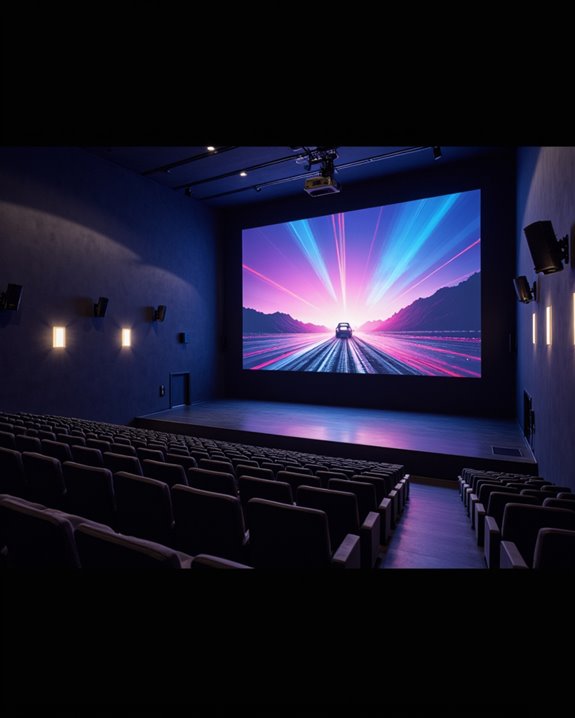
Beyond brightness and ambient light, the aspect ratio of a projector setup directly shapes the viewing experience in large spaces. Aspect ratio refers to the proportional relationship between screen width and height. Common choices include:
- 4:3 (square, traditional TV and old projectors)
- 16:9 (wide, modern media and home theaters)
- 16:10 (slightly taller, often for business)
- Cinemascope (very wide, for cinematic movies)
- WUXGA (high-resolution, 16:10 format)
Screen dimensions should match the chosen aspect ratio to prevent image distortion. For example, 16:9 is preferred for Full HD content, providing a wide, clear image at 10 meters. In contrast, 4:3 delivers a more square image, which may limit audience engagement. The projector’s resolution and aspect ratio must align for ideal clarity and sharpness.
Tools and Calculators for Accurate Placement
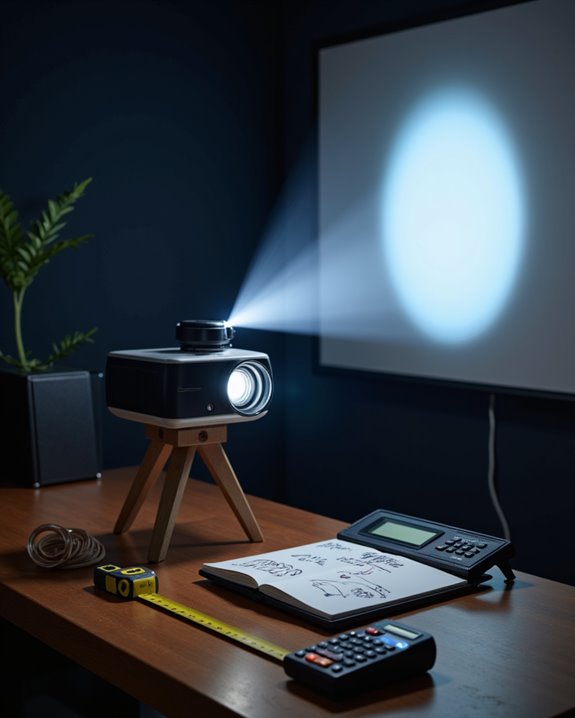
Selecting the correct tools and calculators is essential for accurate projector placement in any large-scale environment. Online projection calculators, such as the Epson Projection Distance Calculator and Projector Central Pro Calculator, provide step-by-step guidance for determining throw distance, which is the space between the projector and the screen. These tools help users align screen size, throw ratio (the relation between screen width and throw distance), and room dimensions. Manual throw ratio calculations are also useful for precise measurements.
Key features of these calculators include:
- Screen size recommendations,
- Aspect ratio compatibility,
- Lighting and power consumption guidelines,
- Color calibration tips for accurate image reproduction.
Projector calculators, including the XTEN-AV tool, also offer user-friendly interfaces and ensure the projector’s settings meet both technical and environmental requirements.
Optimizing Room Layout for Long Throw Distances
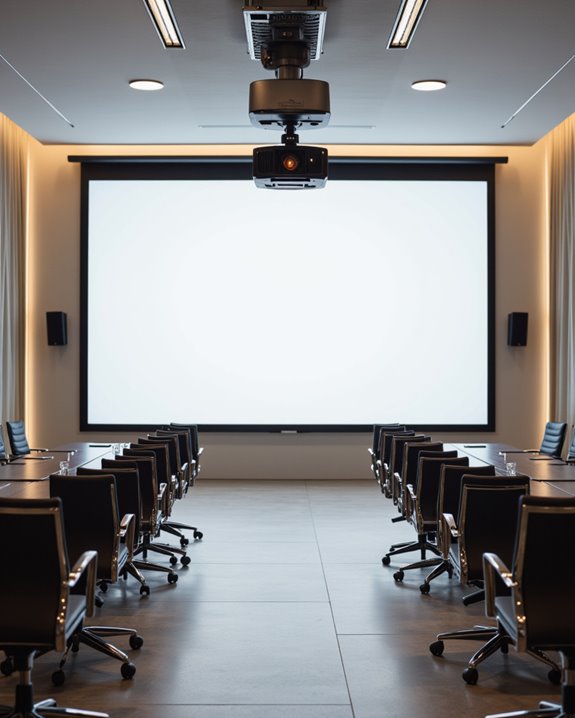
An ideal room layout is vital when planning for long throw distances in projector installations. At 10 meters, screen size, seating arrangement, and room aspect ratio must be carefully balanced. Larger screens require a greater throw distance to maintain image clarity, so seating needs to be organized to guarantee every viewer has a clear line of sight. Room aspect ratio—meaning the width compared to length—impacts both projector placement and best viewing angles. Ceiling height allows more flexibility for ceiling mounts, while controlling ambient light with blackout curtains or specialized screen materials is essential for color calibration. Proper color calibration ensures accurate color reproduction, even at long distances. Additionally, audio synchronization—matching sound to the image—is important, as sound delay can occur in larger rooms.
Practical Challenges and Solutions for 10 Meter Setups
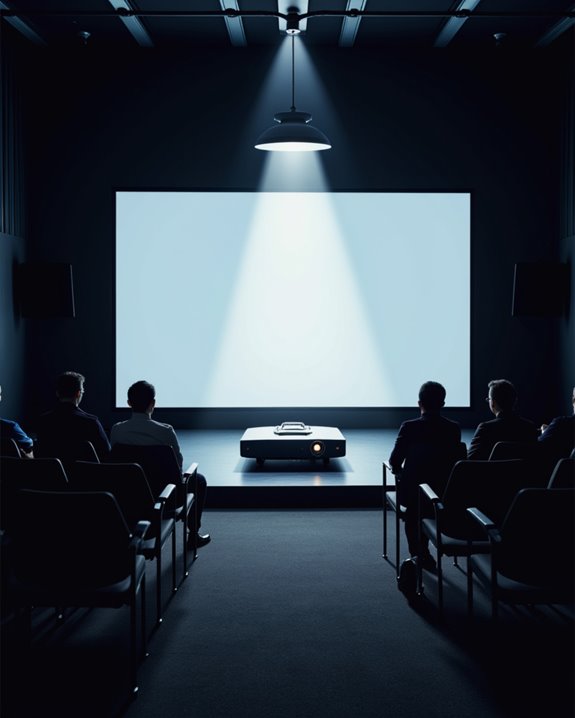
How can one achieve clear, bright projection over a 10-meter distance? The main challenge is maintaining image brightness, as light intensity drops markedly with distance. Projectors must deliver high ANSI lumens—often above 5000—for acceptable results, especially in non-dark rooms. Increased brightness means higher power consumption, which raises heat output and operating costs. Color calibration, or adjusting the projector to display accurate colors, becomes harder over long throws due to light loss and potential distortion.
Key considerations include:
- Using a zoom lens for flexible image sizing,
- Selecting higher-resolution models for sharpness,
- Avoiding excessive keystone correction to prevent blurriness,
- Ensuring the projection surface is flat and highly reflective,
- Planning for complex mounting at greater heights.
Multiple projectors may help, but add complexity and expense.
Frequently Asked Questions
Can I Use Wireless Connections for Projectors Placed 10 Meters Away?
Wireless connectivity for projectors at 10 meters is feasible, especially using Wi-Fi, which offers reliable range and data throughput. Signal amplification may be necessary to maintain stability, while Bluetooth may struggle to deliver consistent performance over that distance.
How Do I Manage Cable Length and Signal Loss at 10 Meters?
Effective cable management and signal amplification are vital when addressing 10-meter cable runs. High-quality HDMI cables, active or optical options, and proper routing techniques help minimize signal degradation and interference, ensuring reliable performance for extended projector setups.
What Are the Best Mounting Options for Ceiling Installation at This Distance?
Like a steadfast anchor, a ceiling mount with a fixed bracket offers stability and universal compatibility. Adjustable height, cable management features, and strong weight capacity guarantee reliable projector installation, especially for high or vaulted ceilings in large rooms.
Are There Specific Projector Models Recommended for Outdoor Use at 10 Meters?
When considering outdoor use at 10 meters, models such as the BenQ X500i and Epson Home Cinema 1080 are frequently recommended for their outdoor durability and high brightness specifications, ensuring clear, vivid projection in challenging ambient light conditions.
How Does Projector Noise Level Affect Viewing at Longer Distances?
Projector noise at longer distances diminishes like a distant rain, but remains audible in quiet scenes. Effective sound insulation and noise mitigation—such as enclosures and soft surfaces—help guarantee minimal distraction for viewers, preserving immersion and comfort.

